Building a Makeup Kit and Details about the Sephora Savings Event!
Our Creative Corner/Homeschool Space
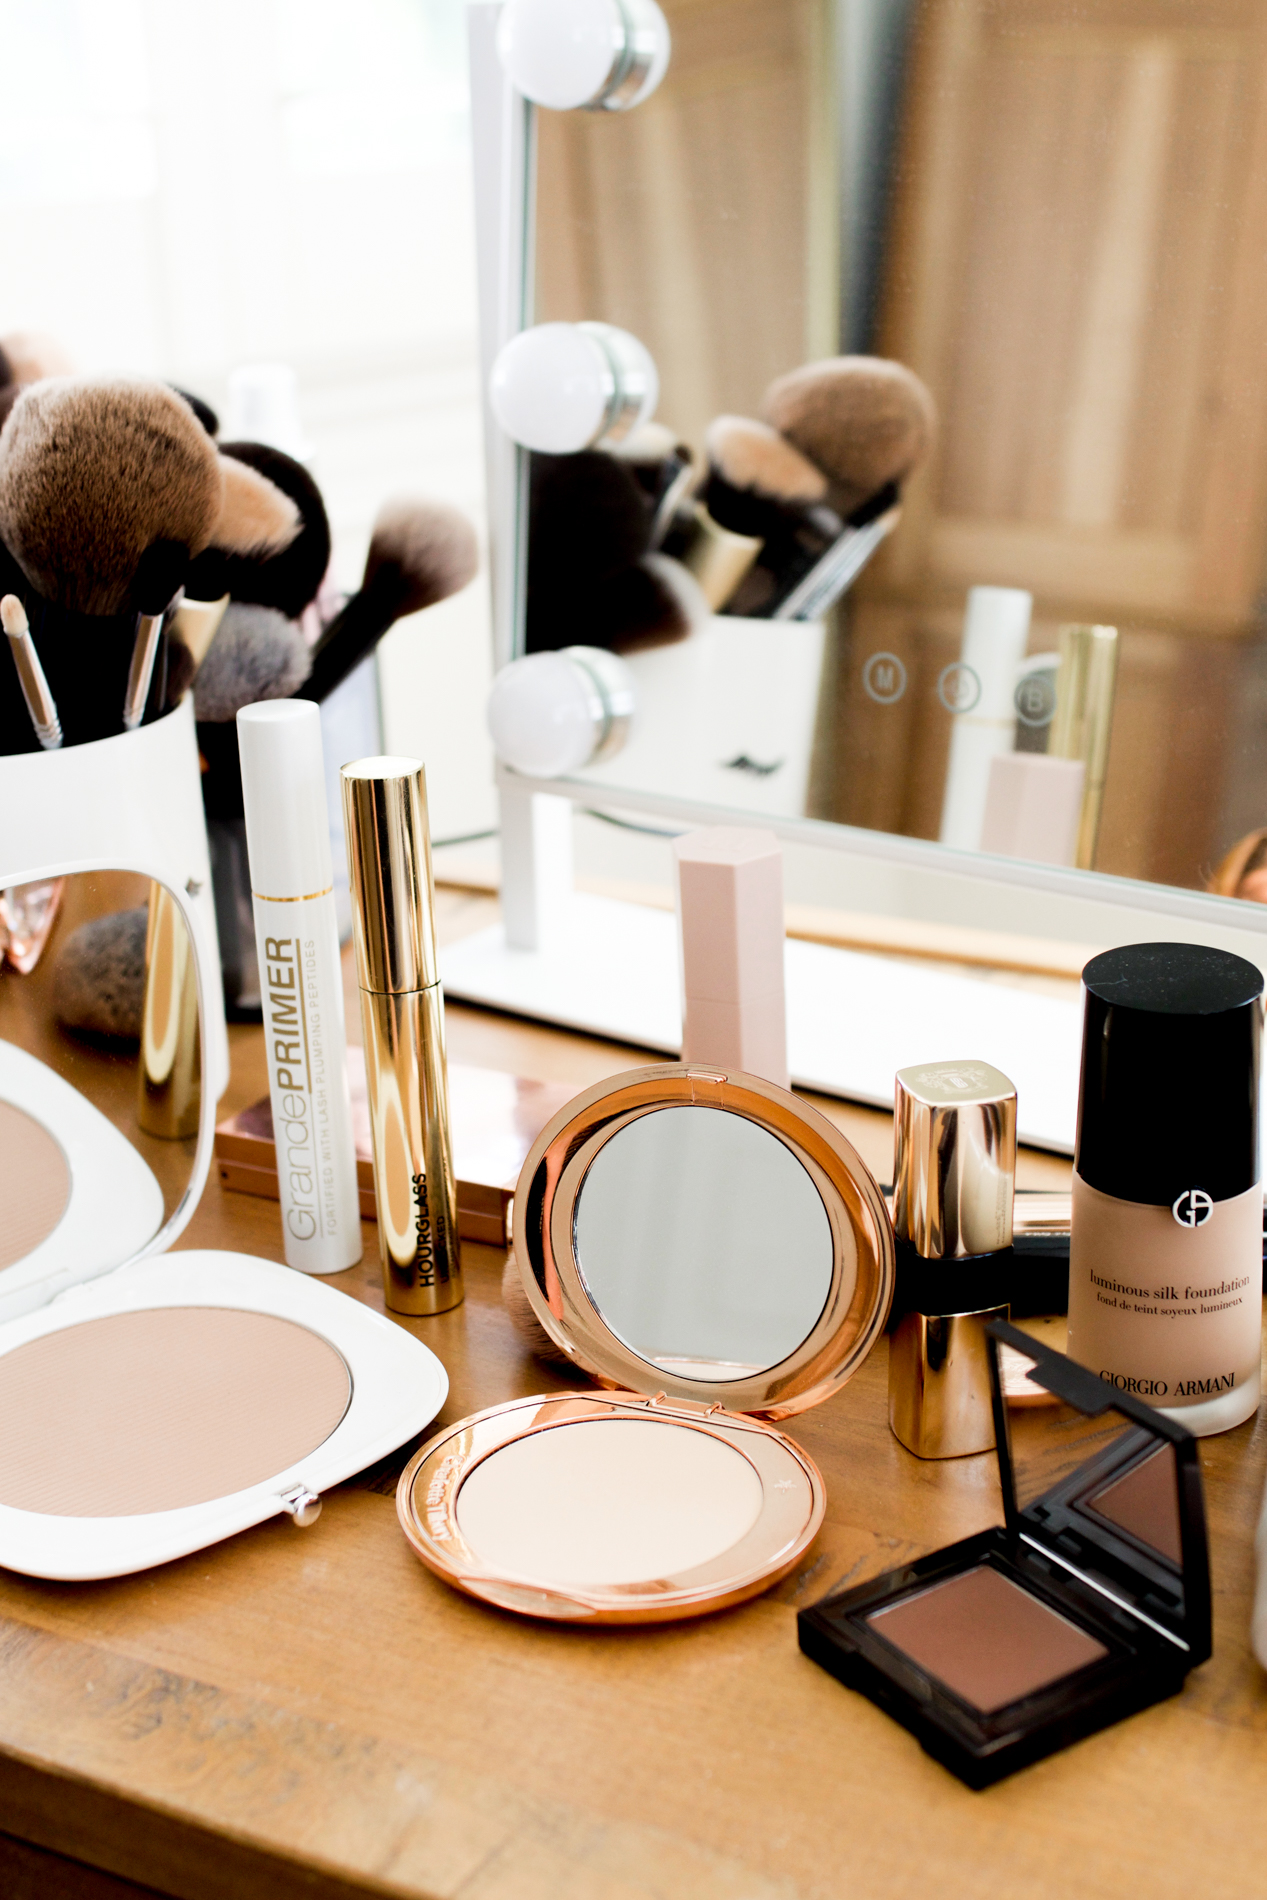
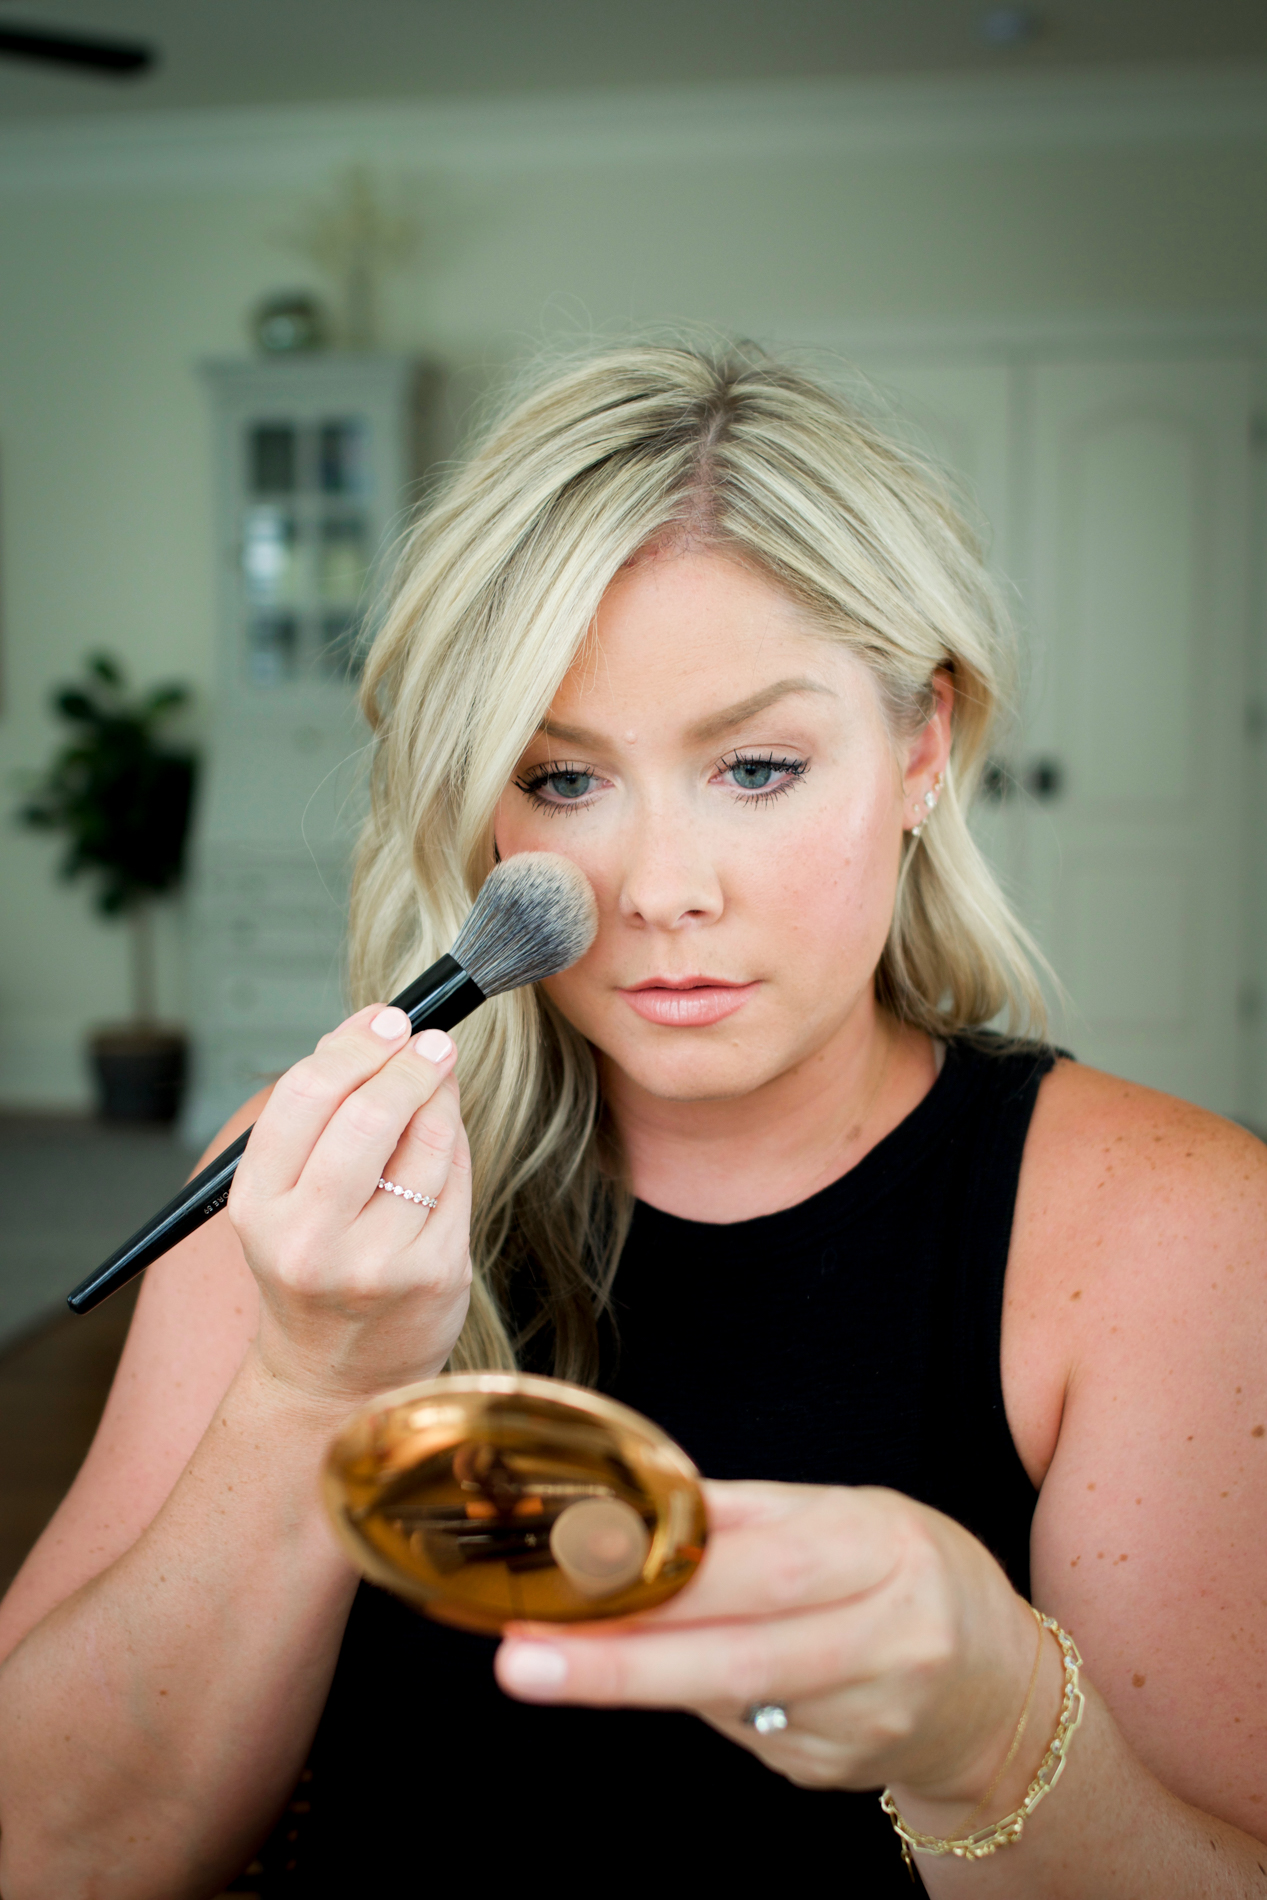
I love makeup. I genuinely look forward to sitting down at my vanity and doing my makeup, from quick basics (brows, concealer, blush) for a Saturday morning, to a full face of makeup using long time loves or brand new products I’m testing out.
It just thrills me. I remember playing with my mom’s makeup as a kid, specifically her bolder lipsticks. I would also raid her nail polish collection and I remember using a deep grape color on my fingernails very regularly.
The combination of my natural interest, as well as being influenced by how my mom approached beauty, led to my knowledge and experience in developing a few different makeup routines that I feel confident in!
I can imagine, with ease, how overwhelming it could feel to build a makeup kit if you don’t know how to start. Maybe you don’t really love trying new products? Or perhaps you didn’t have anyone in your life to teach you some makeup basics? While I’ve shared a slew of tutorials, demos, product testing, and beauty favorites videos on the internet for 10 years, I wanted to spend a bit of time today discussing some essential products for a makeup kit and how to build out from the basics.
Sephora, one of my very very favorite places to shop for all things beauty is running an event with savings between 8/14-8/23/2020. You have to be a Beauty Insider (it’s totally free to sign up!) and you’ll get access to $15 off of $75 OR $20 off of $100! The code is “WELCOMEBACK” which you can enter online at check out, or use in-store if your nearest Sephora store is open (click here to find a store near you and see it’s open!). The code can be used once online, and multiple times in store!
Makeup should make you feel great, it should highlight your natural beauty, and tap into your creativity as well.
The person I have in mind when writing this post is someone who is interested in makeup, enjoys the process, and is looking to have some solid foundational products off which to build a solid kit. Someone with a more minimalist approach to beauty may find this to be too many products, so know that I would approach a minimalist or “clean” kit from a completely different angle!
Essential Makeup Products for a Classic Makeup Kit:
Foundational Products: foundation, concealer, blush, mascara
Essential Additions: brow products, eyeshadow, bronzer, lip color
Extras: setting powder (or spray), contour, highlight, eyeliner, lip gloss, mascara primer
Below are a few specific recommendations for each category:
Foundation: I prefer a liquid but there are certainly plenty of options out there! From loose powders to creams, look for a foundation that gives you the coverage and final effect you desire. Generally, I prefer a medium coverage because I can apply two layers if I want more coverage, but my daily go-to choice is usually one layer to even out my skin but still allow my freckles to show through.
Concealer: Try to stick fairly close to your skin color for concealer, instead of going too light in an effort to counteract skin darkness. You’d be better off using a corrector instead of choosing a concealer color that is too light. Something with a natural finish is going to look more natural under the eyes instead of something with a matte finish.
Blush: Cream blush is my very favorite at the moment because of how natural and radiant it looks on the skin. Powder can certainly be a beautiful choice, but more often than not I’m reaching for my cream blushes.
Mascara: I like a clean finish, extra length, and a really dark black color.
Brow products: This could be anything from a clear gel to a pencil. I prefer using a pencil to fill in my brows as I have very little to work with on their own.
Eyeshadow: Like blush, I’m loving cream eyeshadow. Anything from a crayon applicator is easy to apply and can be blended in simply with your finger.
Bronzer: Using a bronzer is the quickest way to add warmth and glow to your face.
Lip color: A simple balm with a touch of color or even a fully pigmented lipstick goes a long way in your face looking complete!
Setting Powder: Either powder or a setting spray is essential to “preserving” all your hard makeup work!
Contour & Highlight: This is something that I do every day and goes a really long way in restoring the angles and variation in the planes on my face instead of it looking flattened out by foundation.
Eyeliner: Adds depth and definition to your eyes, can be used to minimize large eyes, or add definition and width to smaller eyes!
Lip Gloss: This is a product I could live without, but it’s a nice option for fuller-looking lips!
Mascara Primer: This is definitely in the extra category, but I have to say it’s slowly becoming essential for me! It helps add thickness and length to your eyelashes, and that goes a long way!
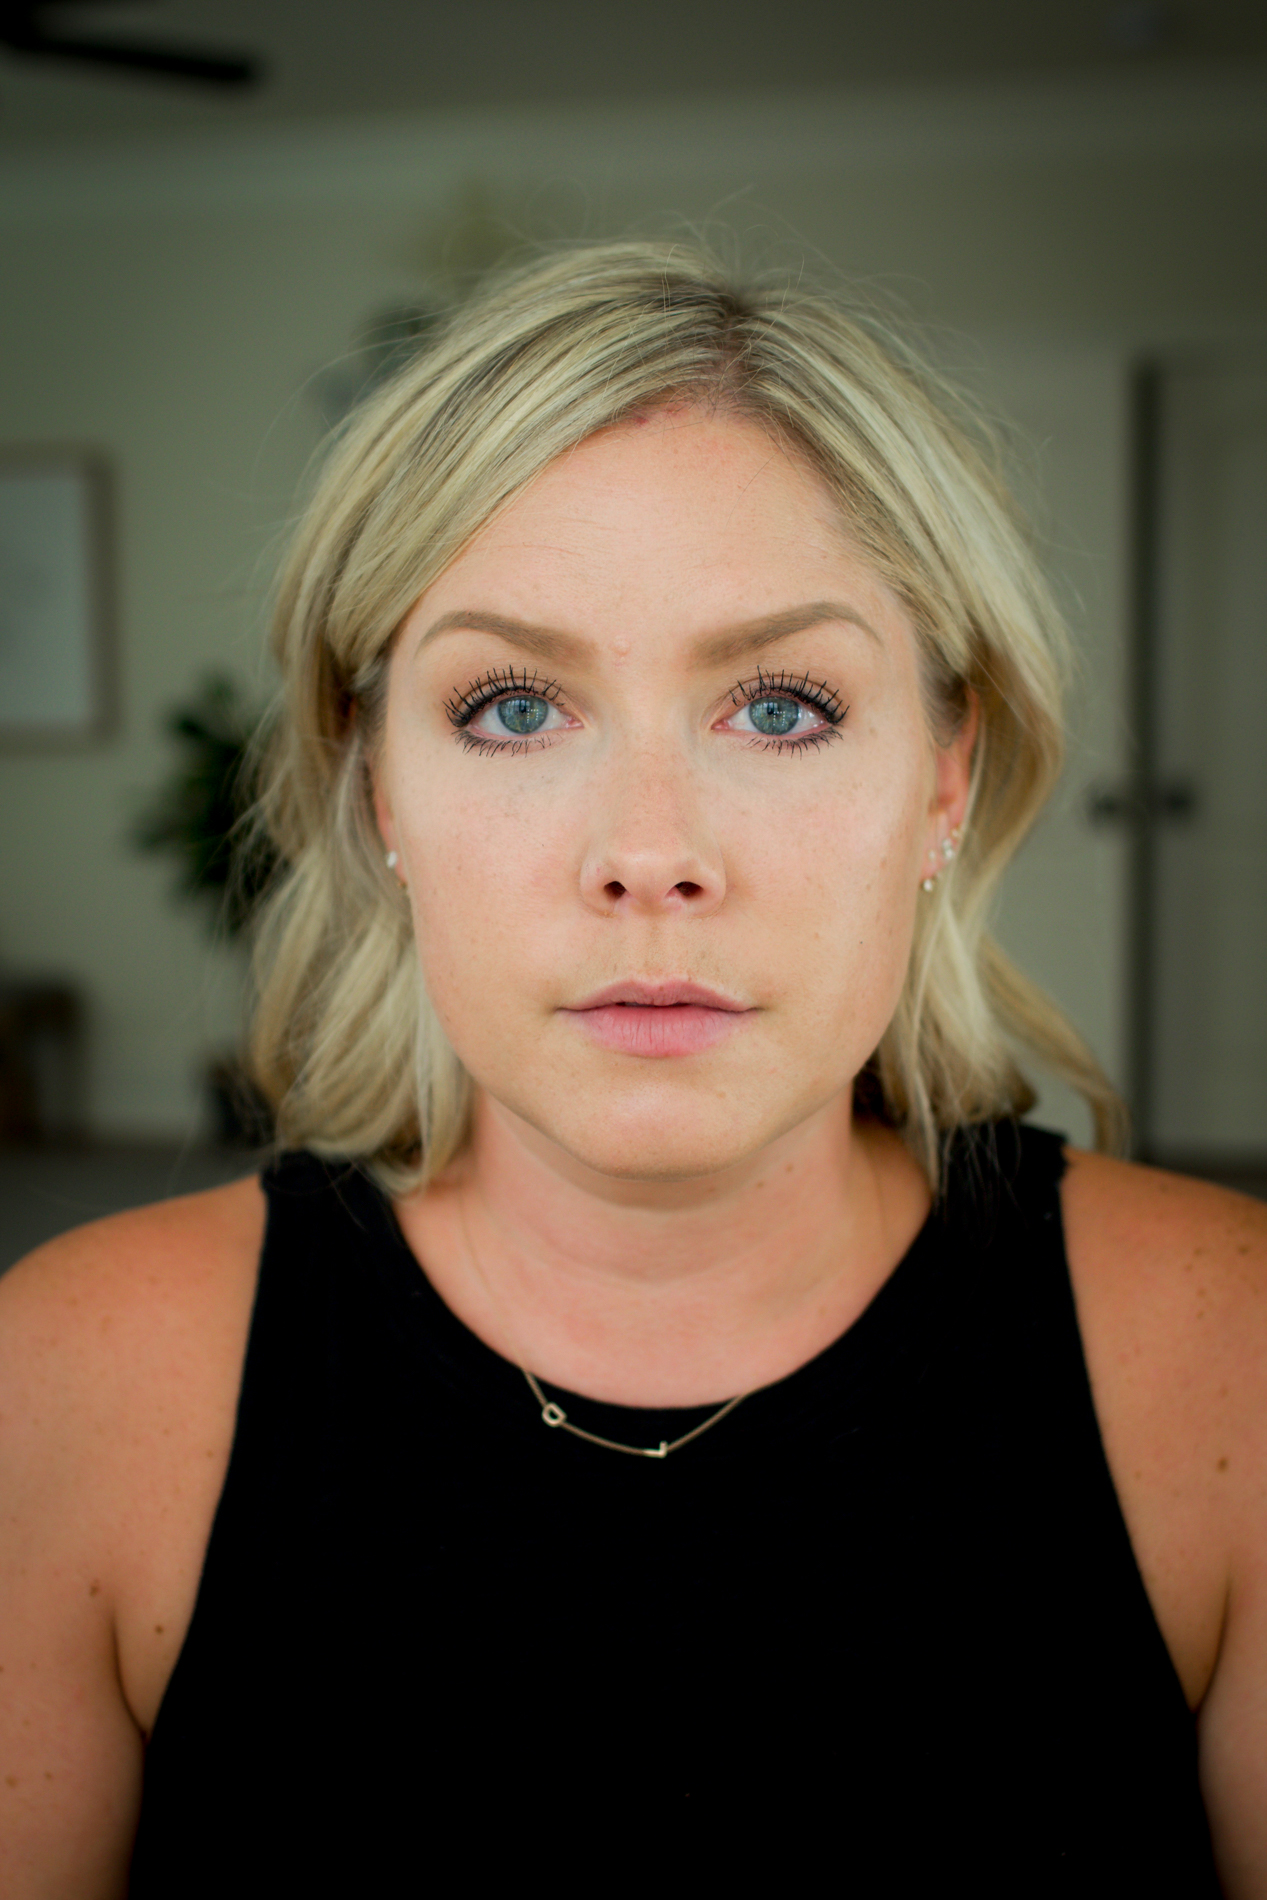
I shot a step-by-step of my go-to makeup routine lately. I thought it may be helpful to see how each of the products transforms my face! You can find links to everything at the very bottom of this post.
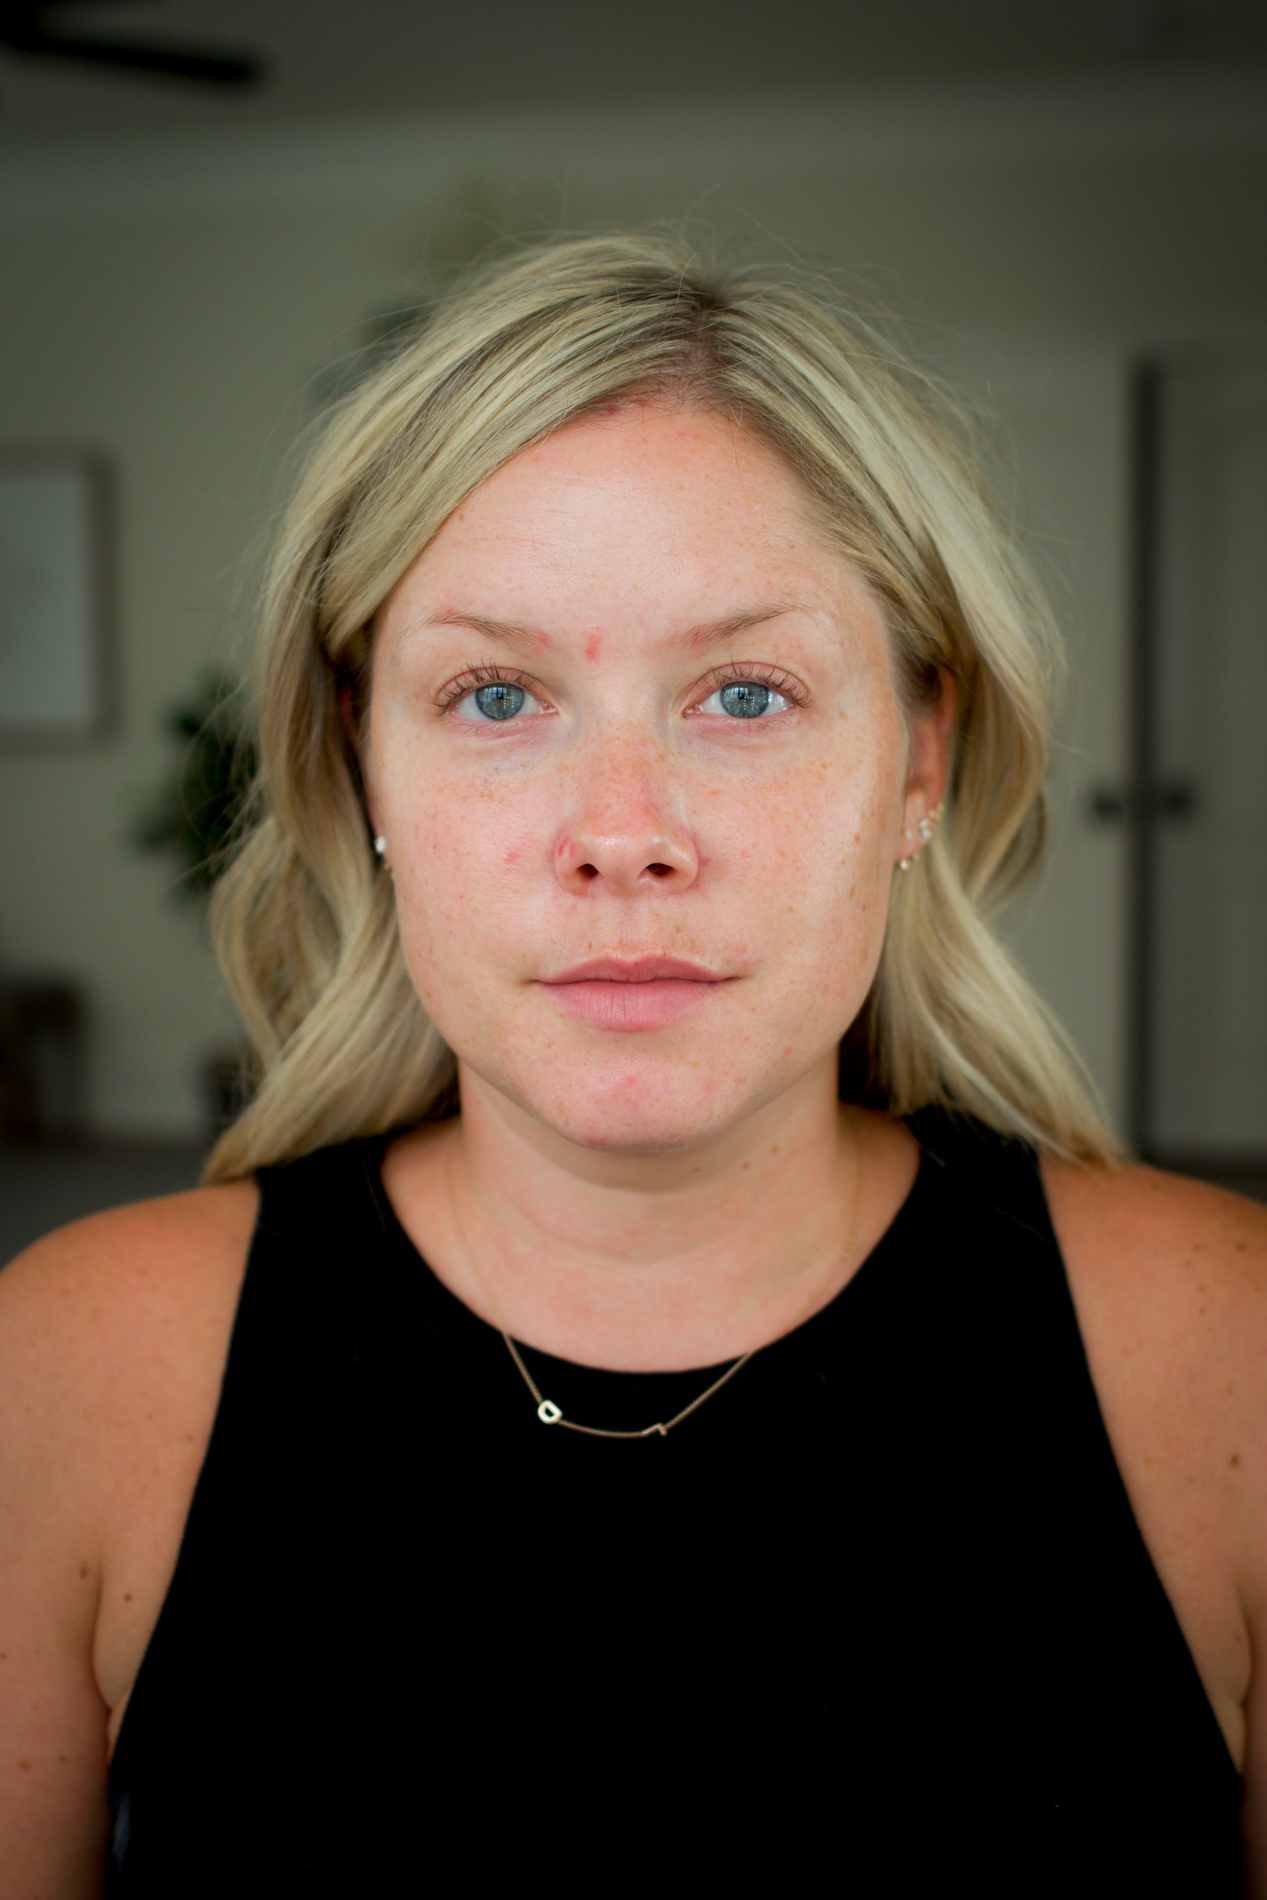
To begin: Here is my face with Ole Henricksen Banana Bright Vitamin C Serum, Biossance Squalane + Marine Algae Eye Cream, and Bobbi Brown Extra Repair Moisture Cream.
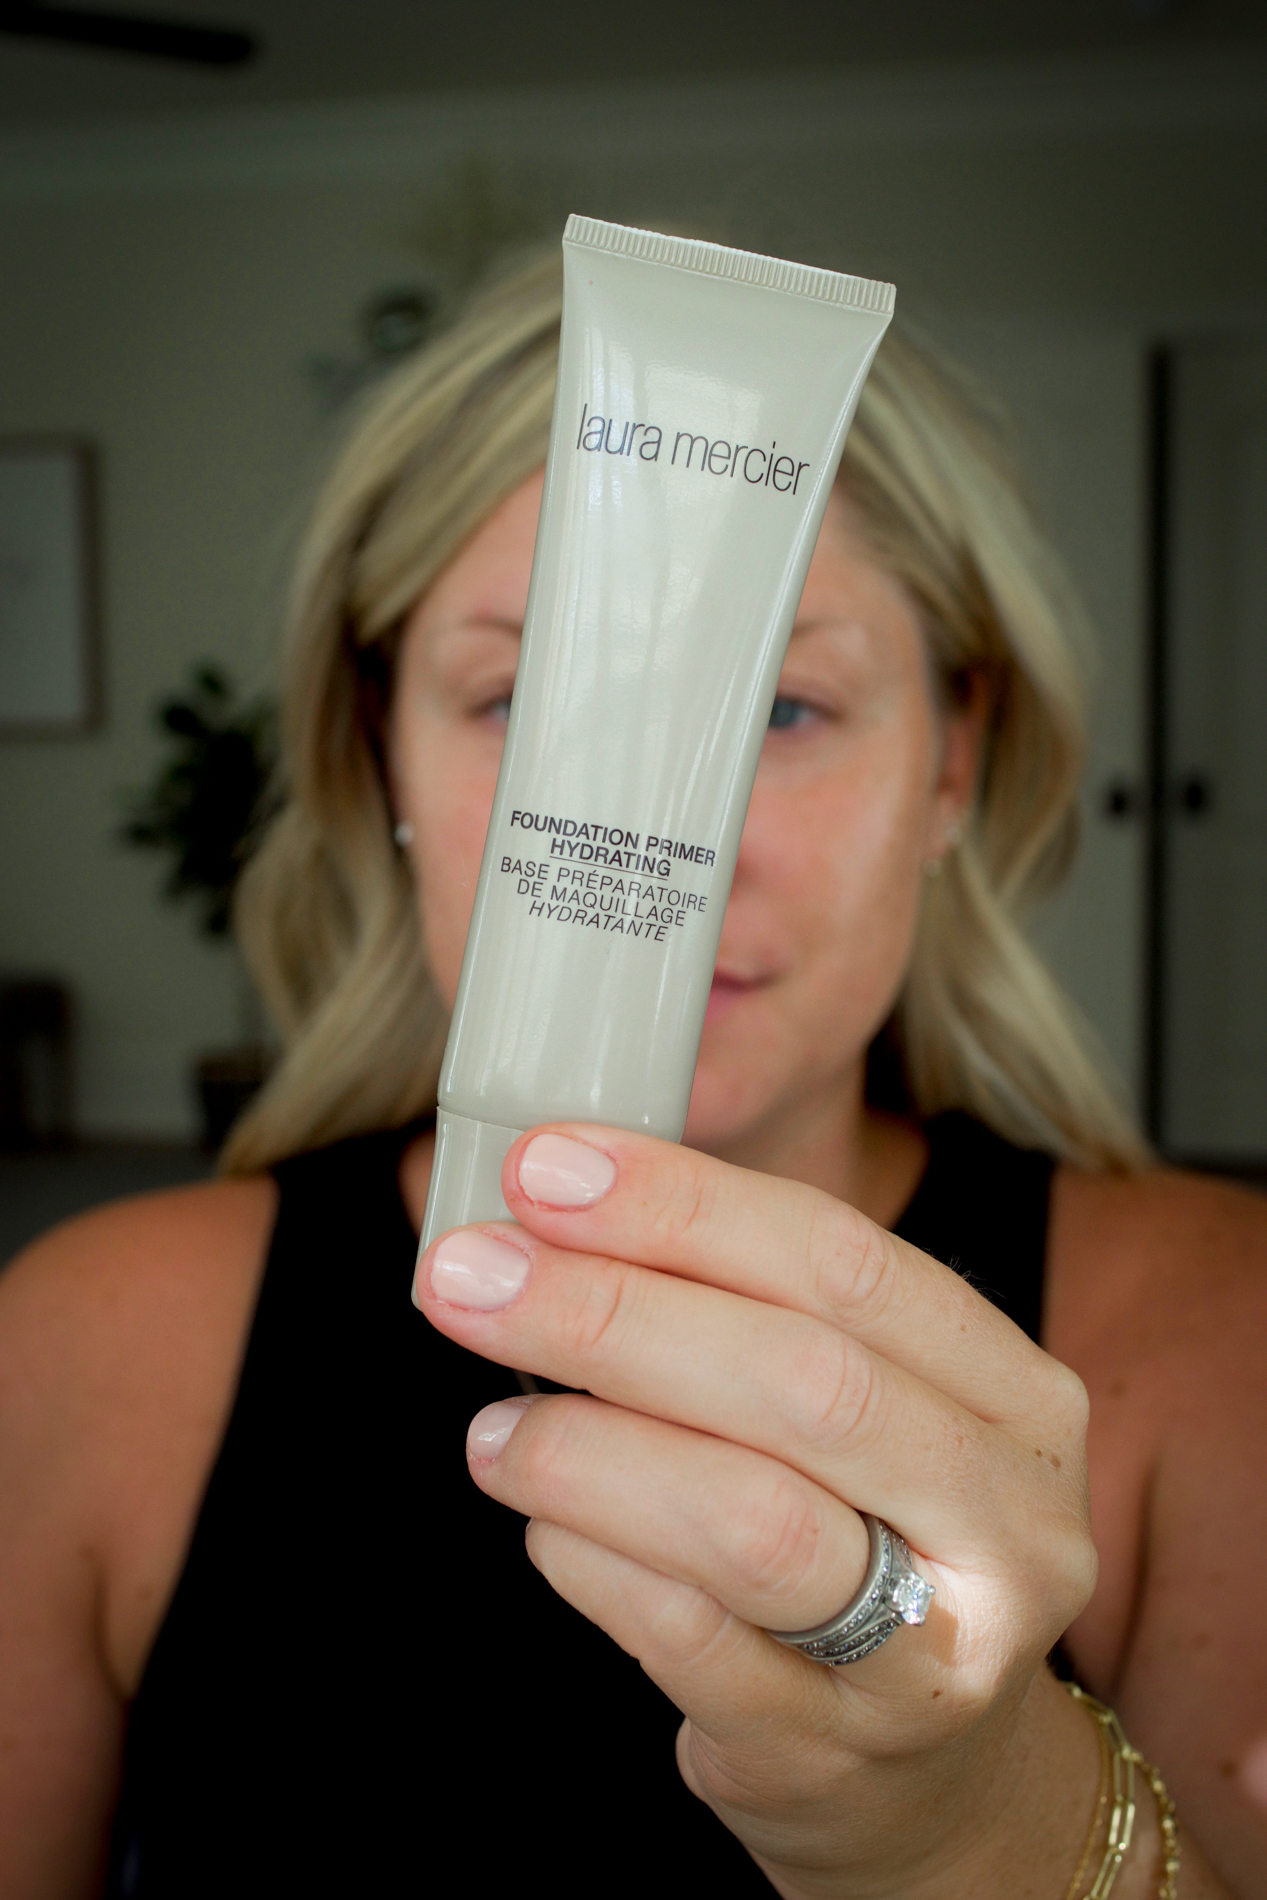
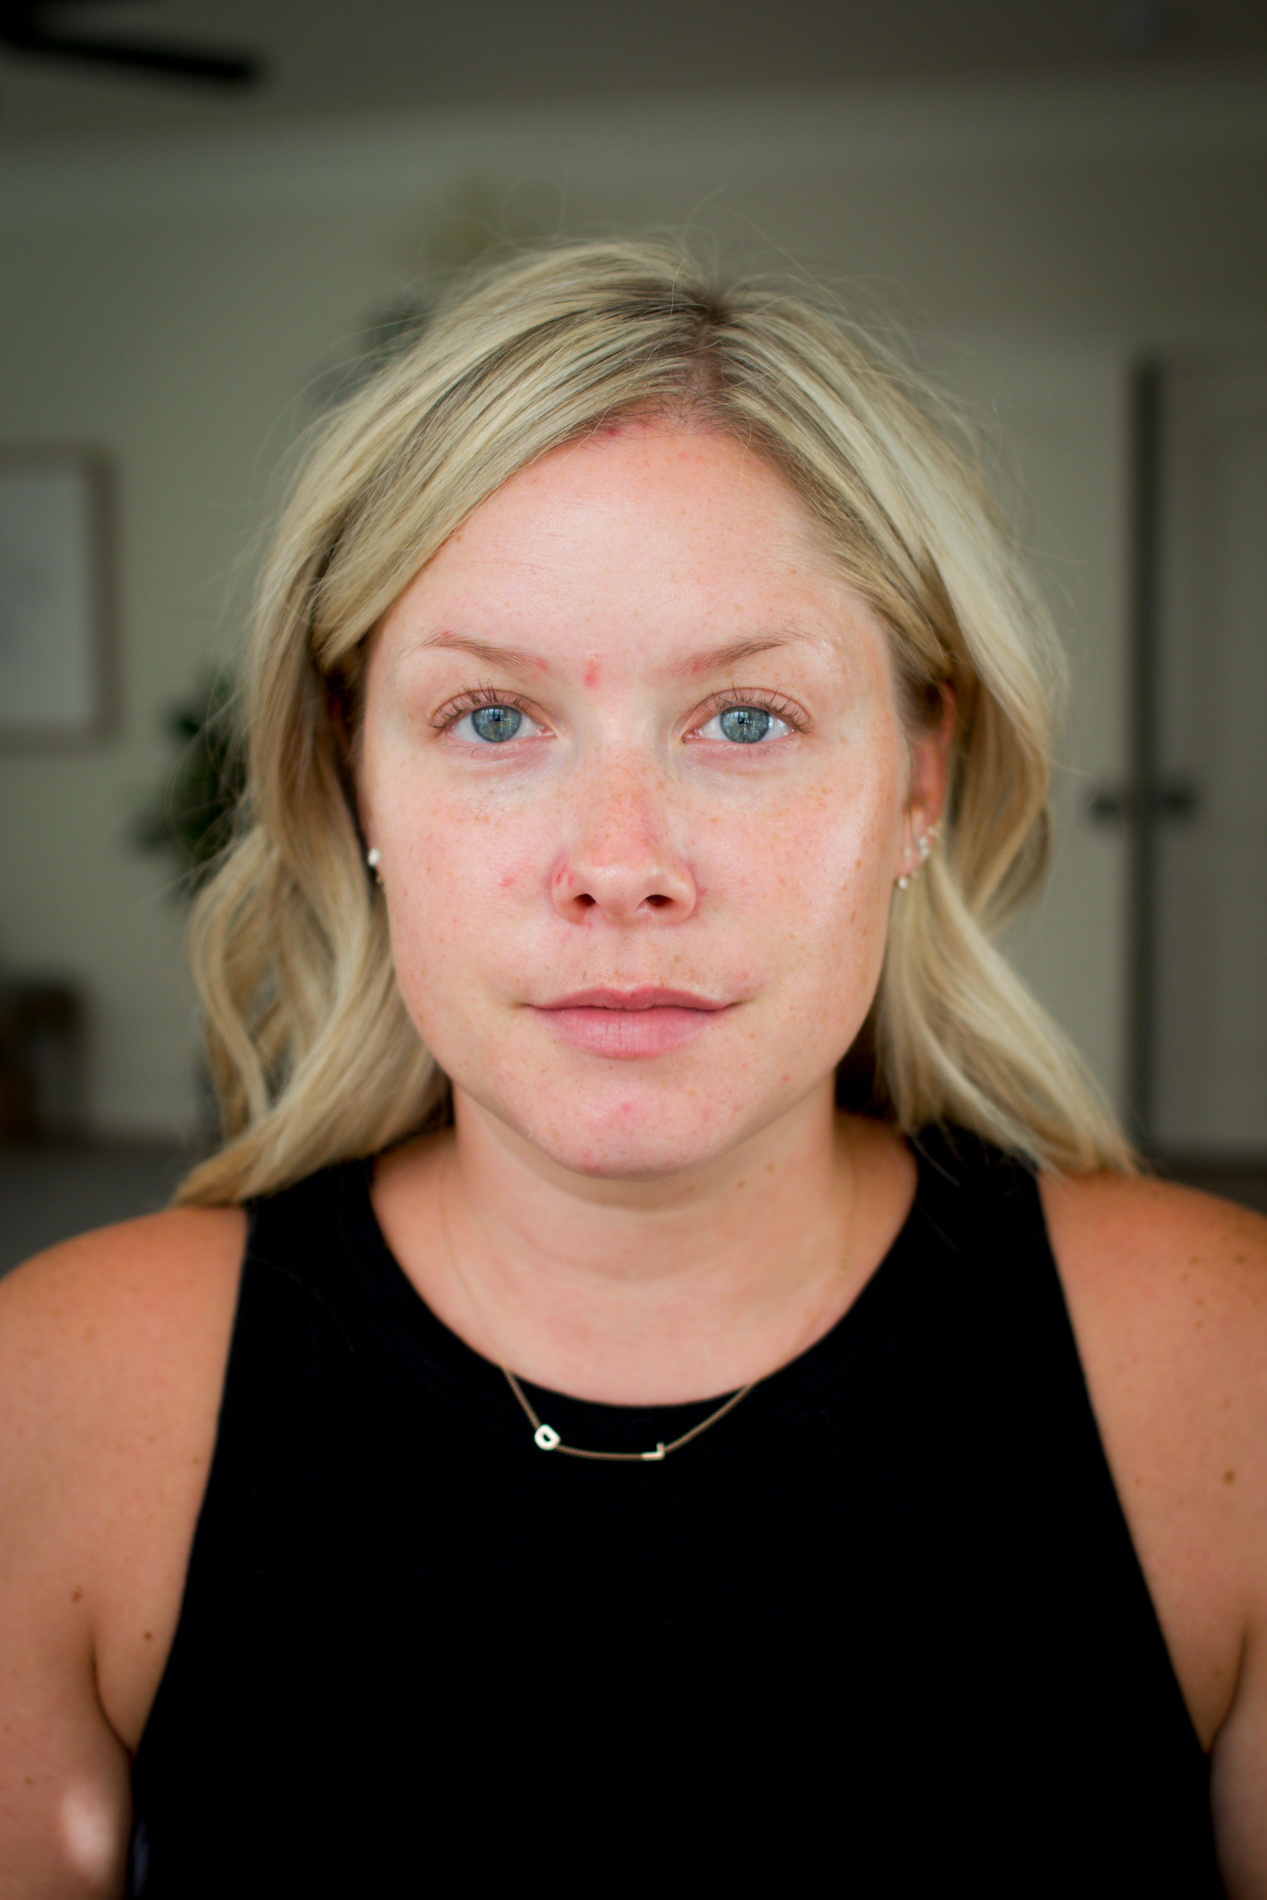
Next up is Laura Mercier Hydrating Foundation Primer.
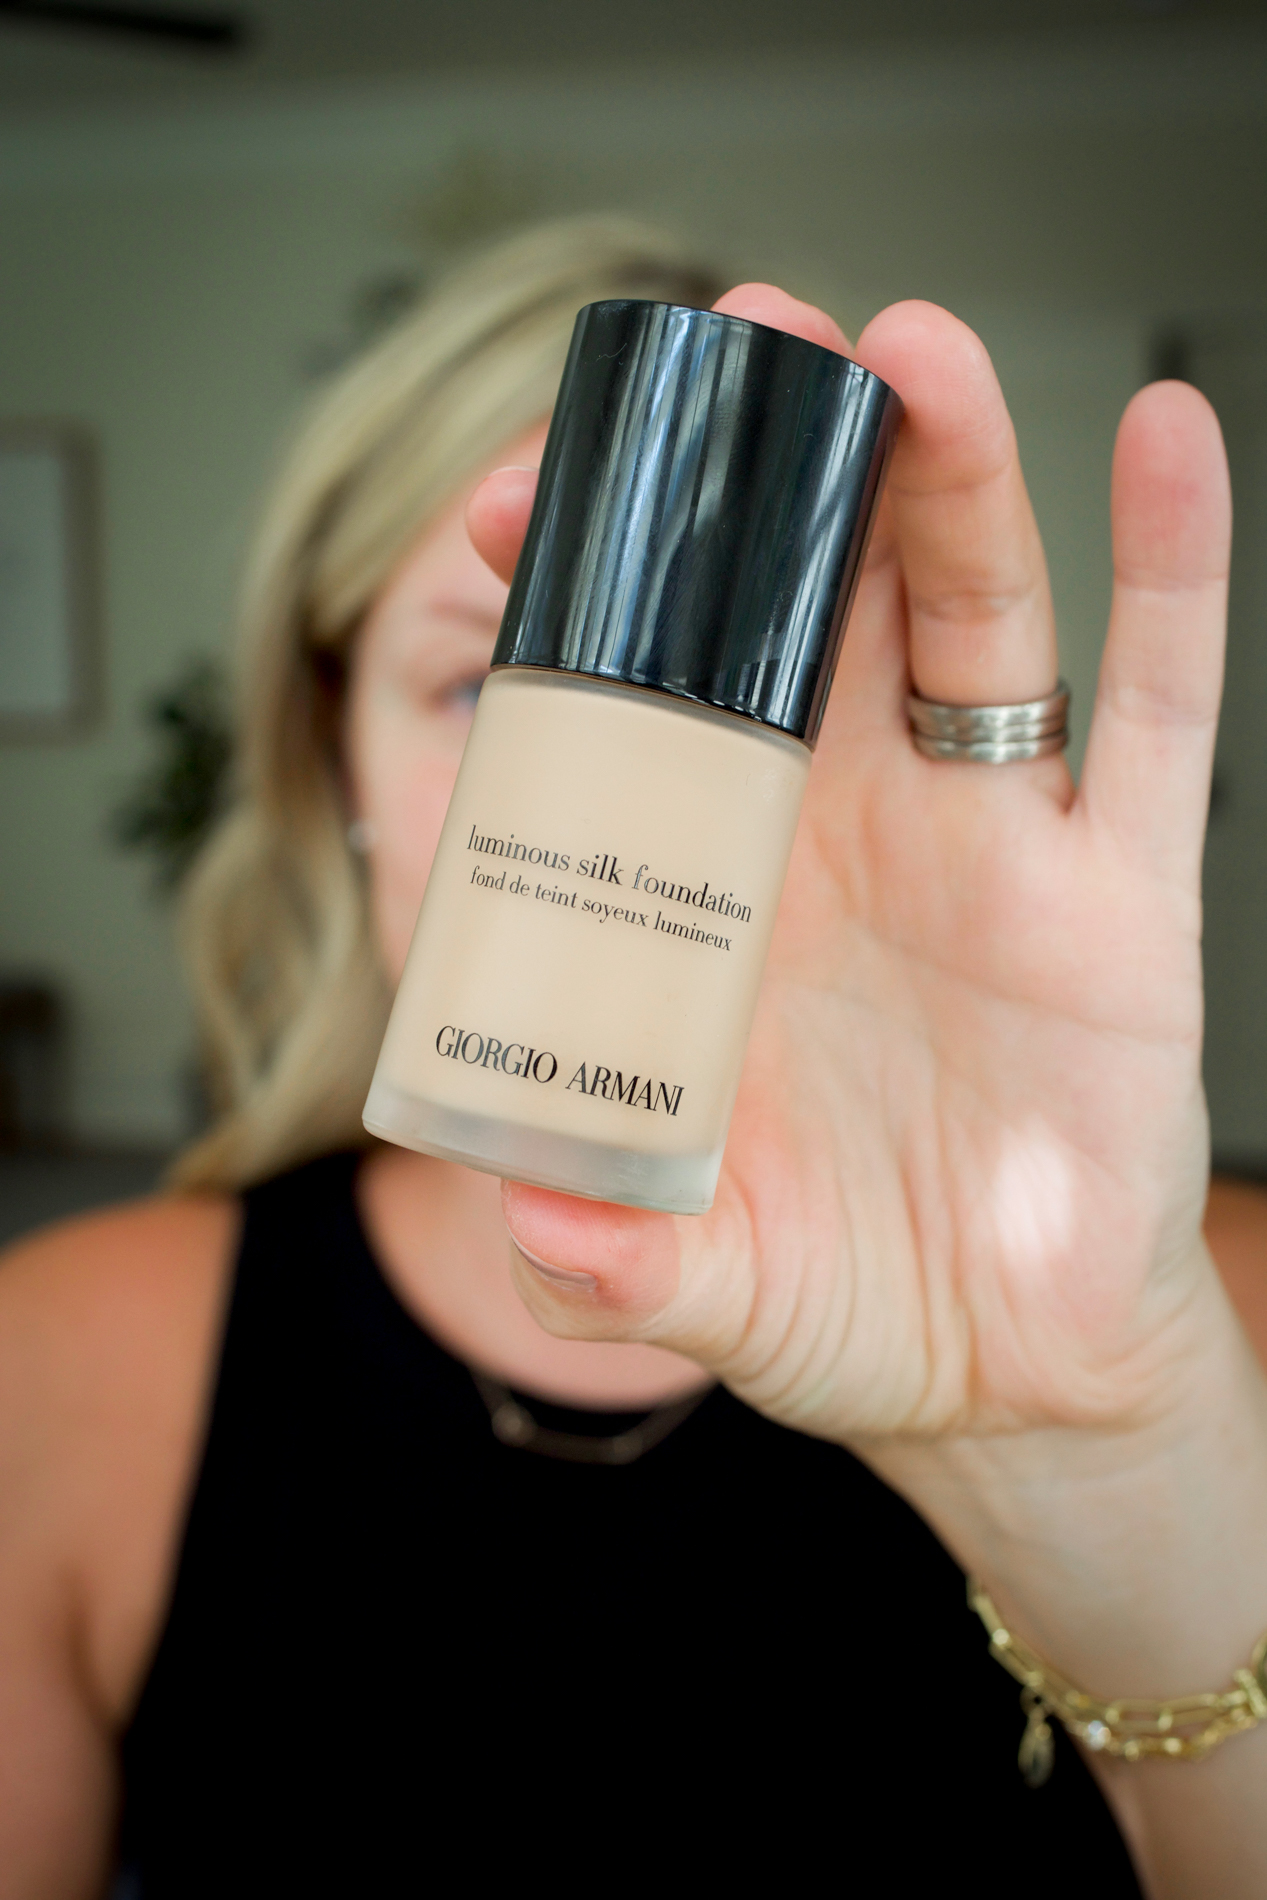
I’ve been loving Giorgio Armani Luminous Silk for a medium, natural-looking foundation. I prefer to apply with a brush.
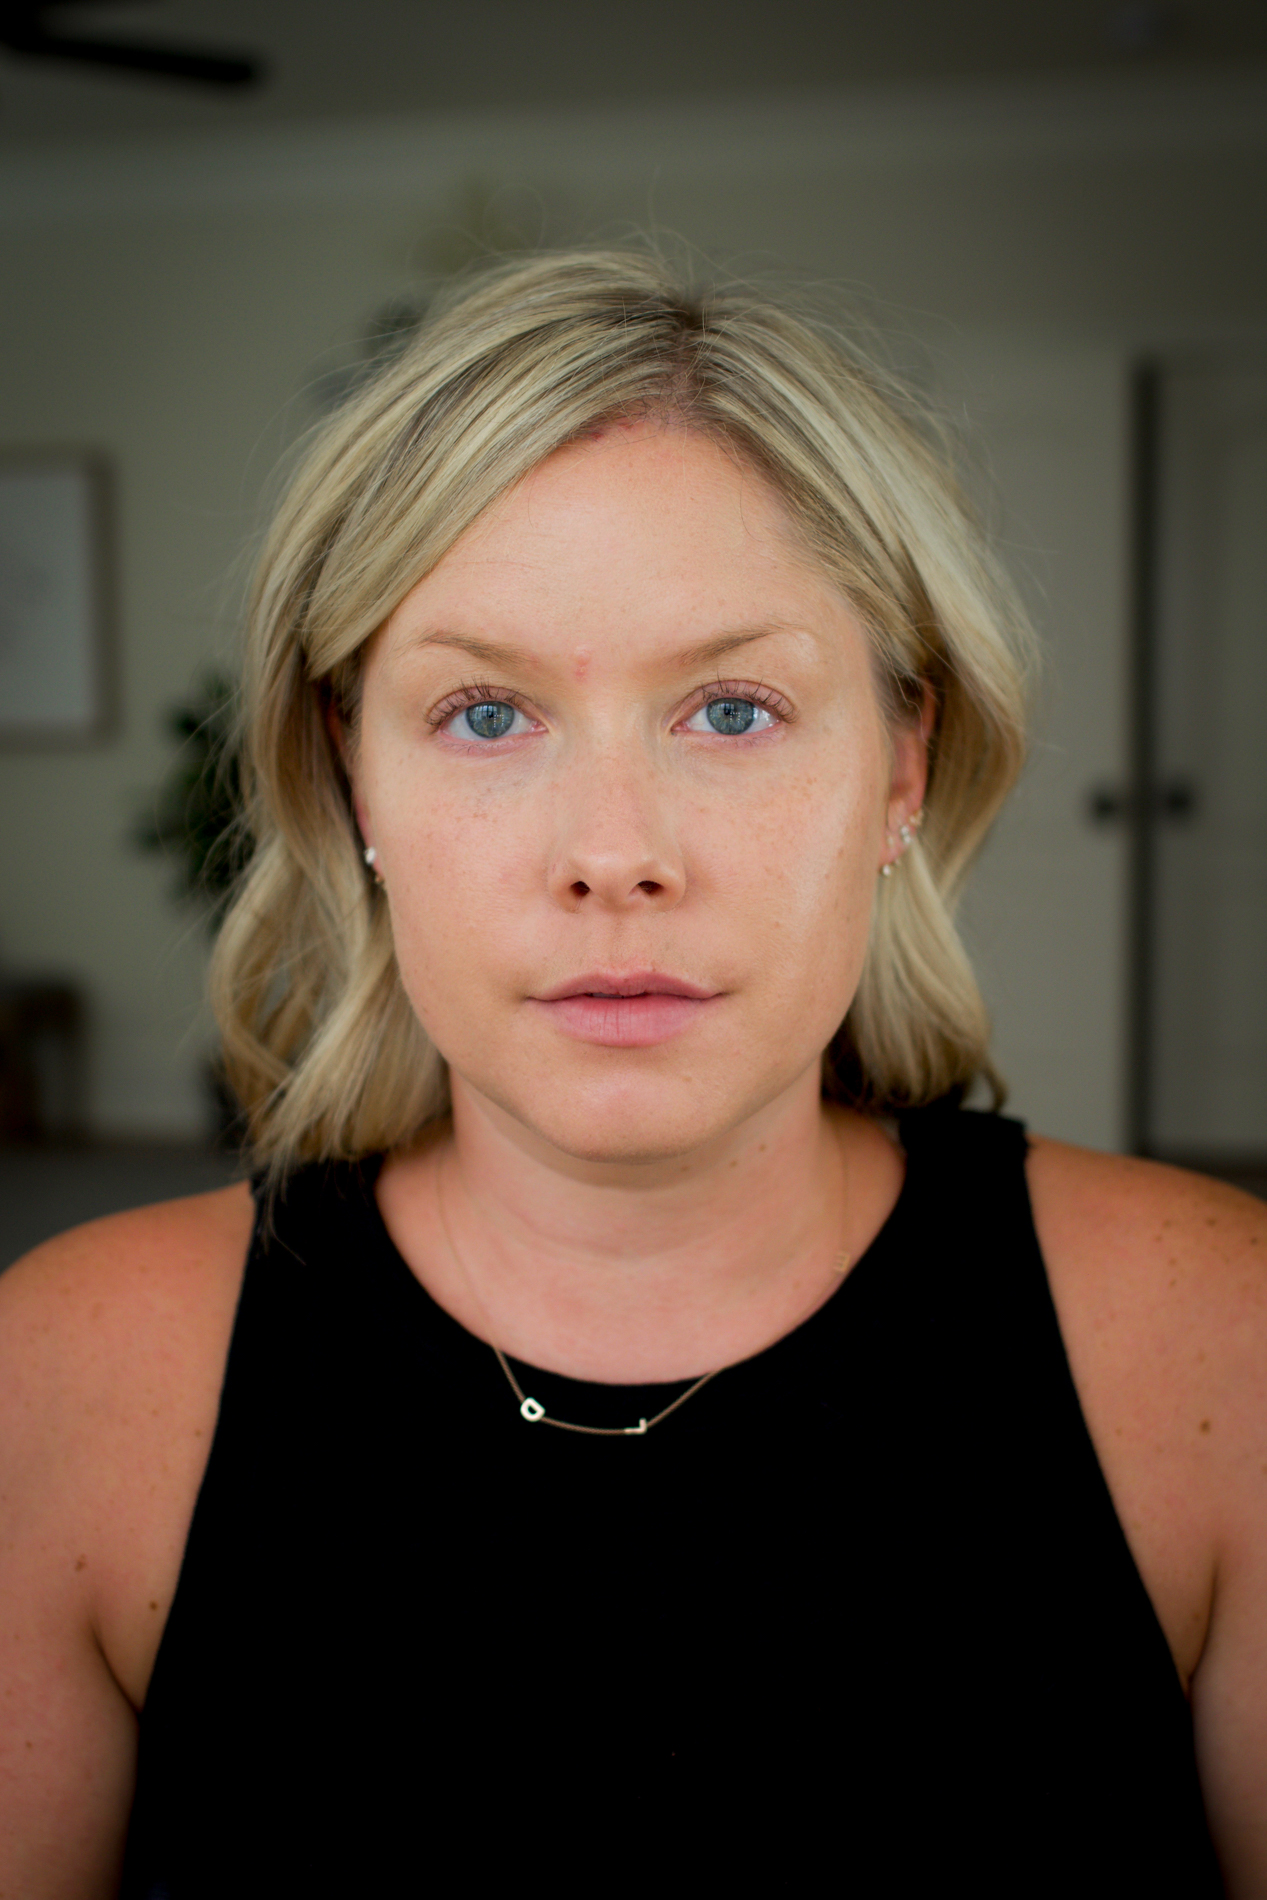
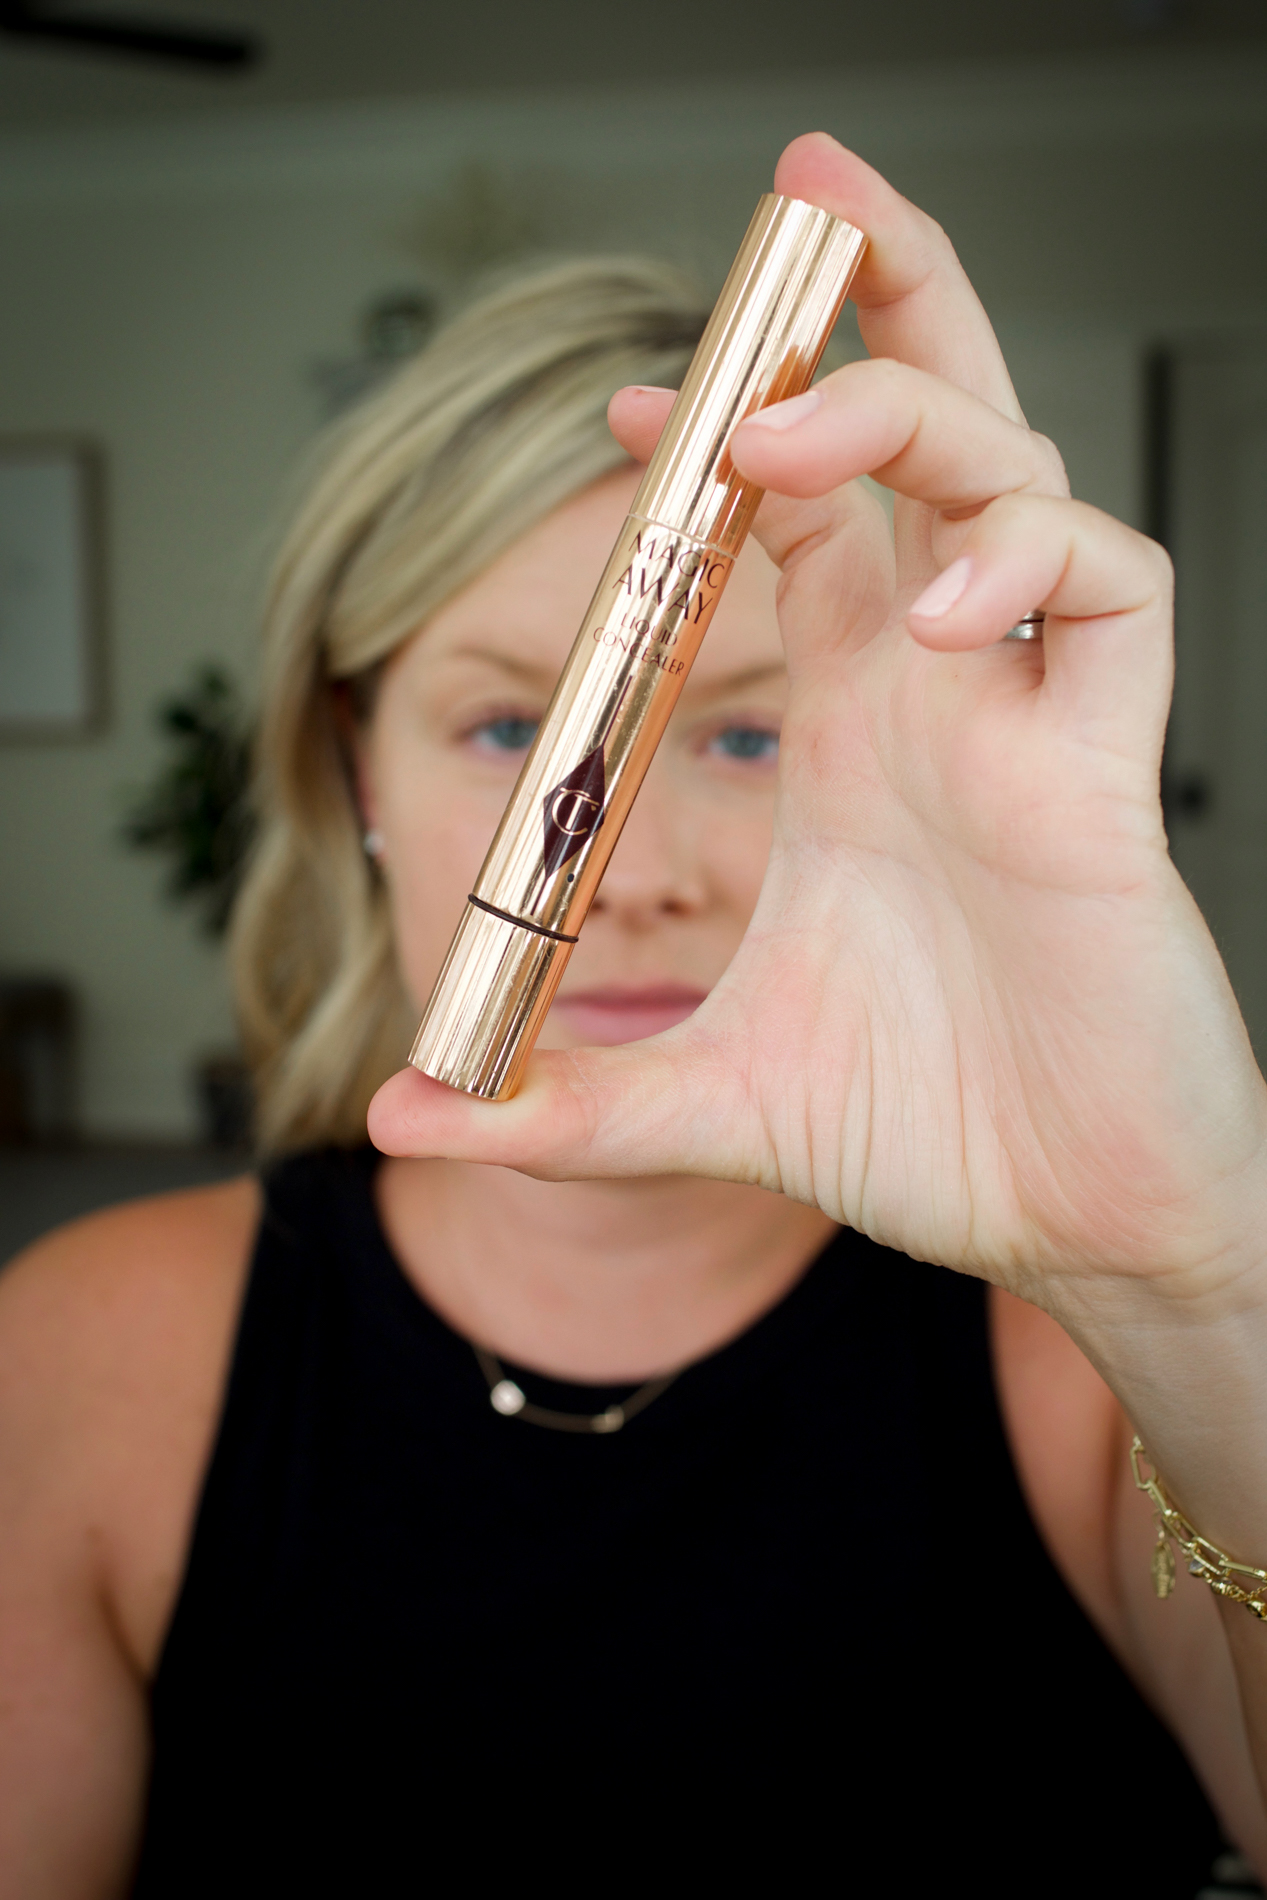
Charlotte Tilbury’s Magic Away Concealer in shade 3 is the best match, but I’m using up the rest of shade 2 in this demo.
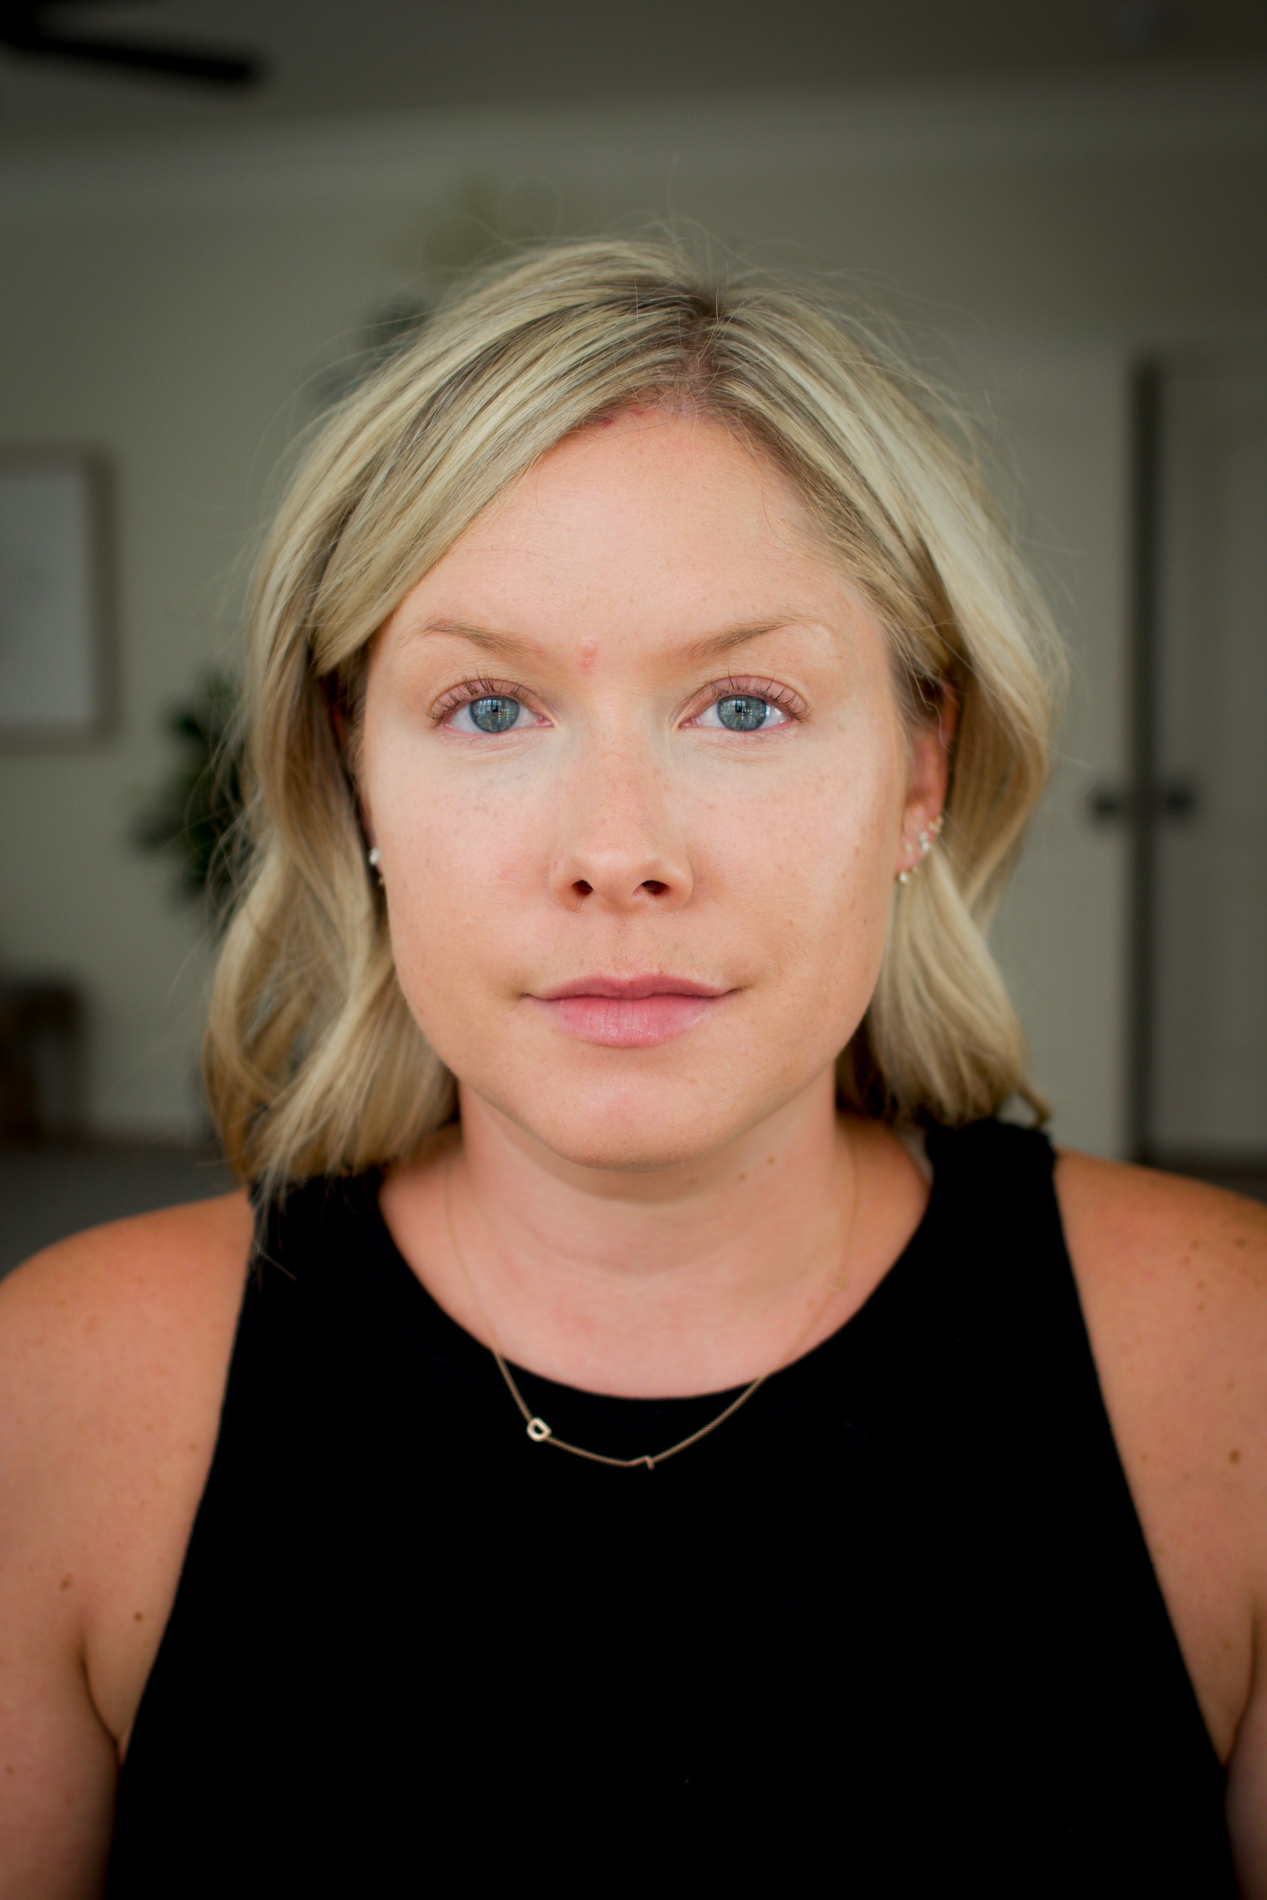
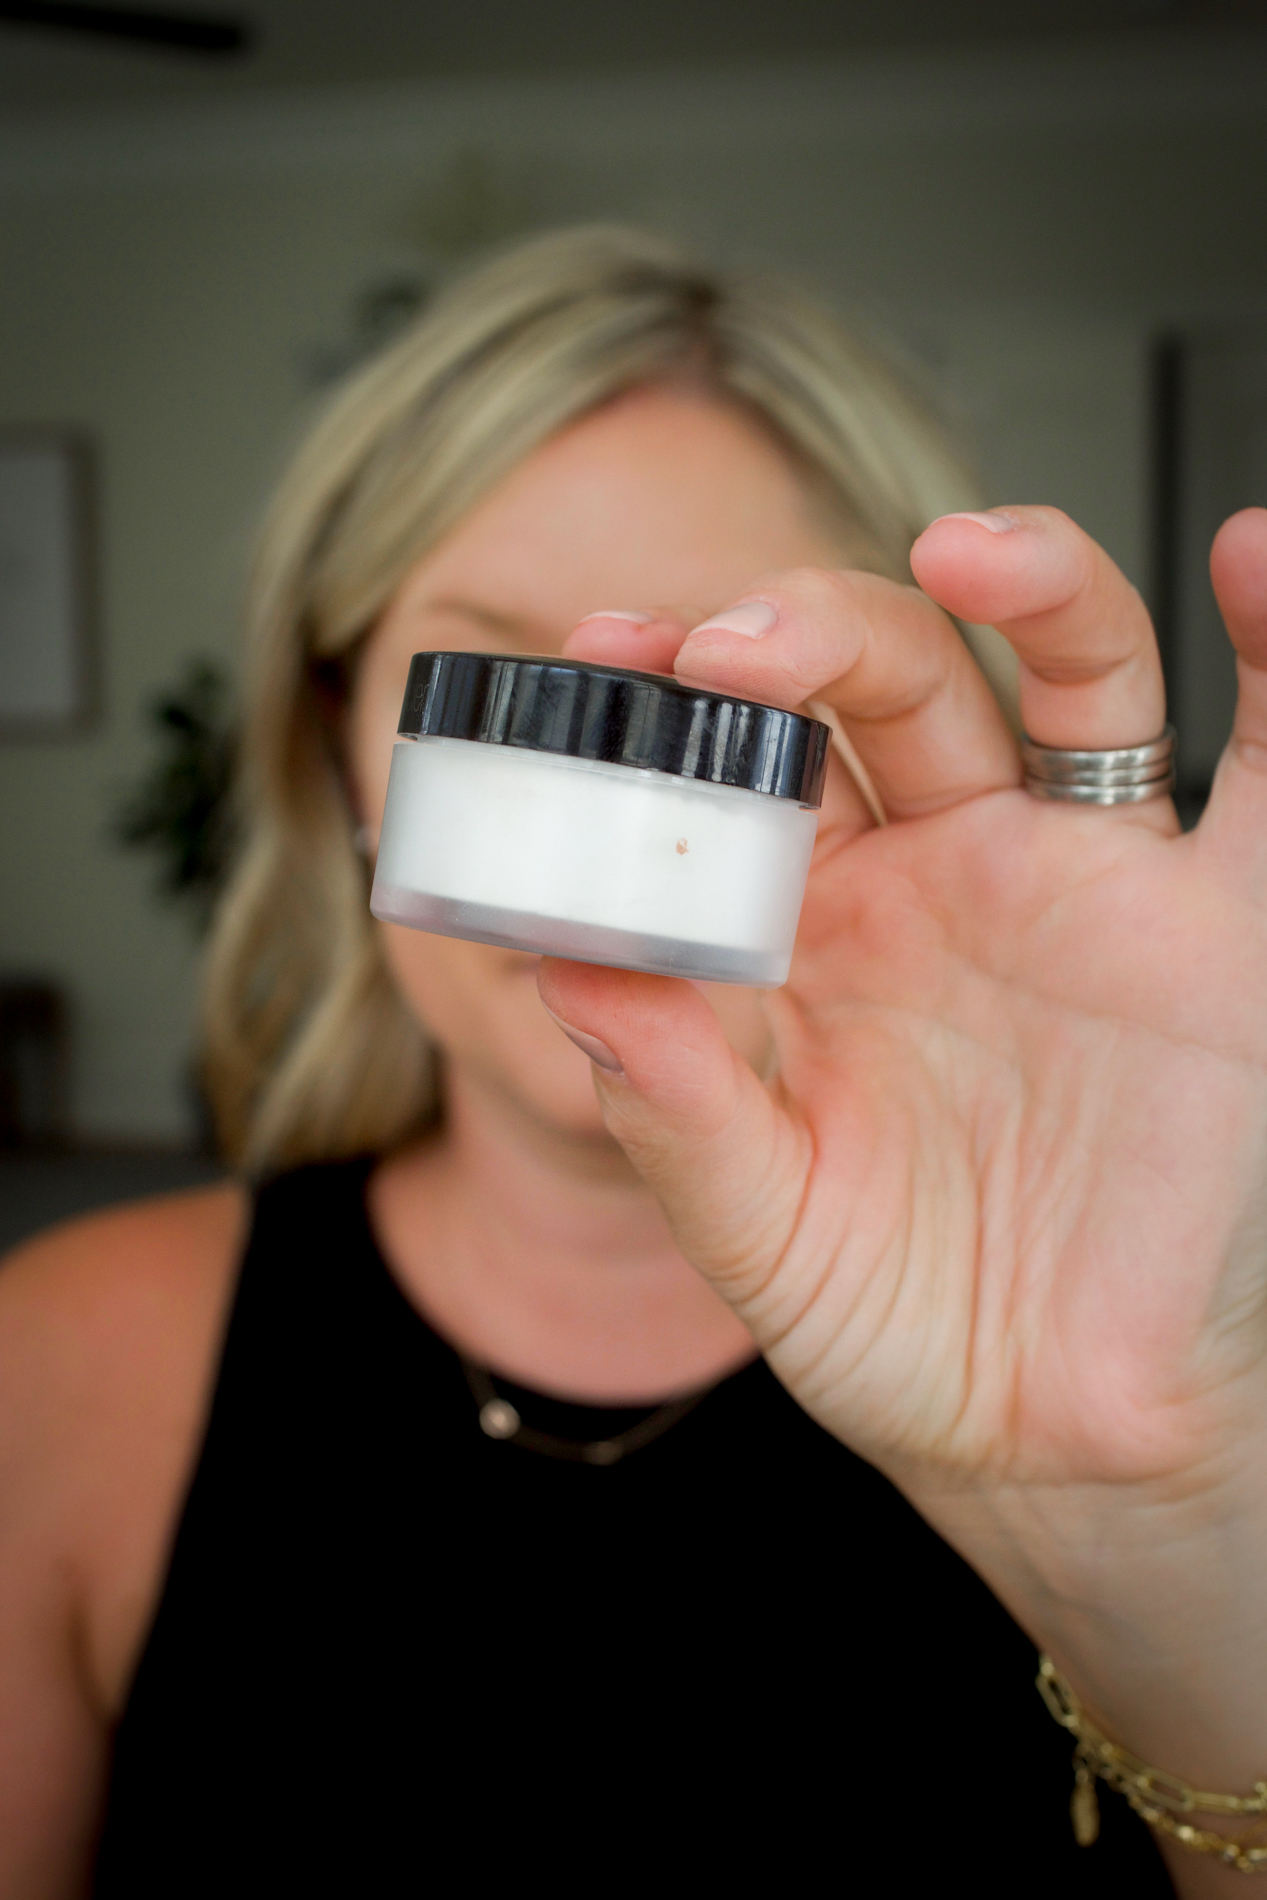
I always set my under eye concealer with Laura Mercier Secret Brightening Powder for Under Eyes. It keeps creases at bay and prevents dark smearing from mascara or eyeliner.
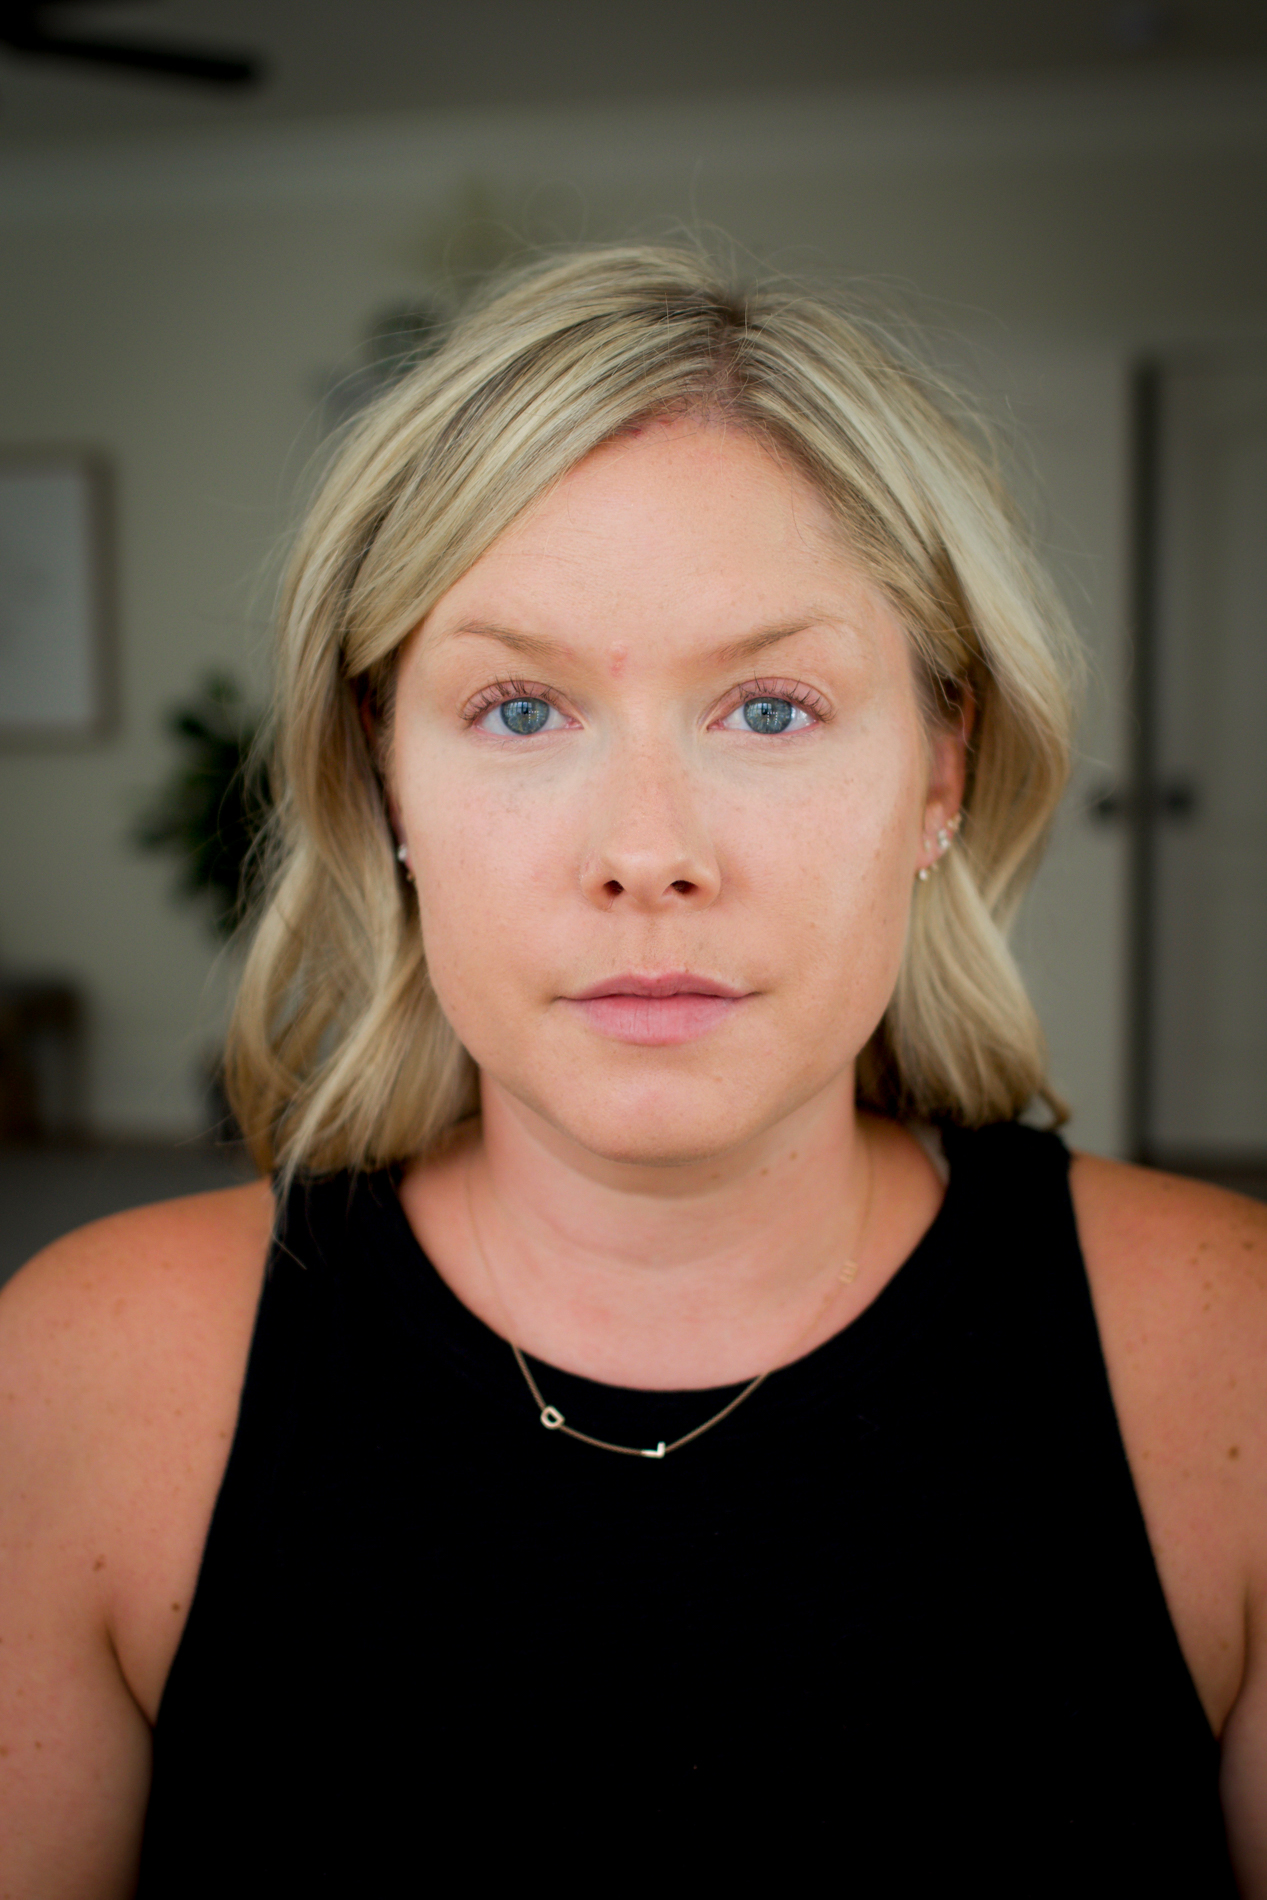
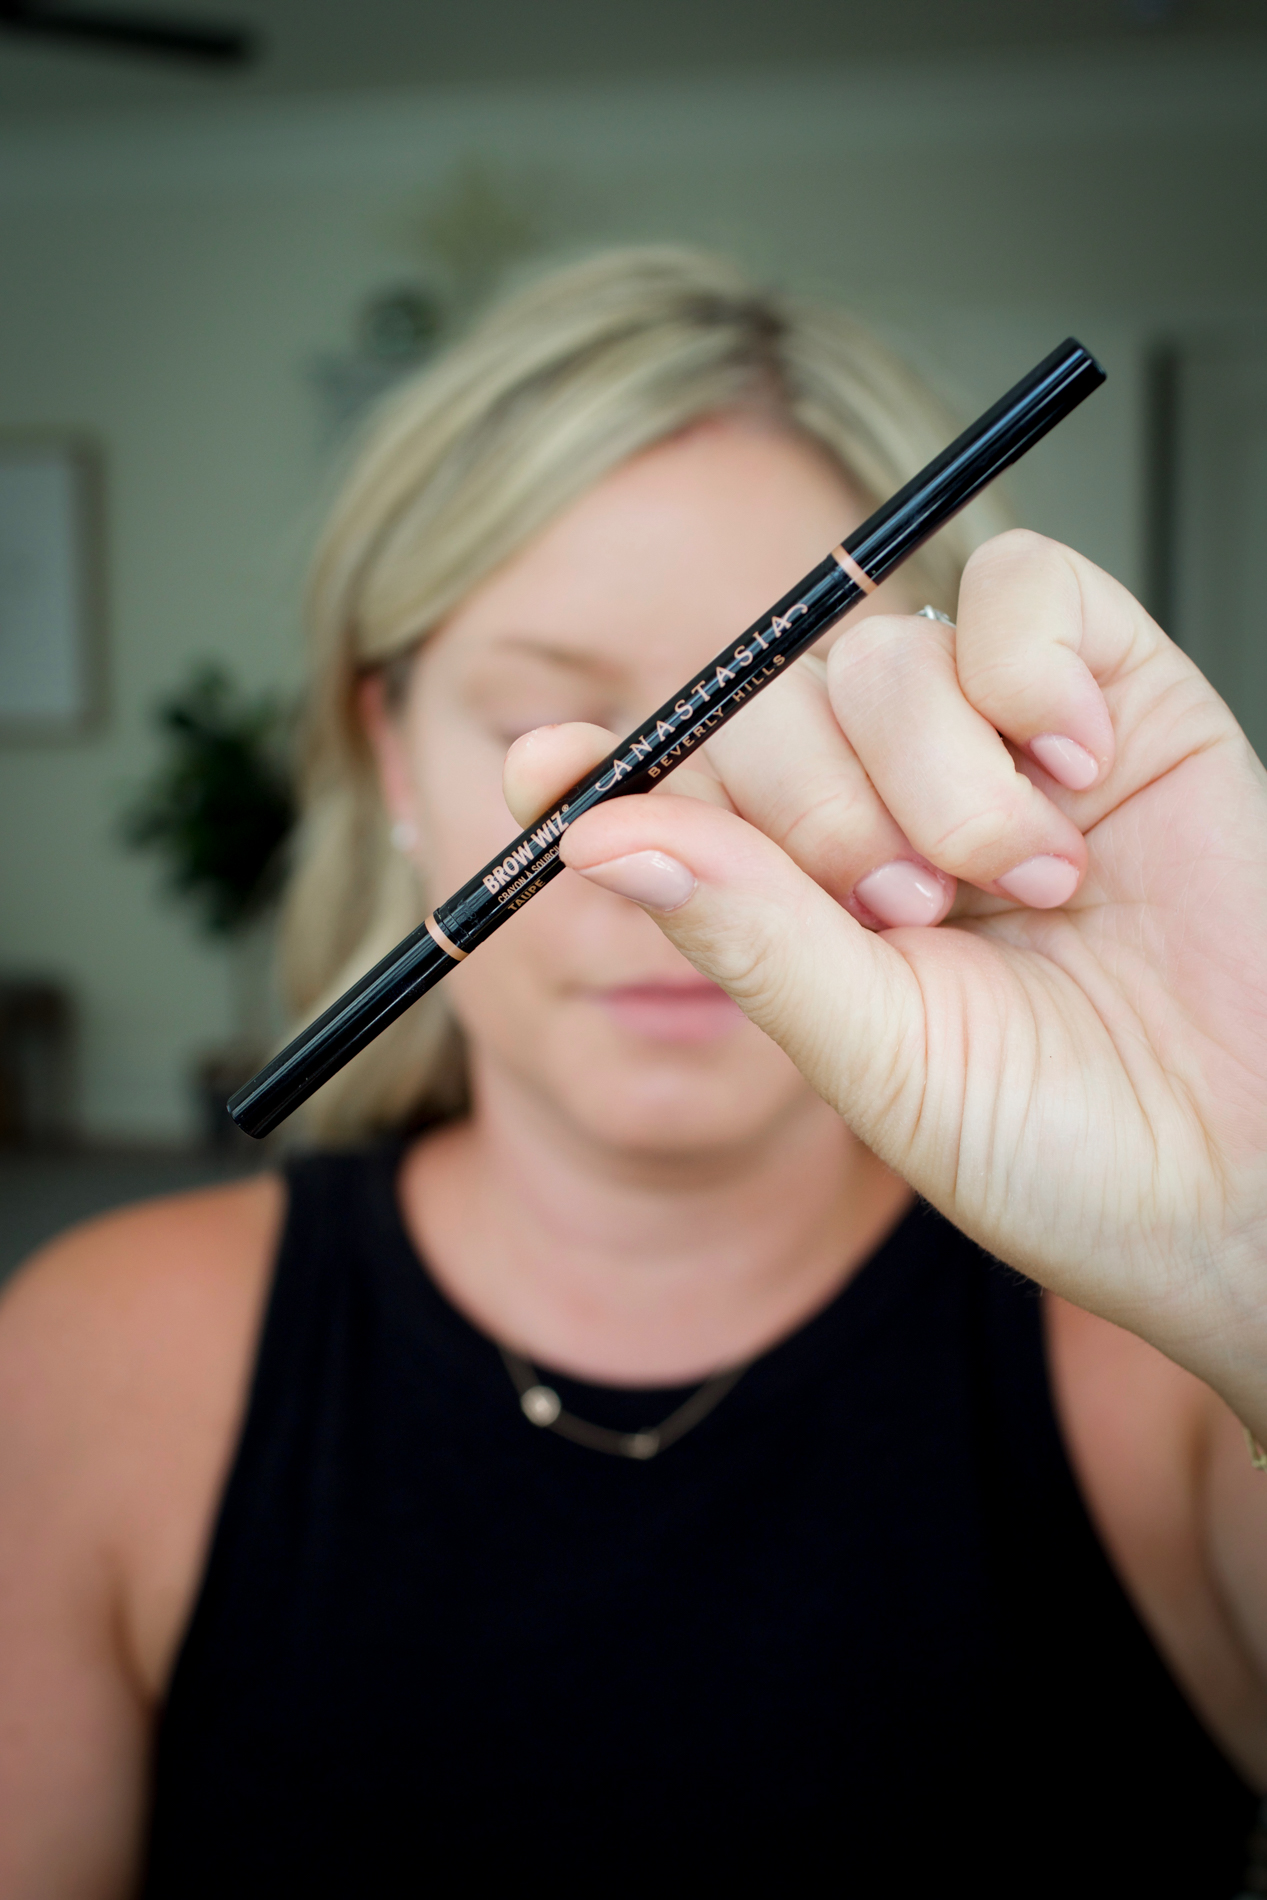
I love the Anastasia Beverly Hills Brow Wiz pencil in Taupe or Blonde.
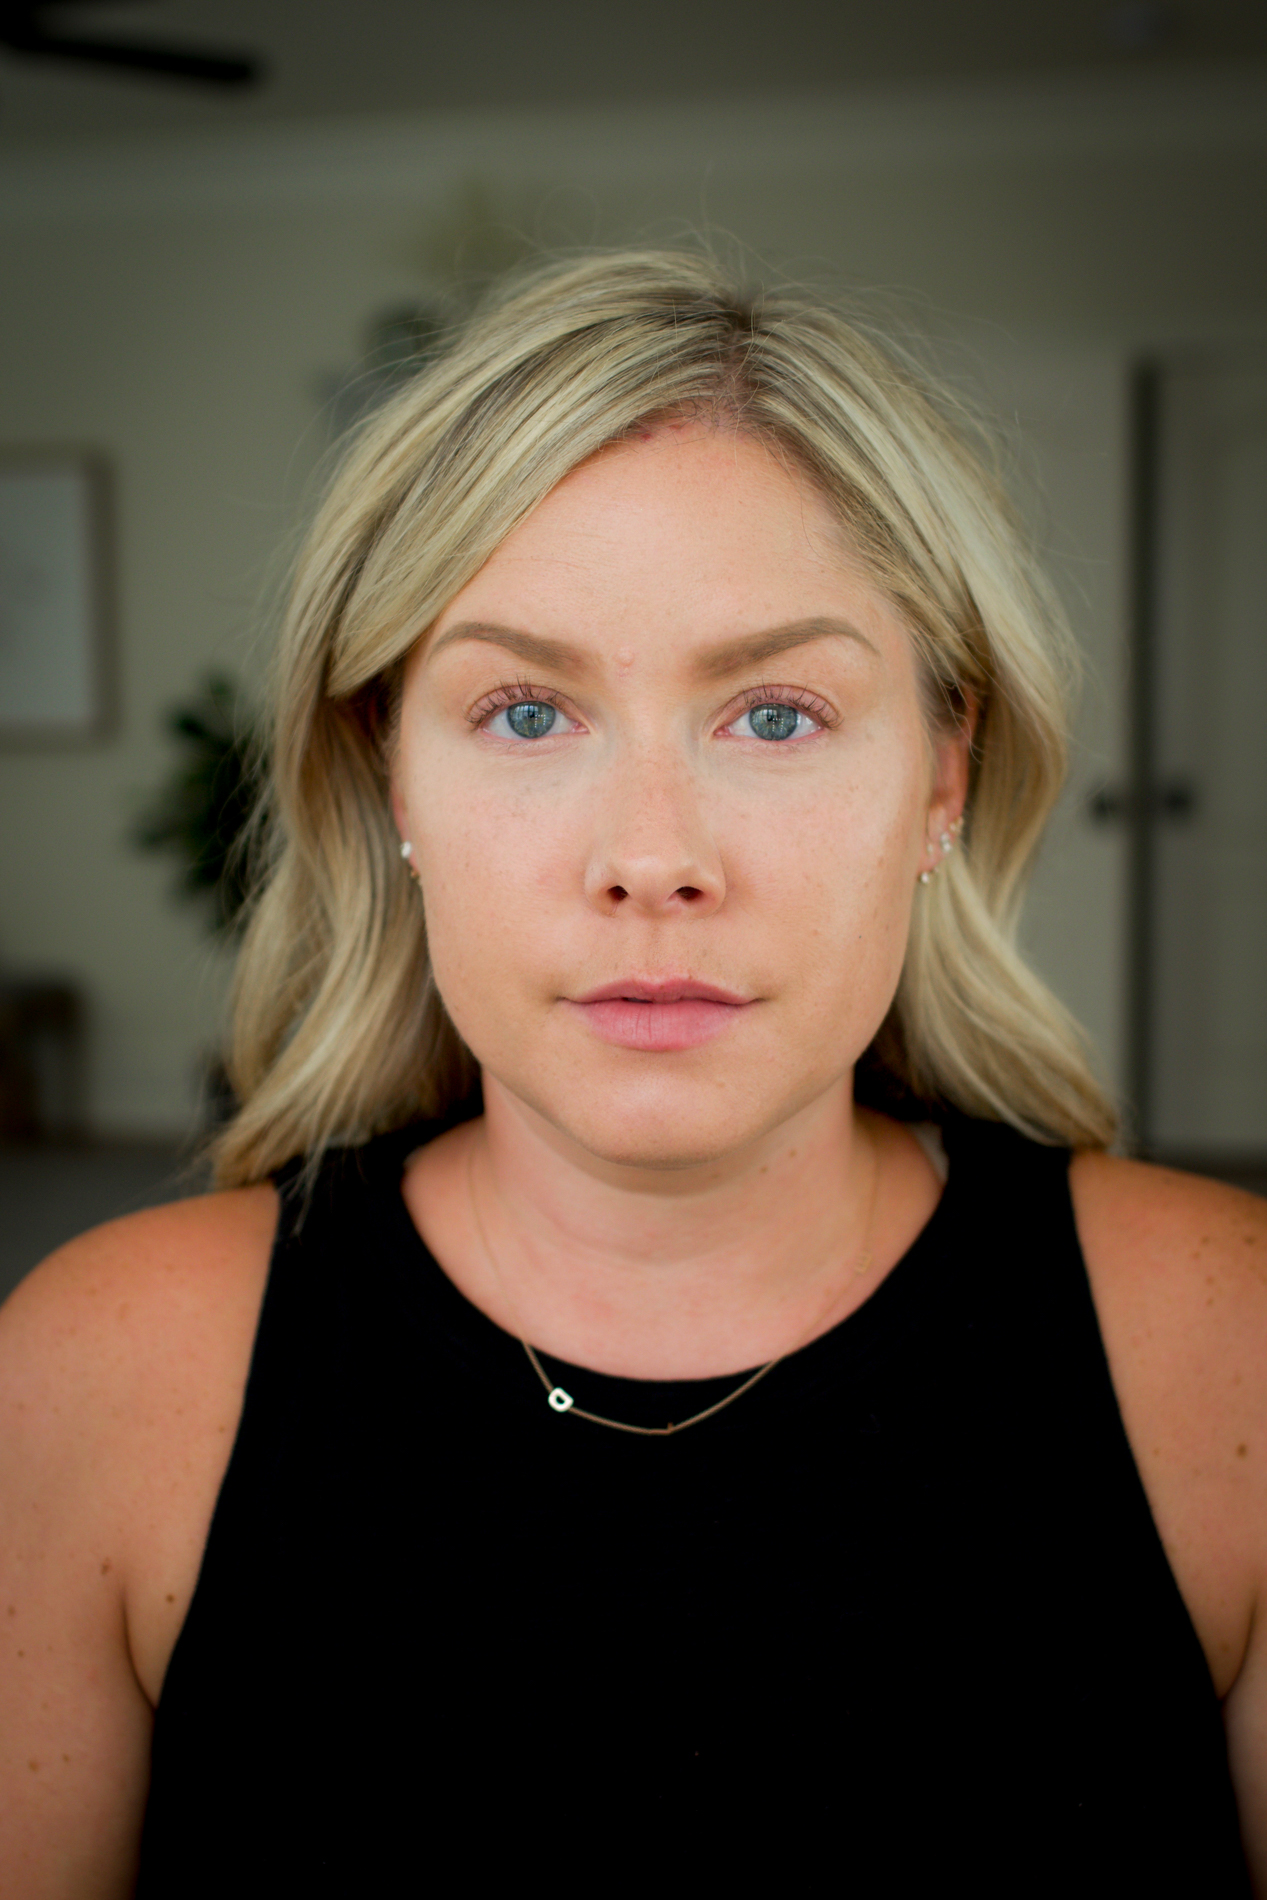
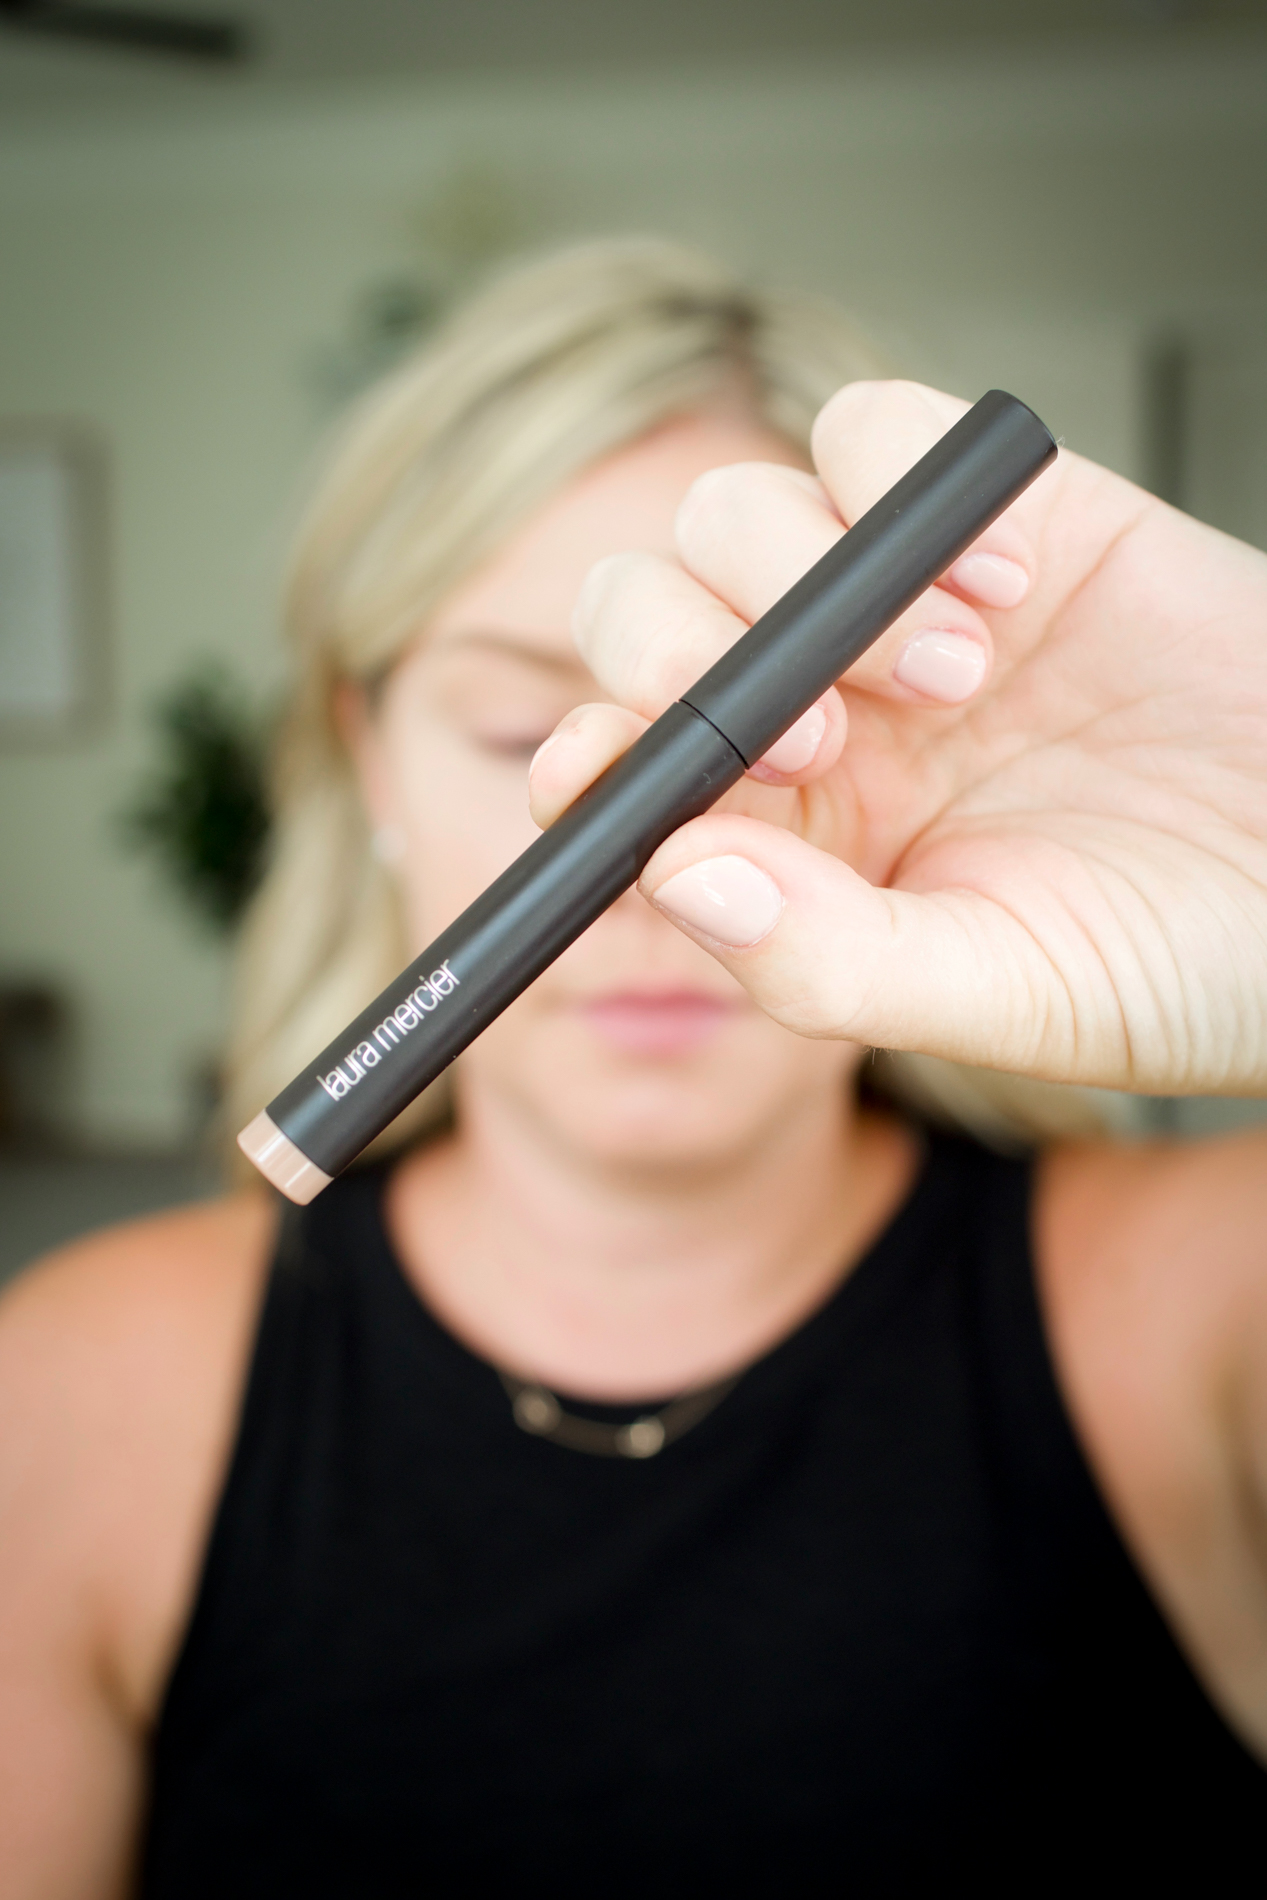
One of my favorite cream eyeshadows is Laura Mercier Caviar Stick Eyeshadow in Au Natural. I used a light hand for this application but it could easily be applied more heavily for a deeper color pay off.
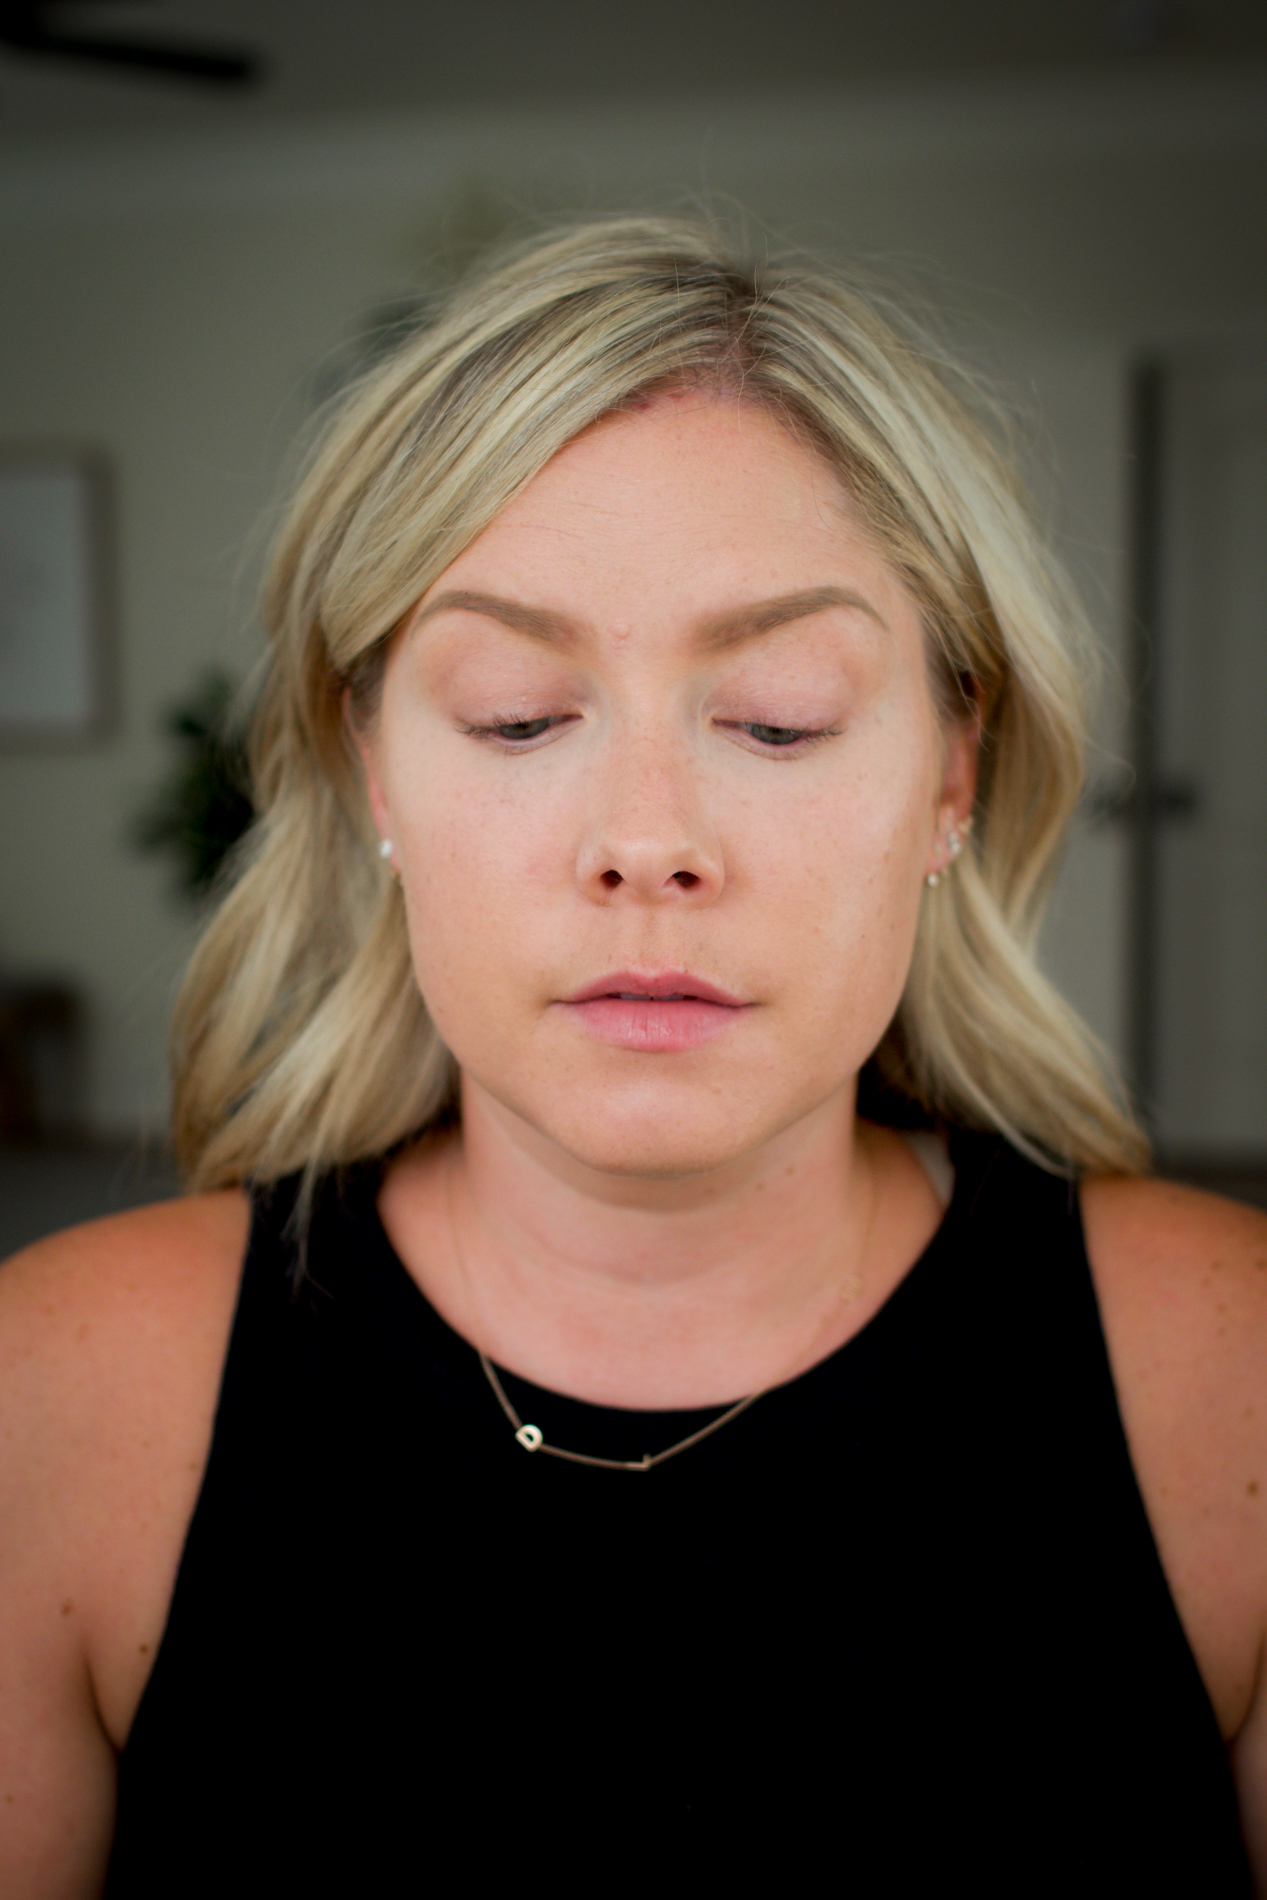
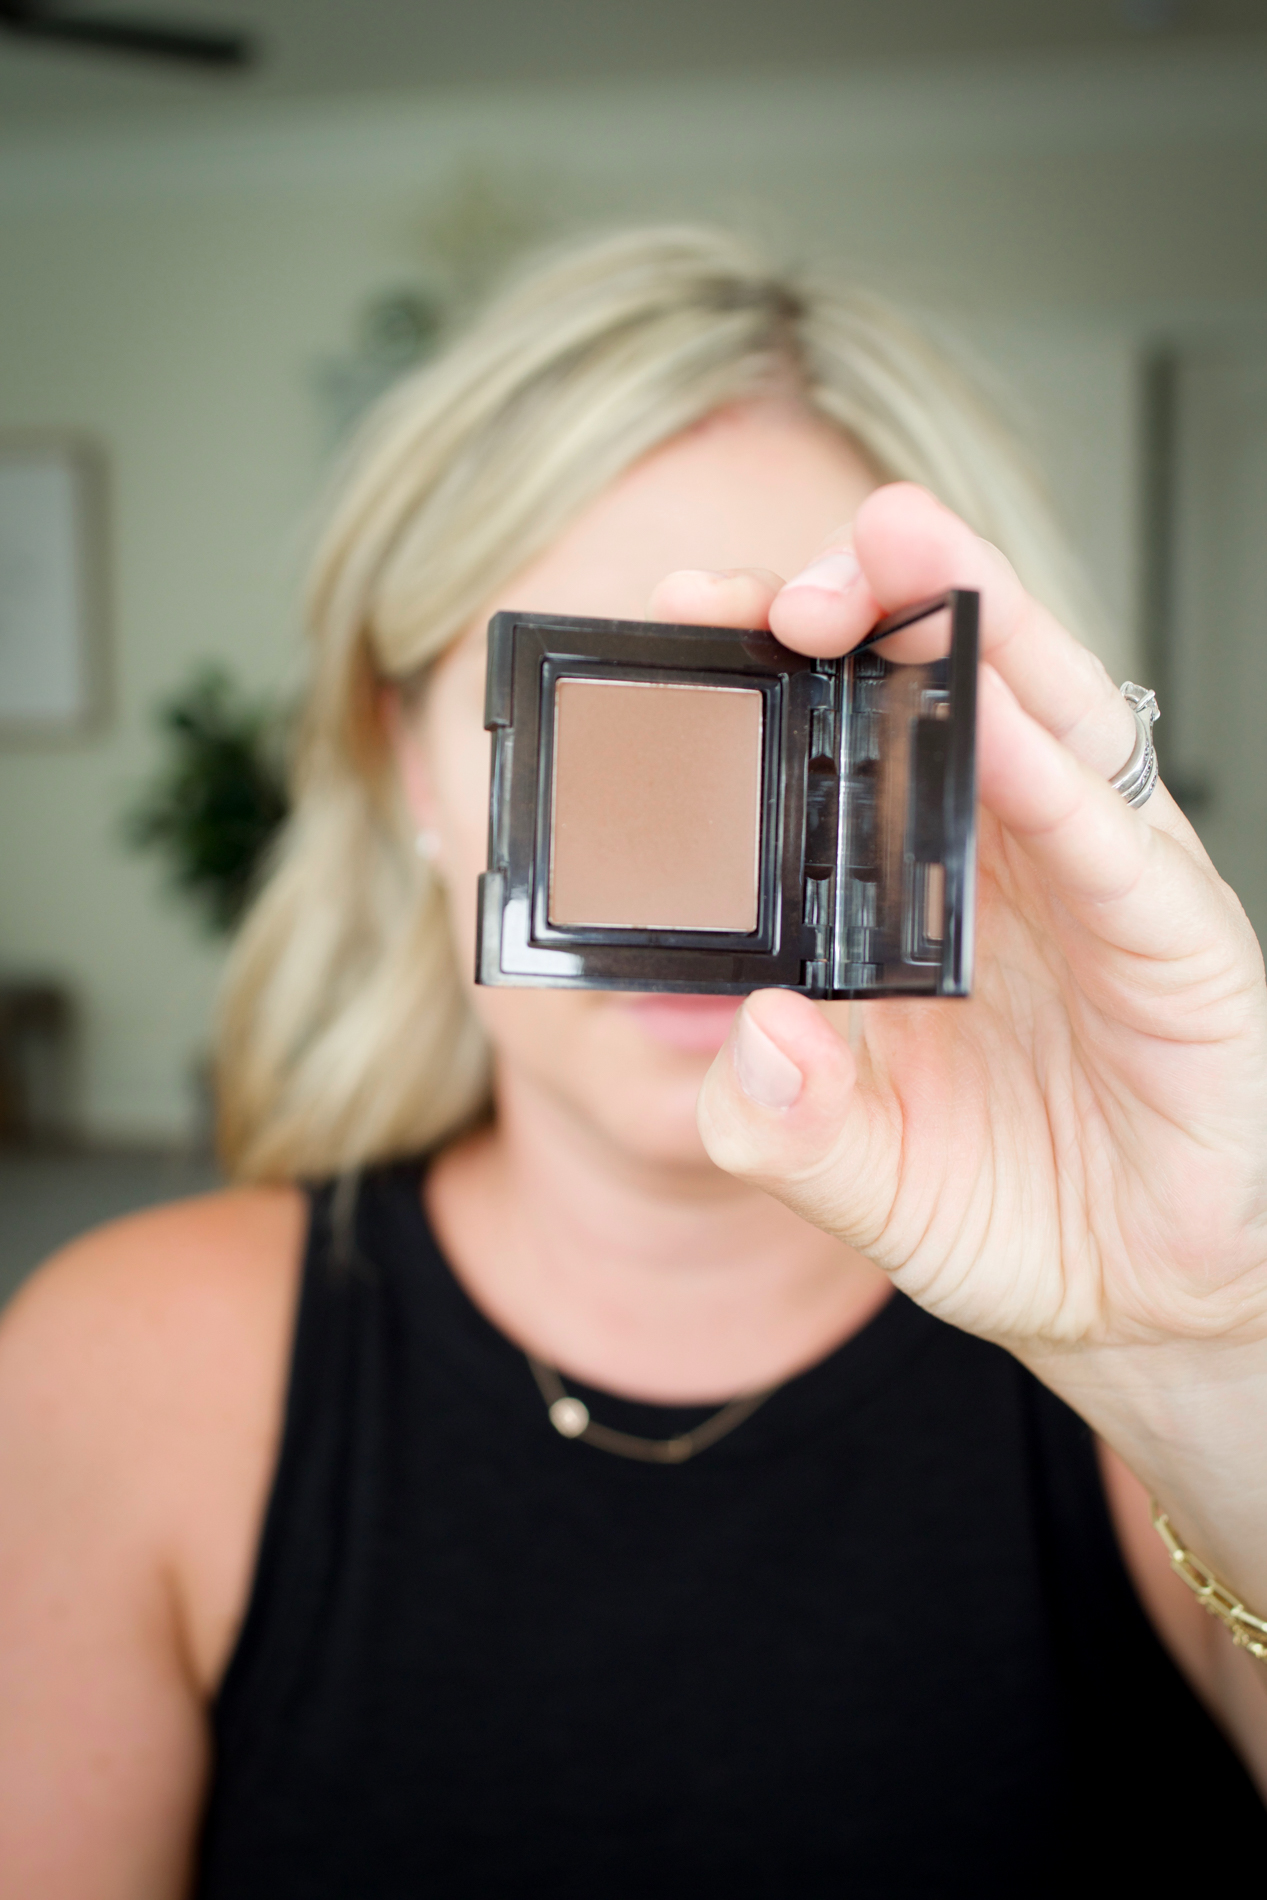
For the crease, the Laura Mercier matte eyeshadow in Cashmere.
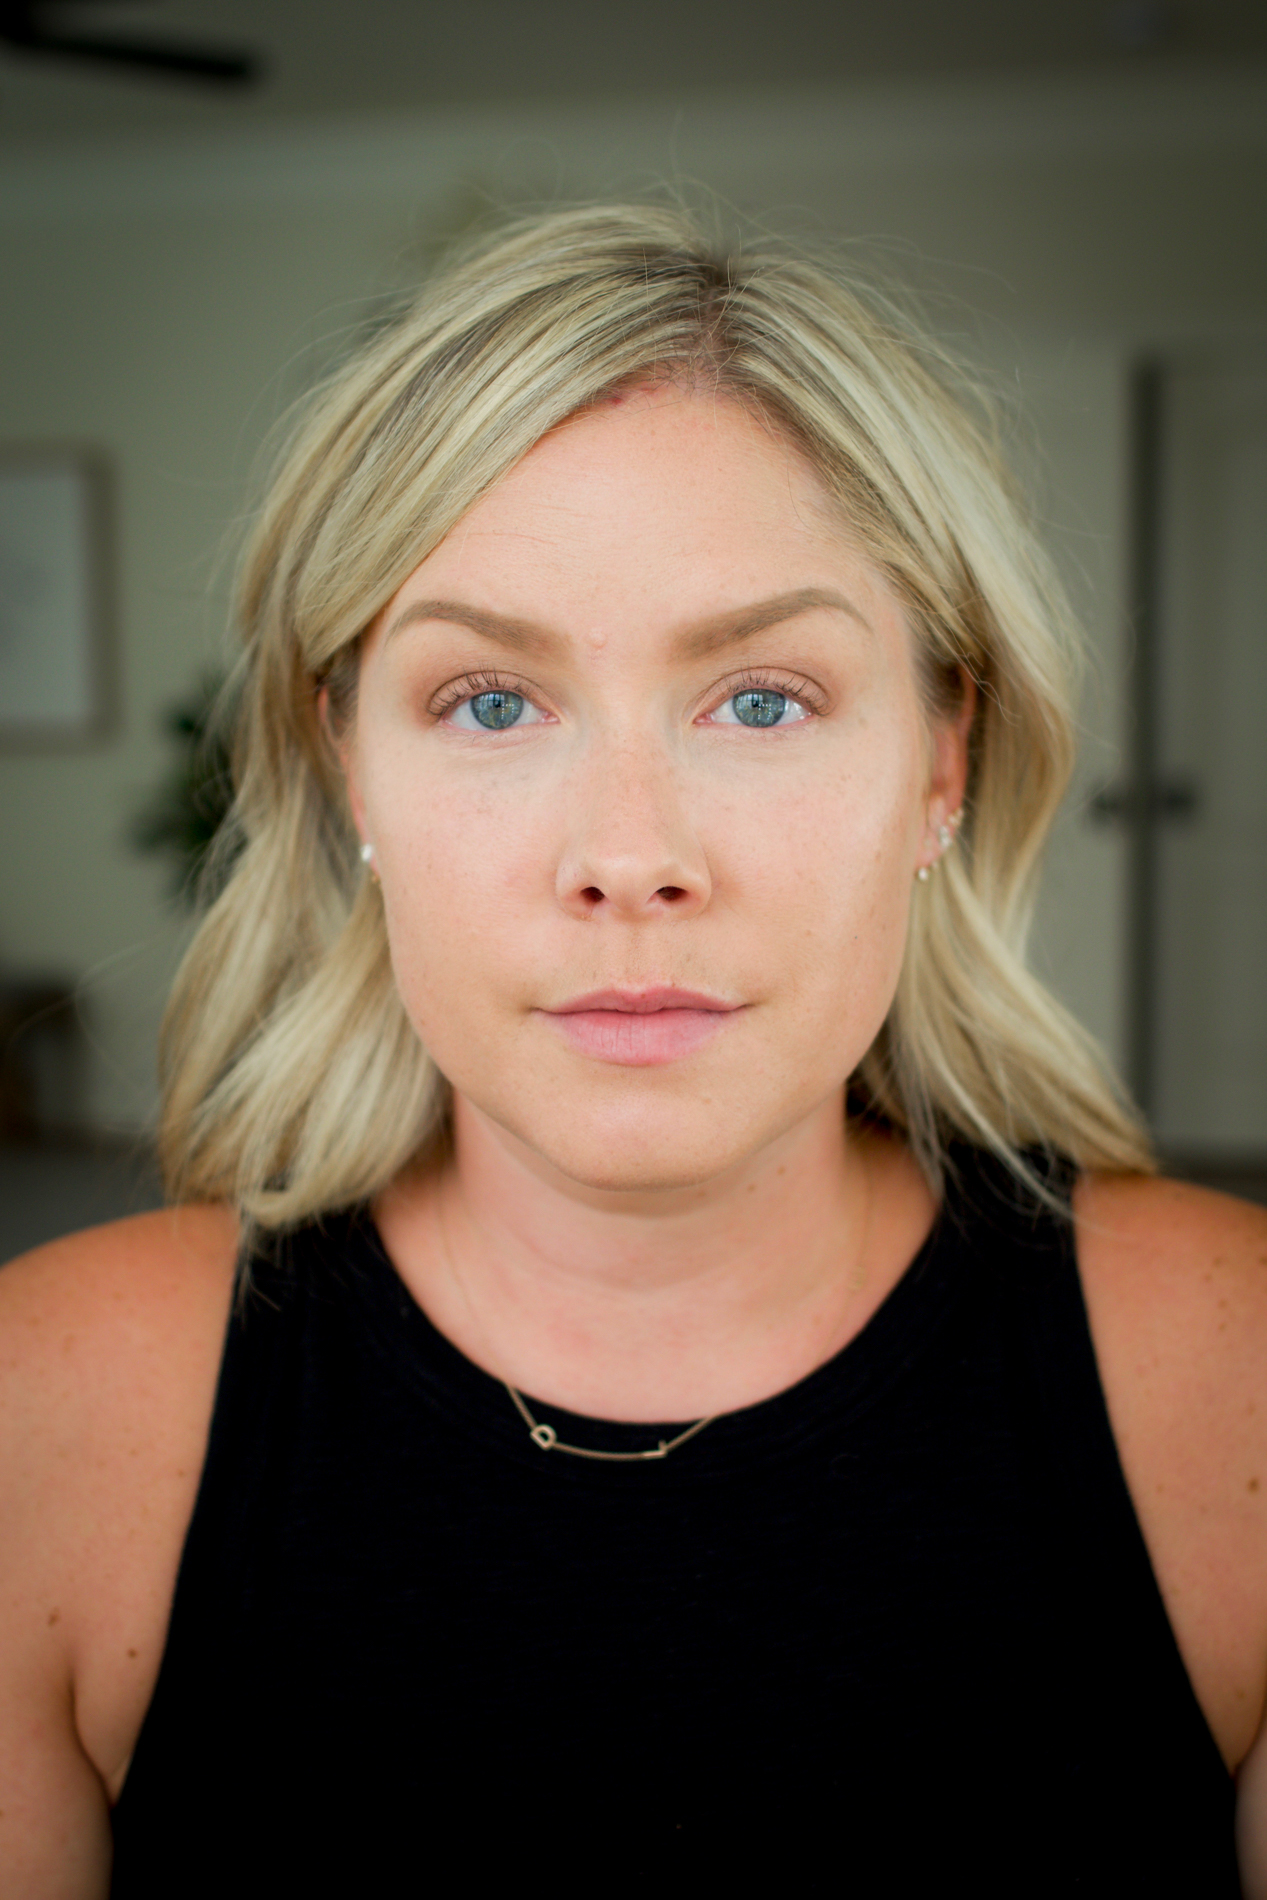
My favorite dark black eyeliner is Charlotte Tilbury Rock N’ Kohl eyeliner in Bedroom Black.
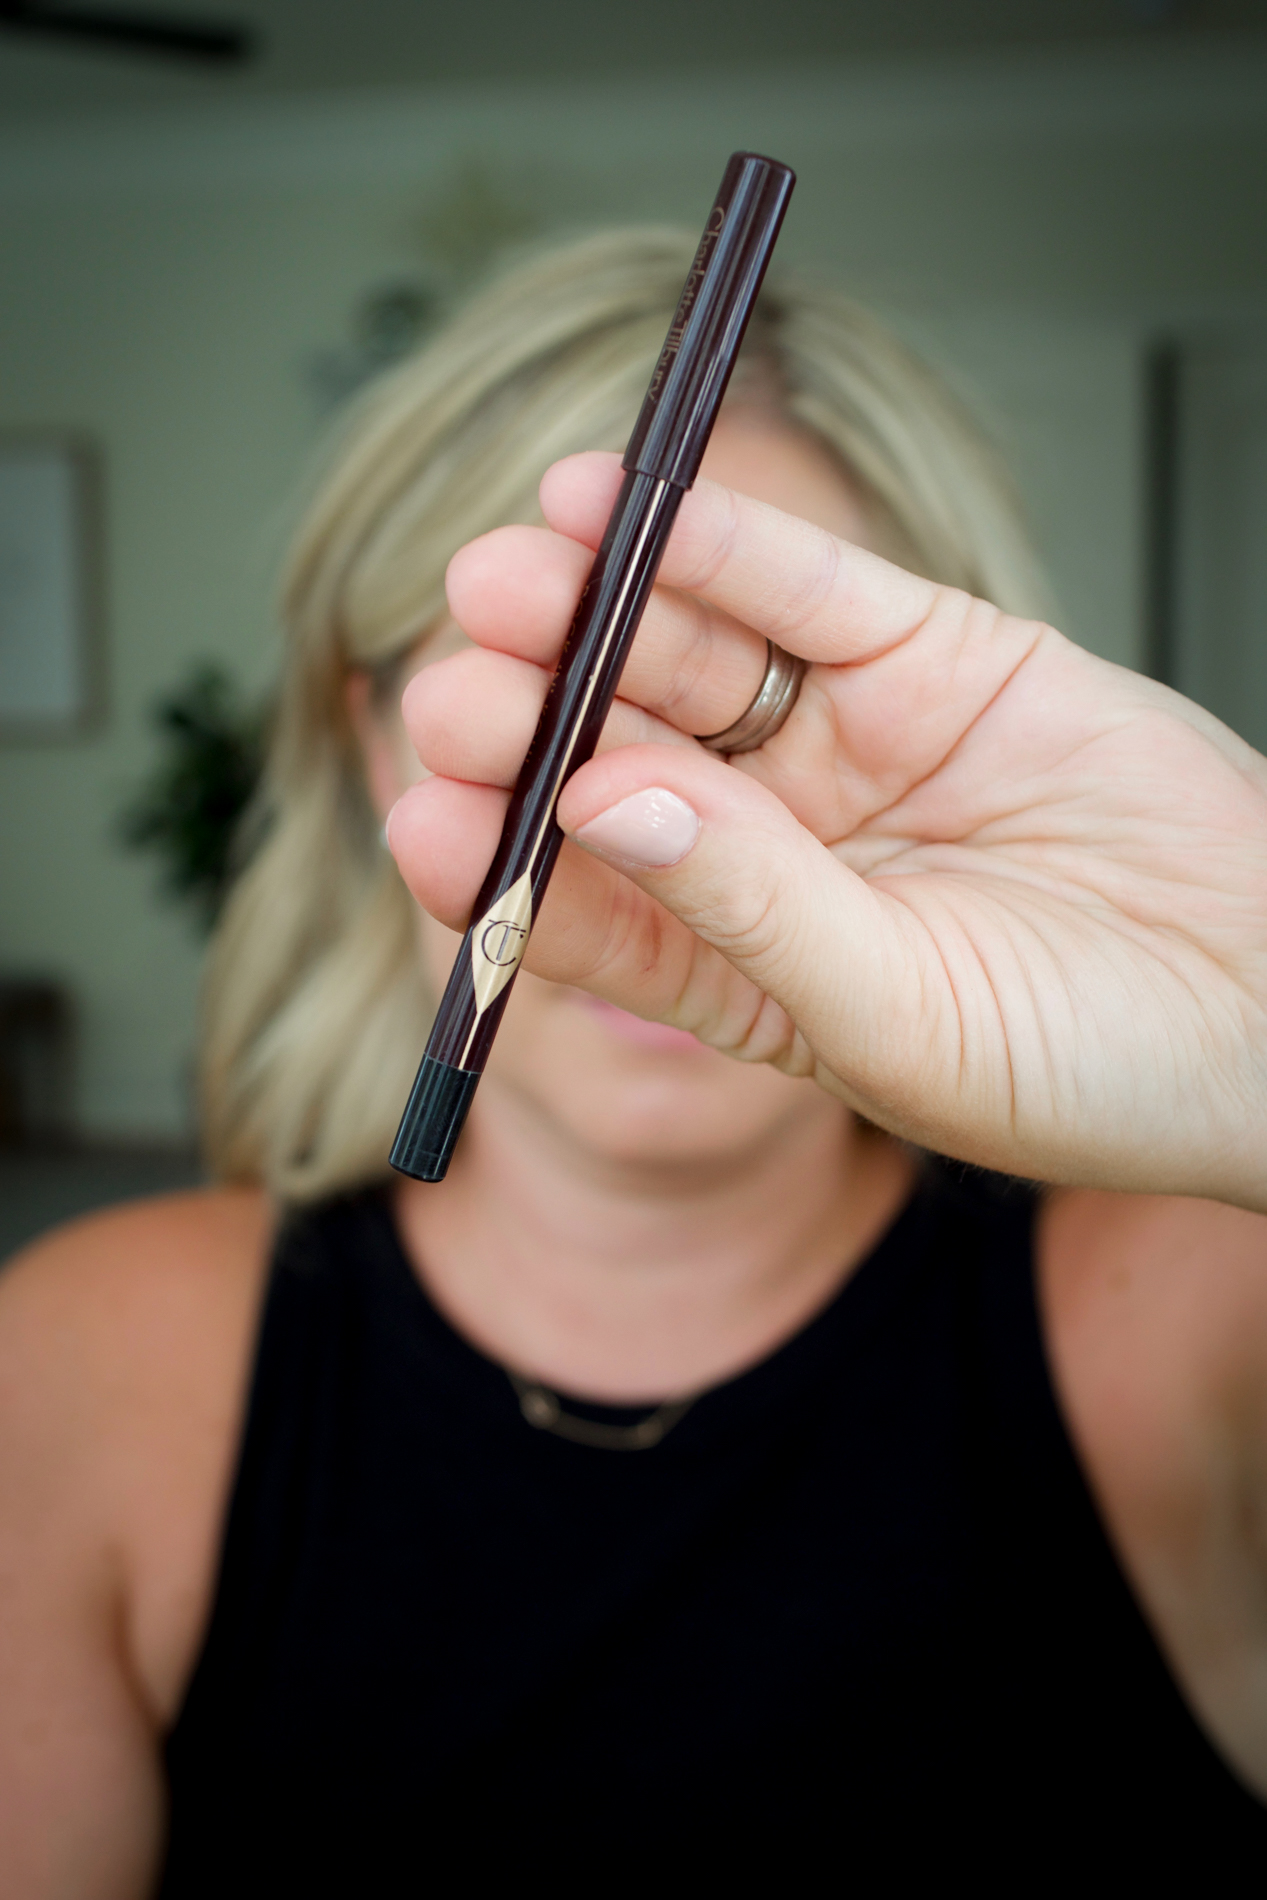
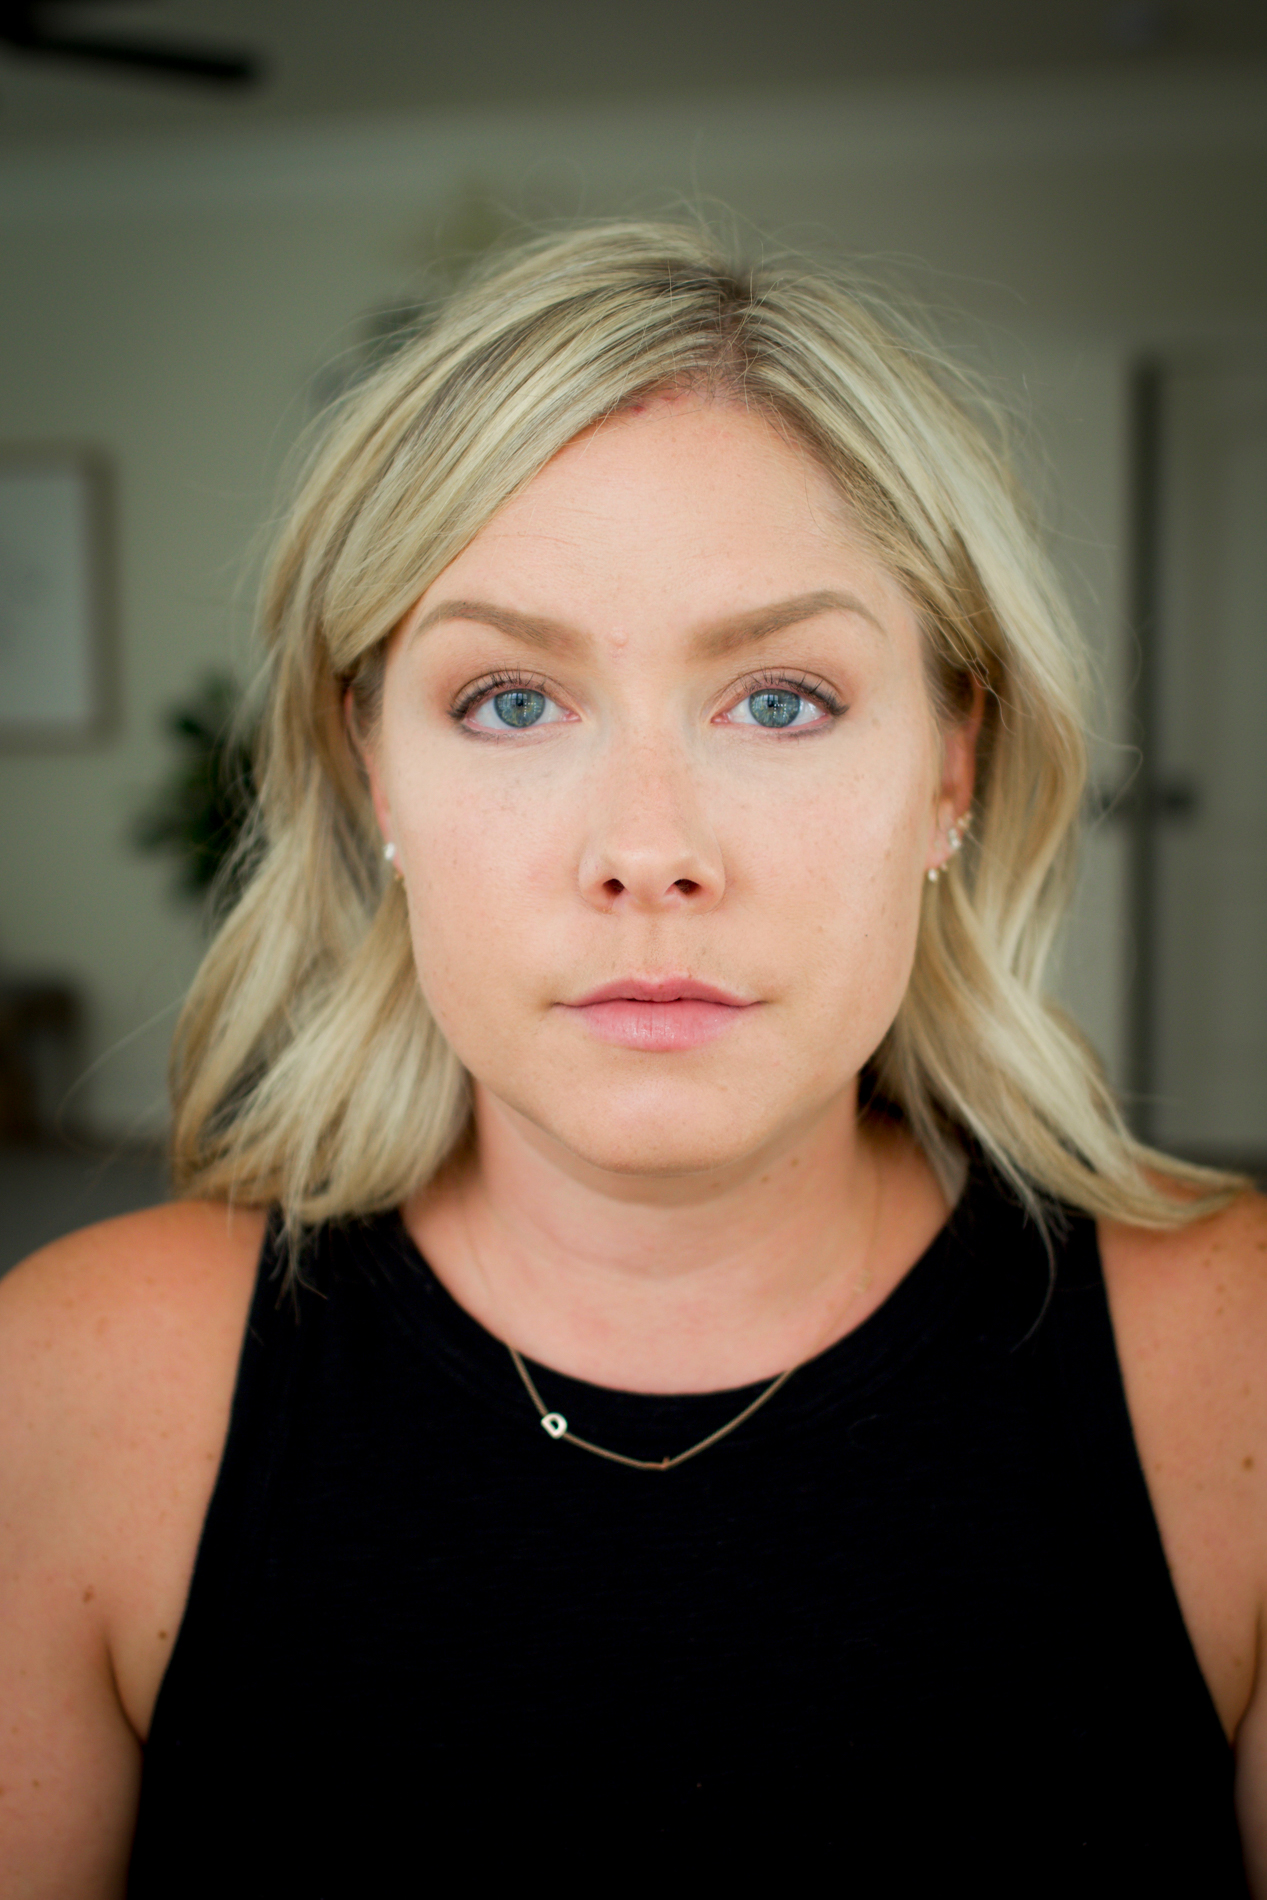
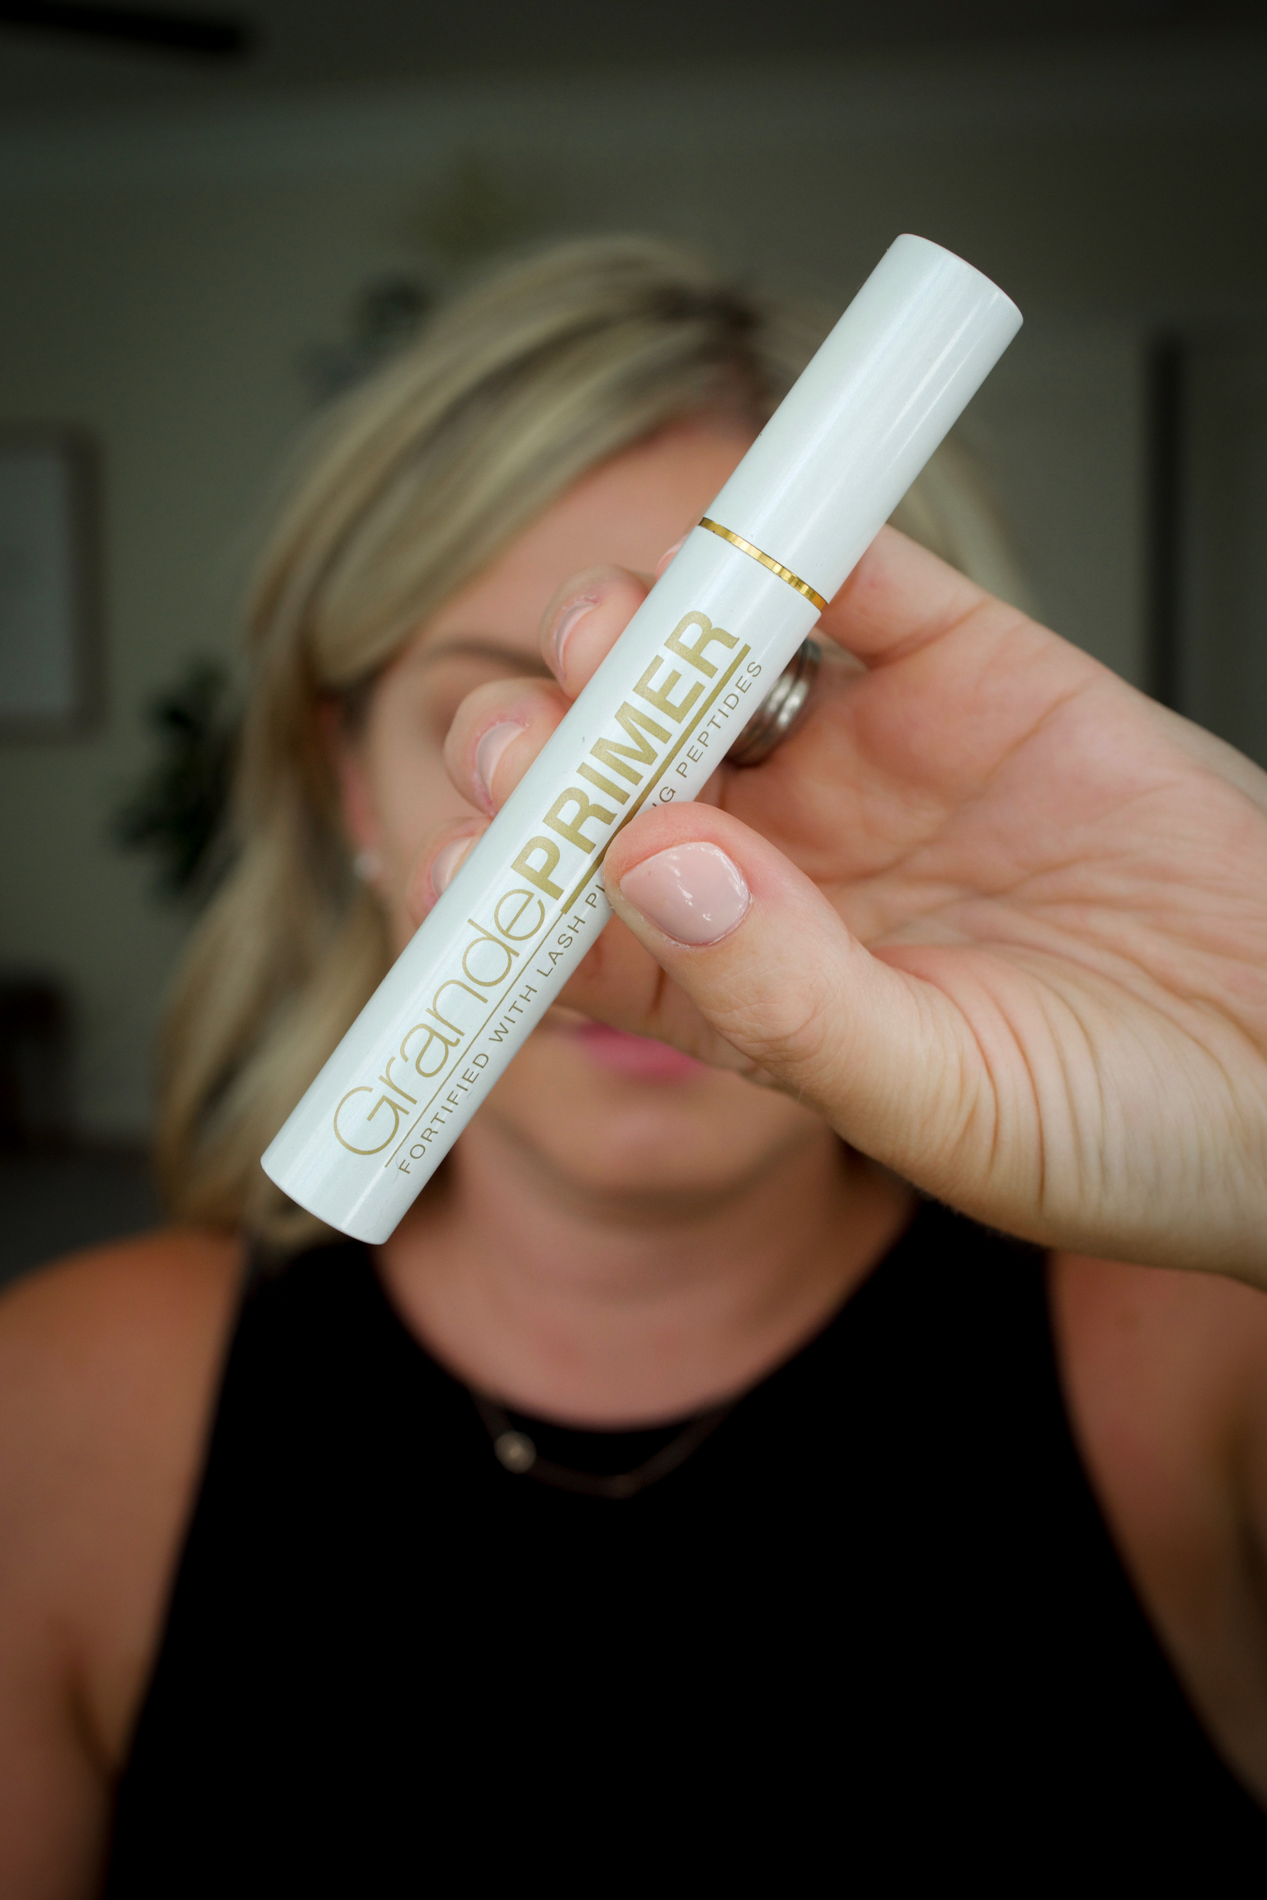
This pre-mascara Lengthener and Thickener by Grande Lash makes a huge difference in how my mascara wears! Game-changer!
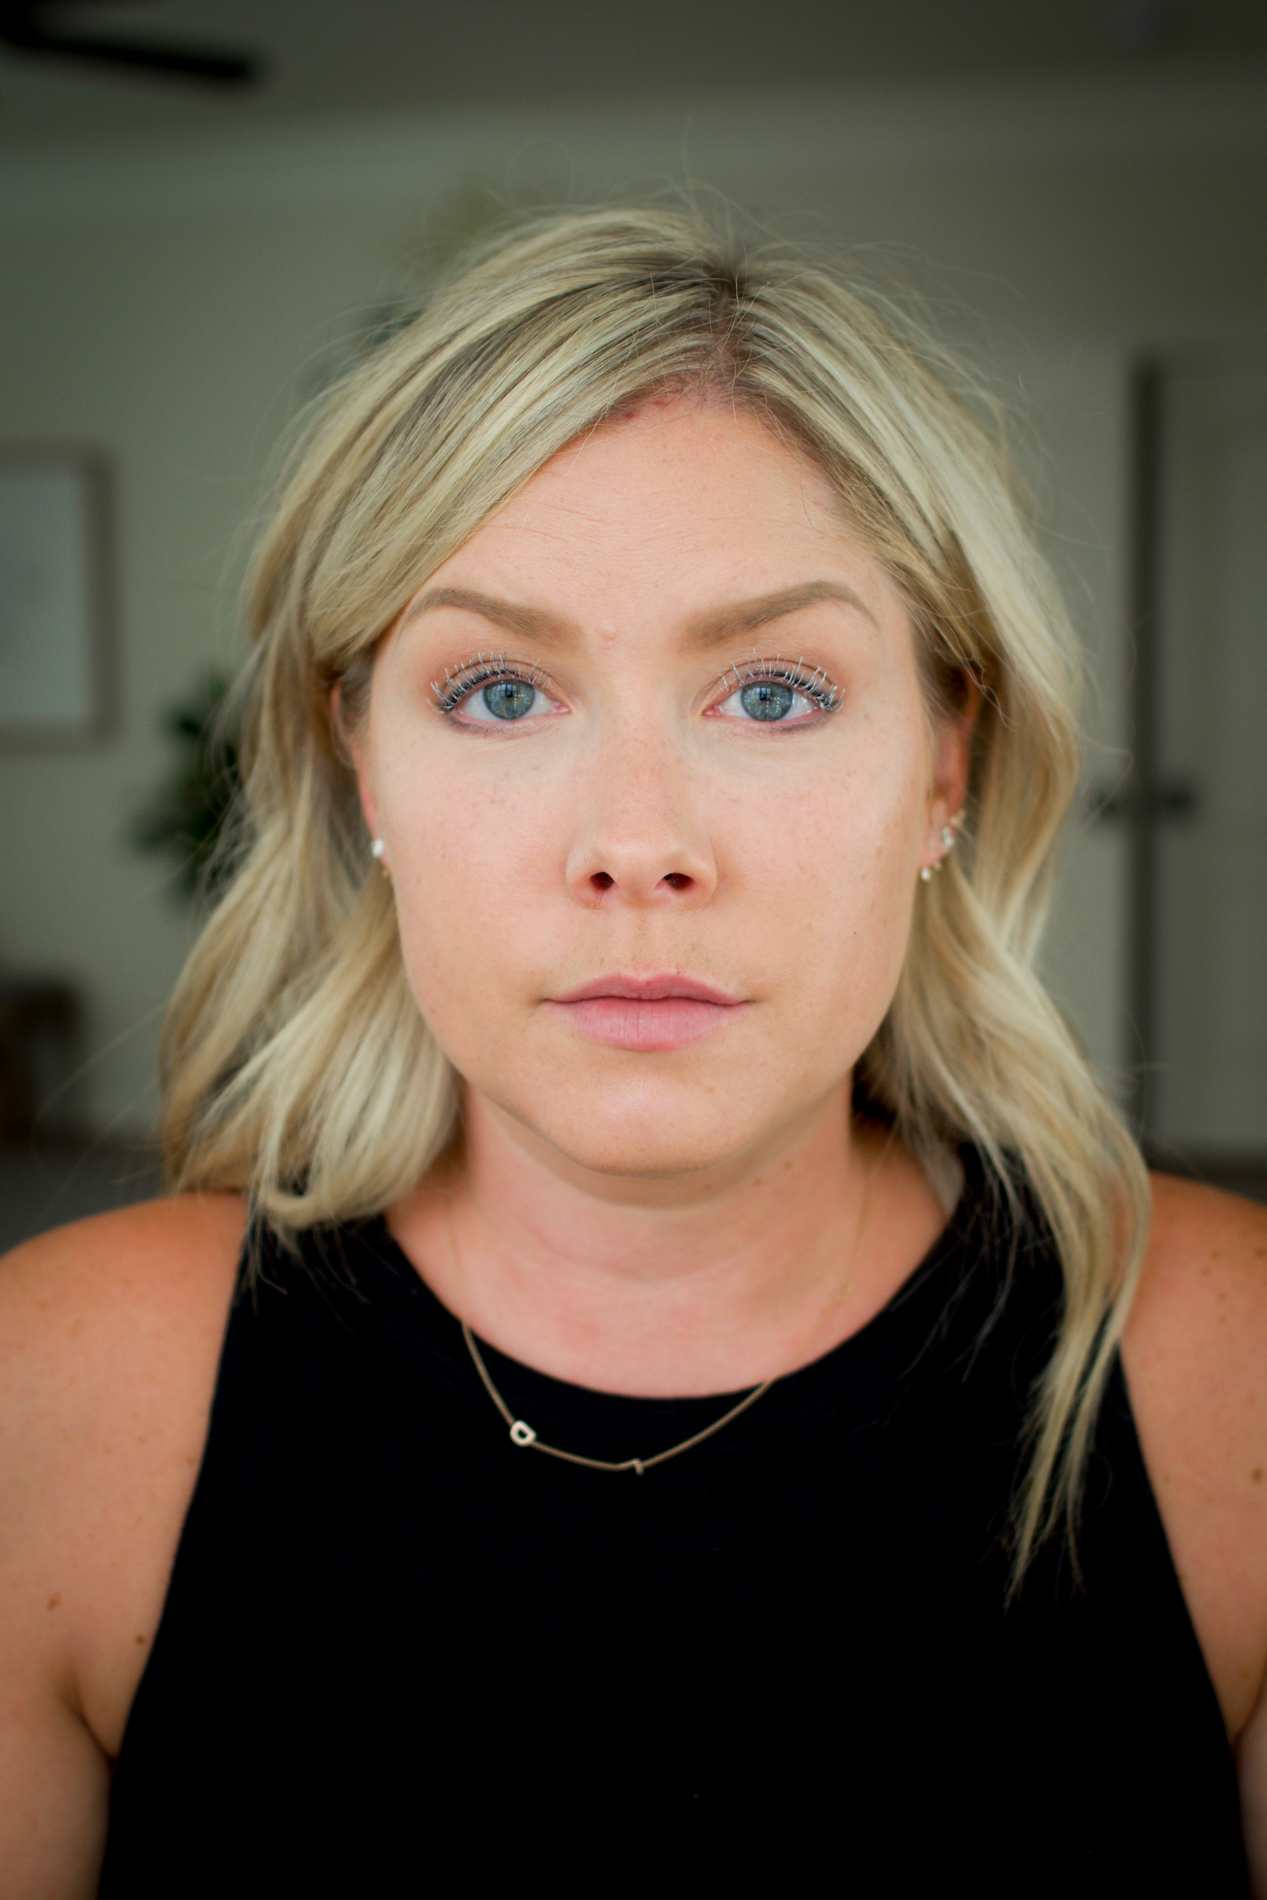
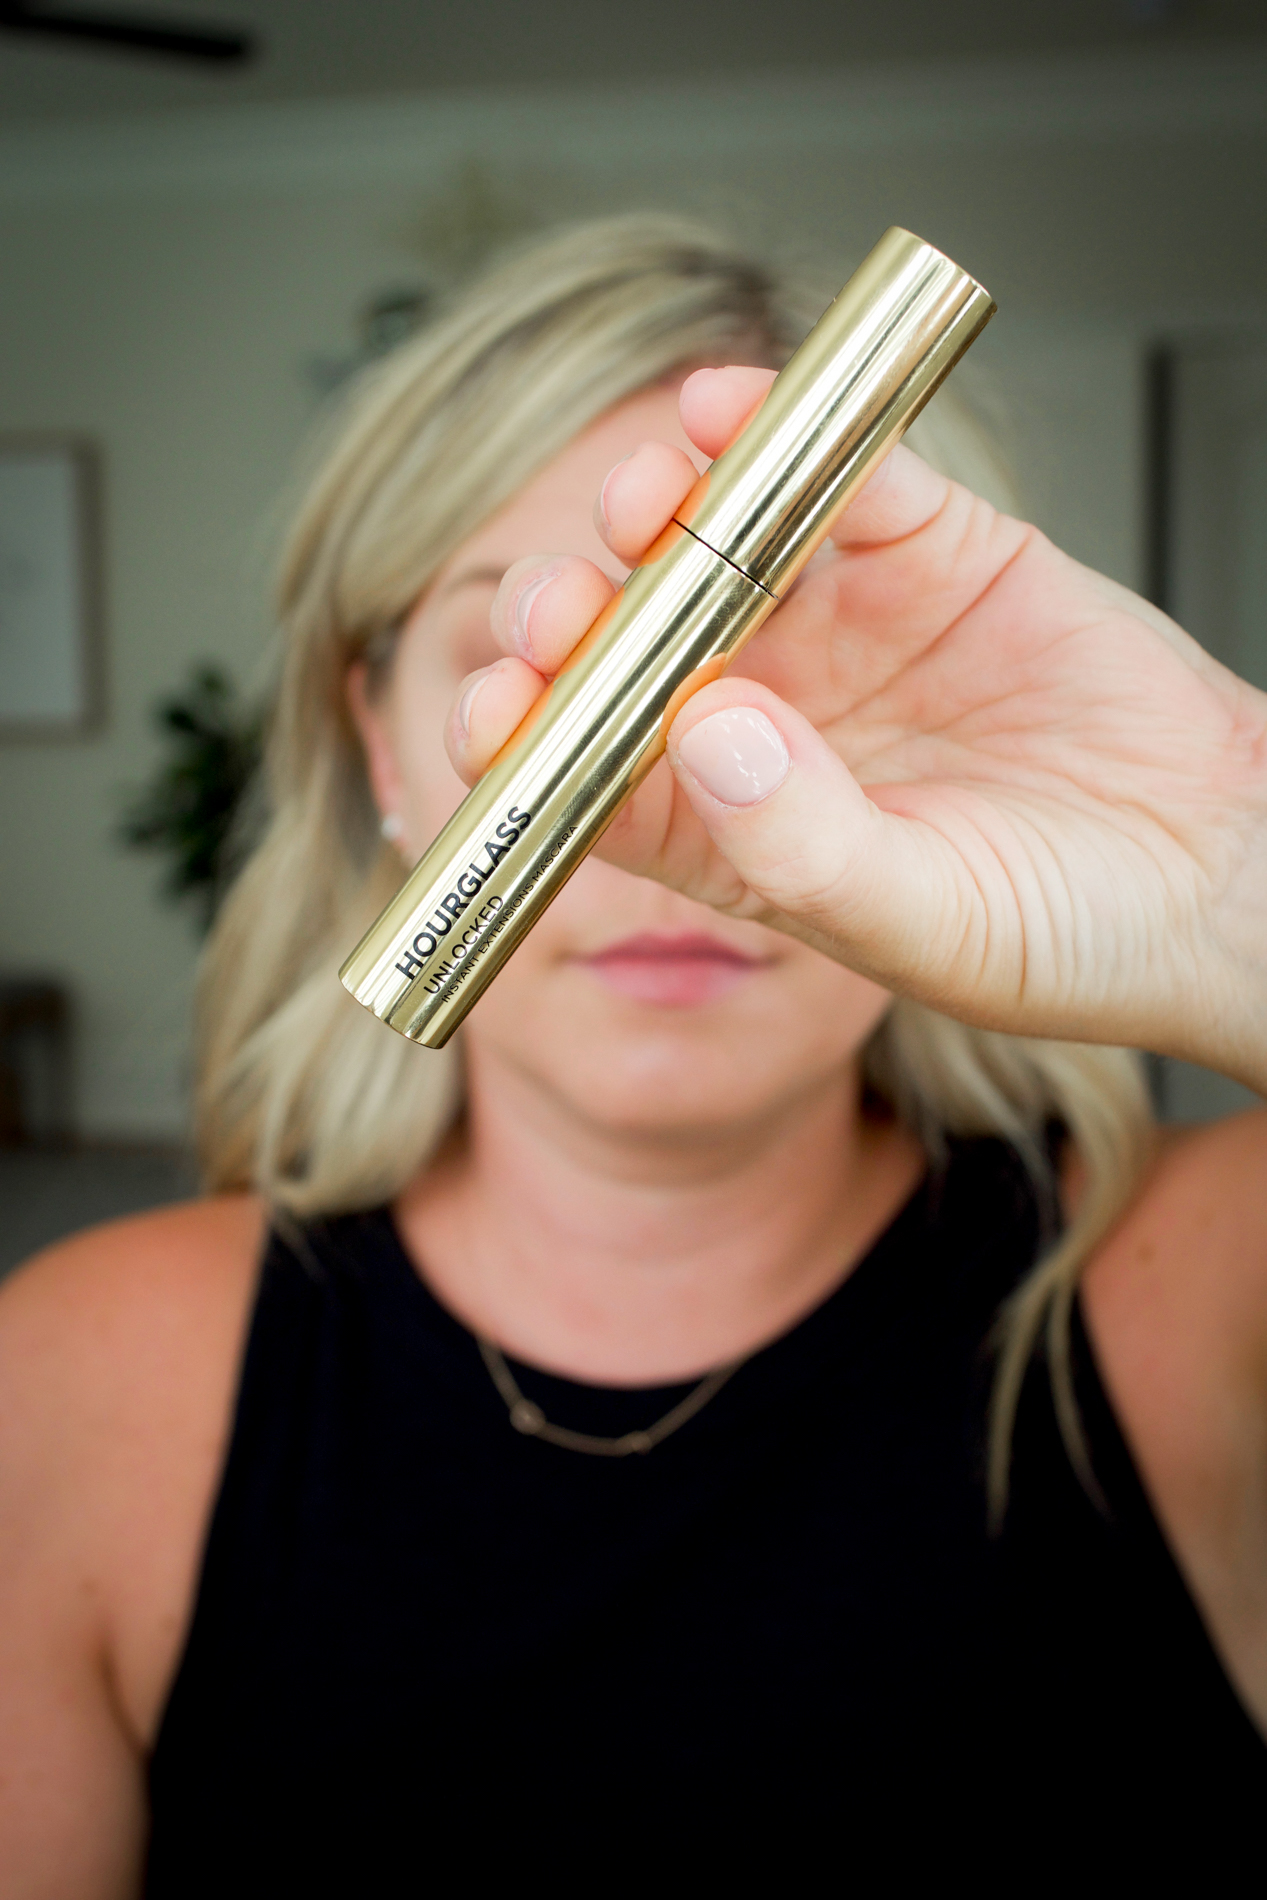
I’ve been loving the impact of Hourglass’s new Unlocked Mascara. I mean, one swipe and you have thickness and length! It doesn’t smudge, and it adds some serious definition to your lashes.
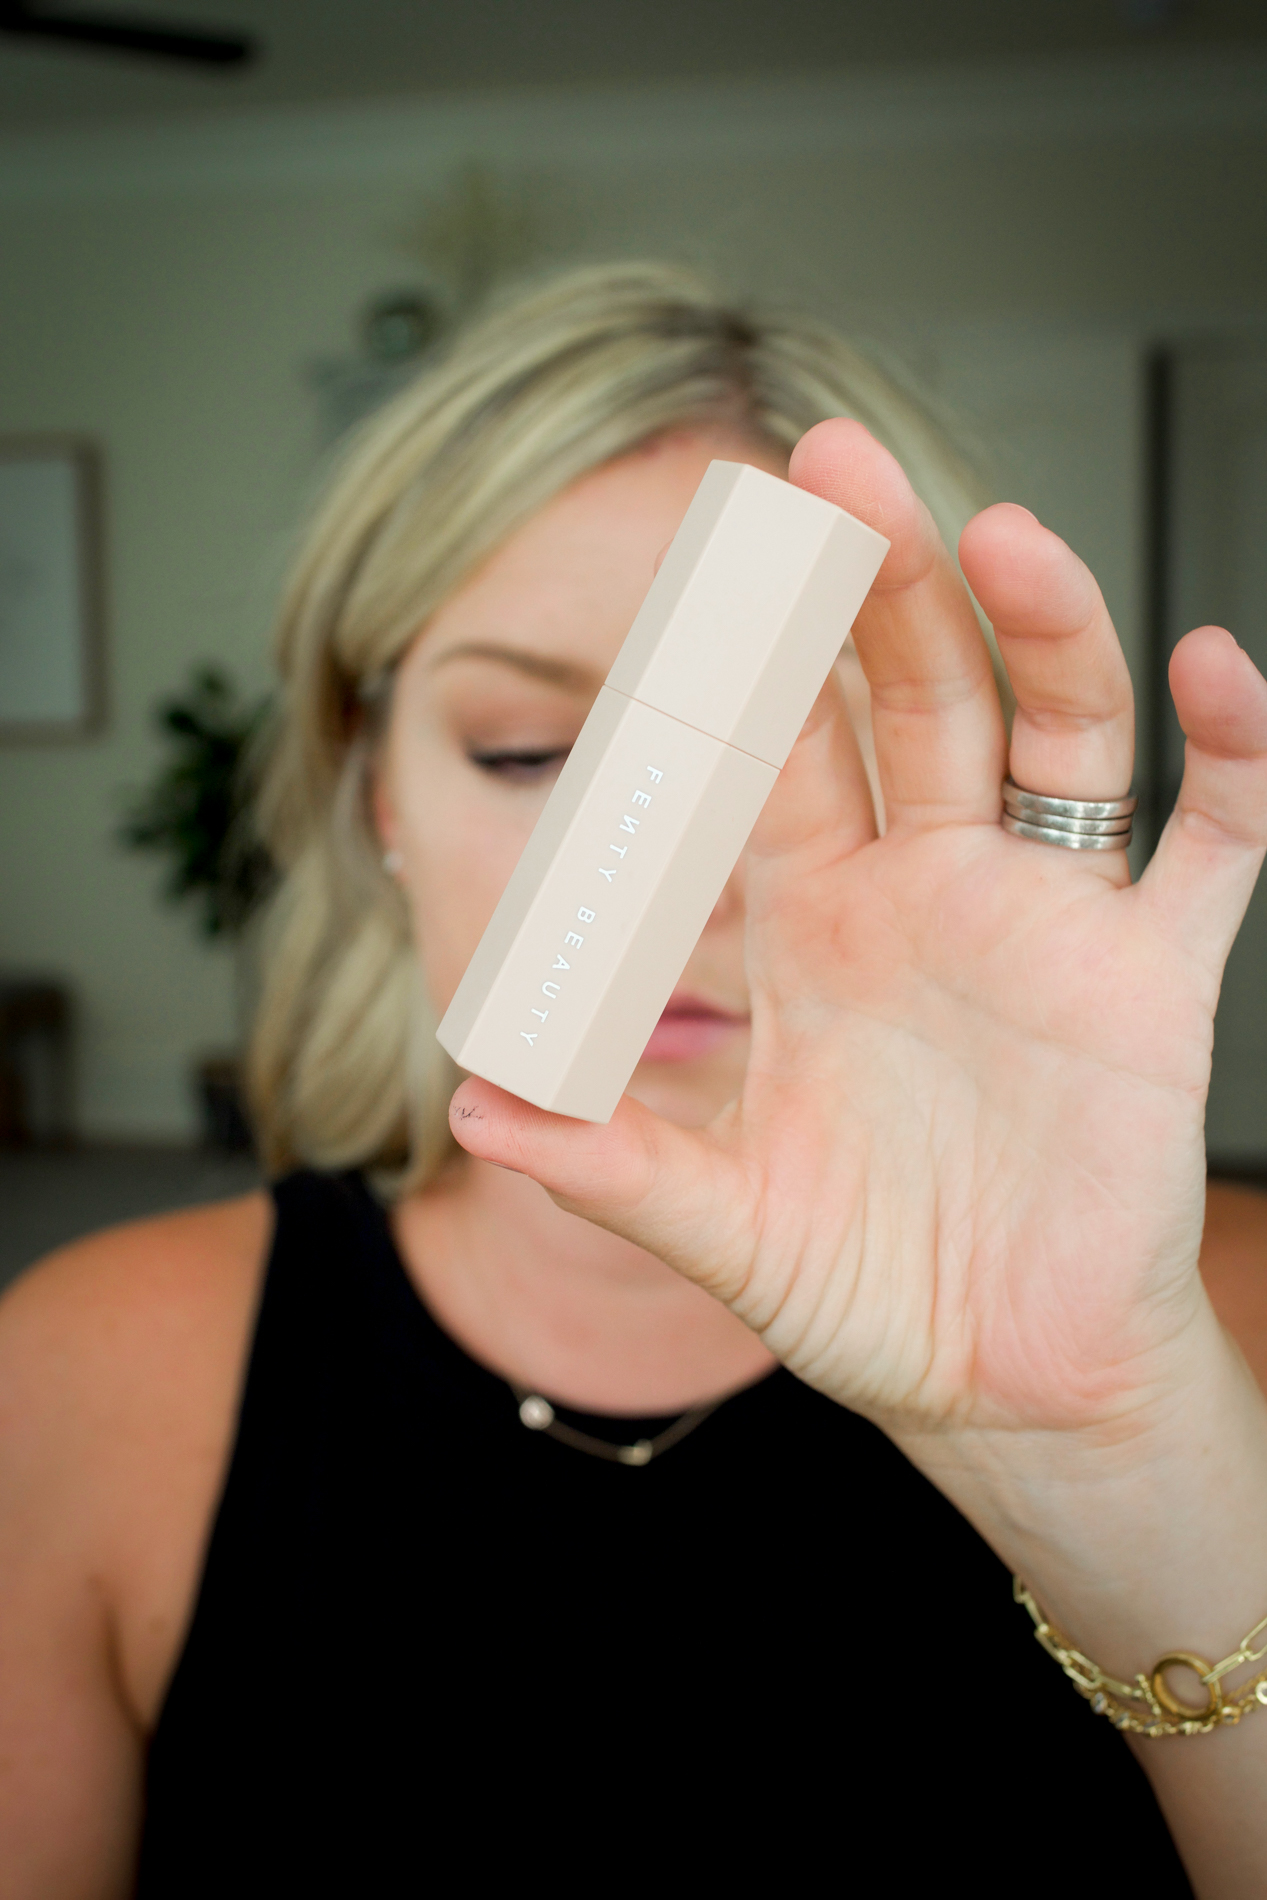
For contour, I’ve been testing the Fenty Beauty Match Stix Matte Contour stick in Amber. It’s a true matte with a neutral undertone and it adds the perfect shadow under my cheekbones. I use contour sparingly and with a light hand.
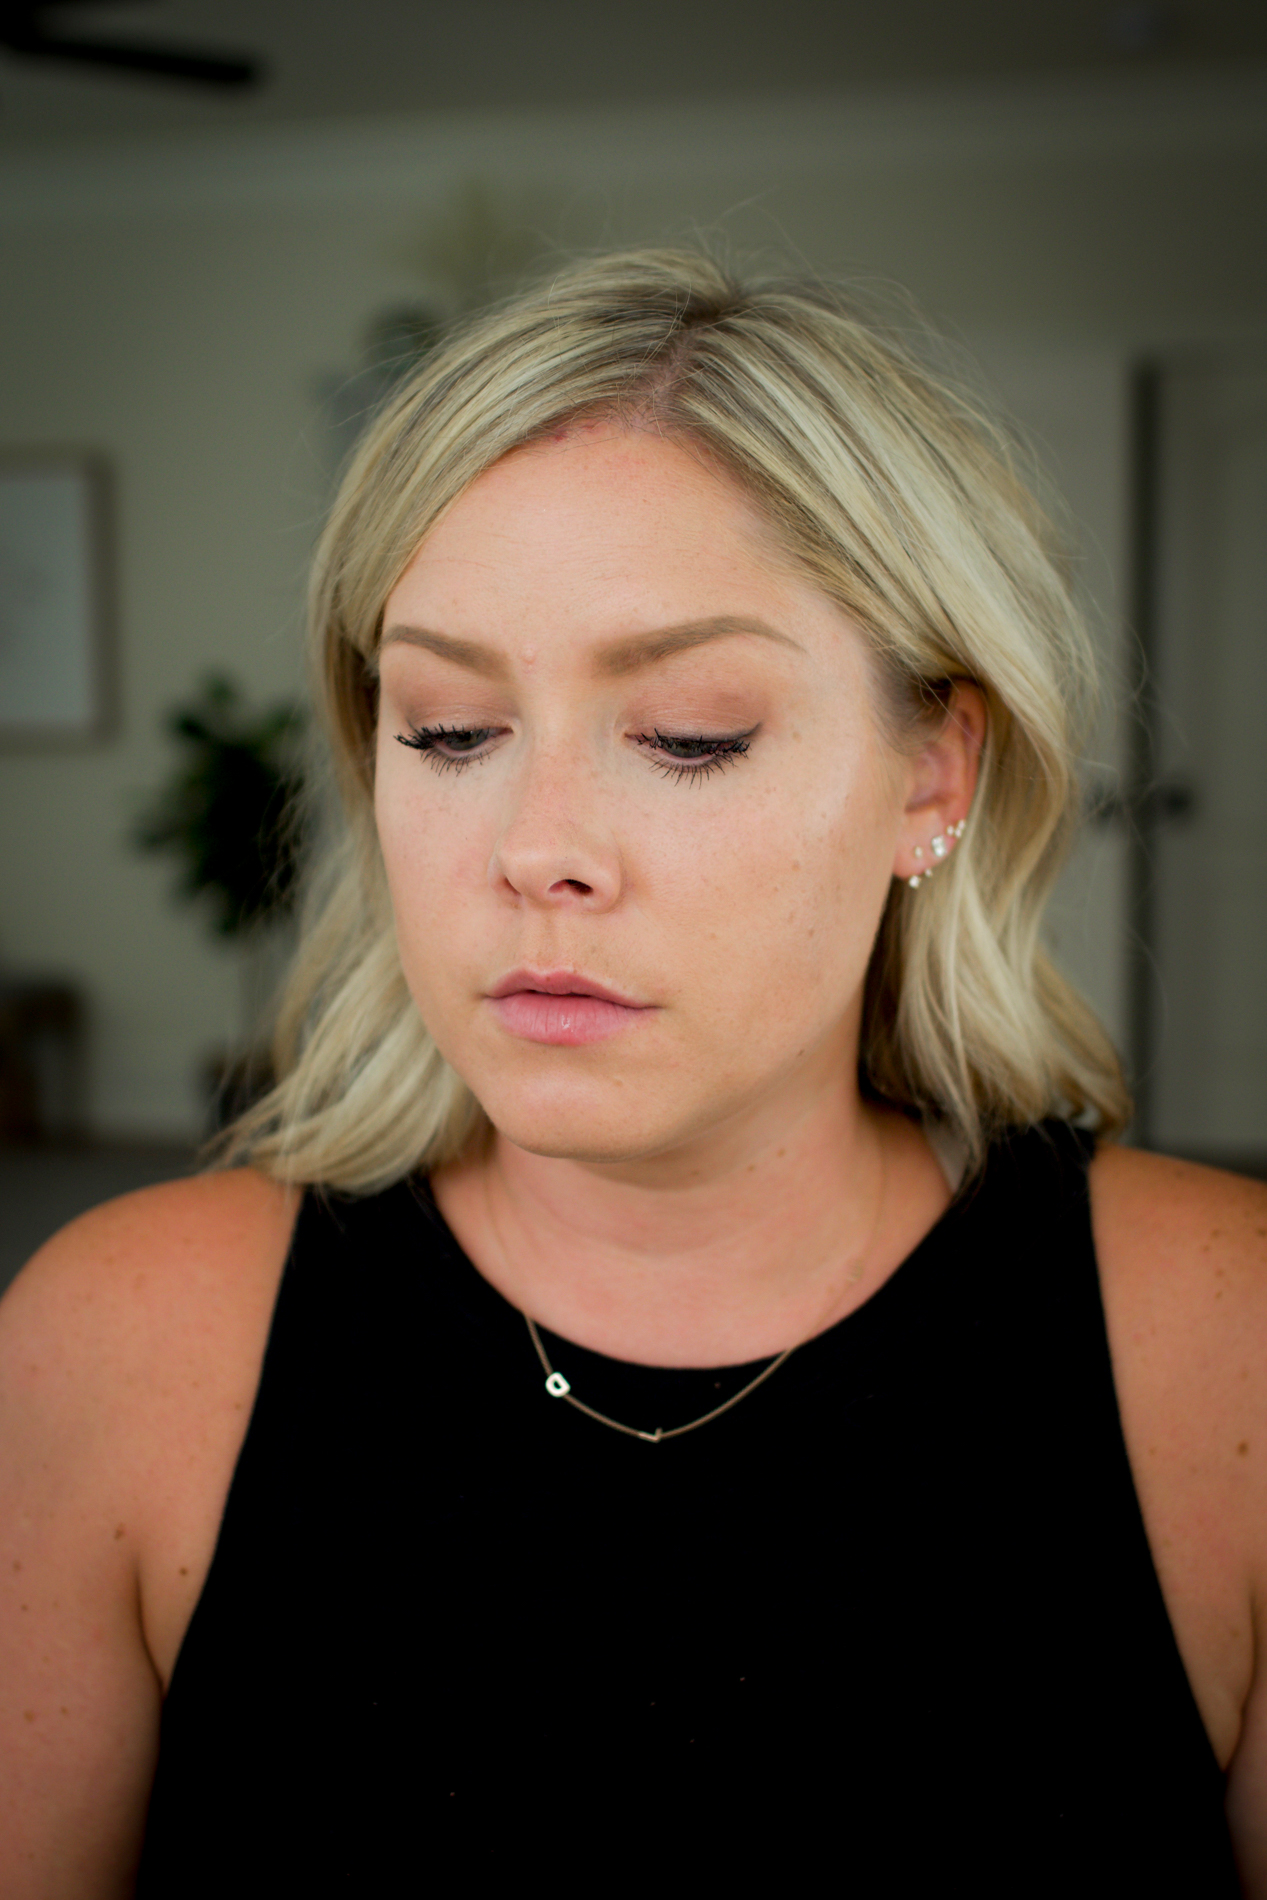
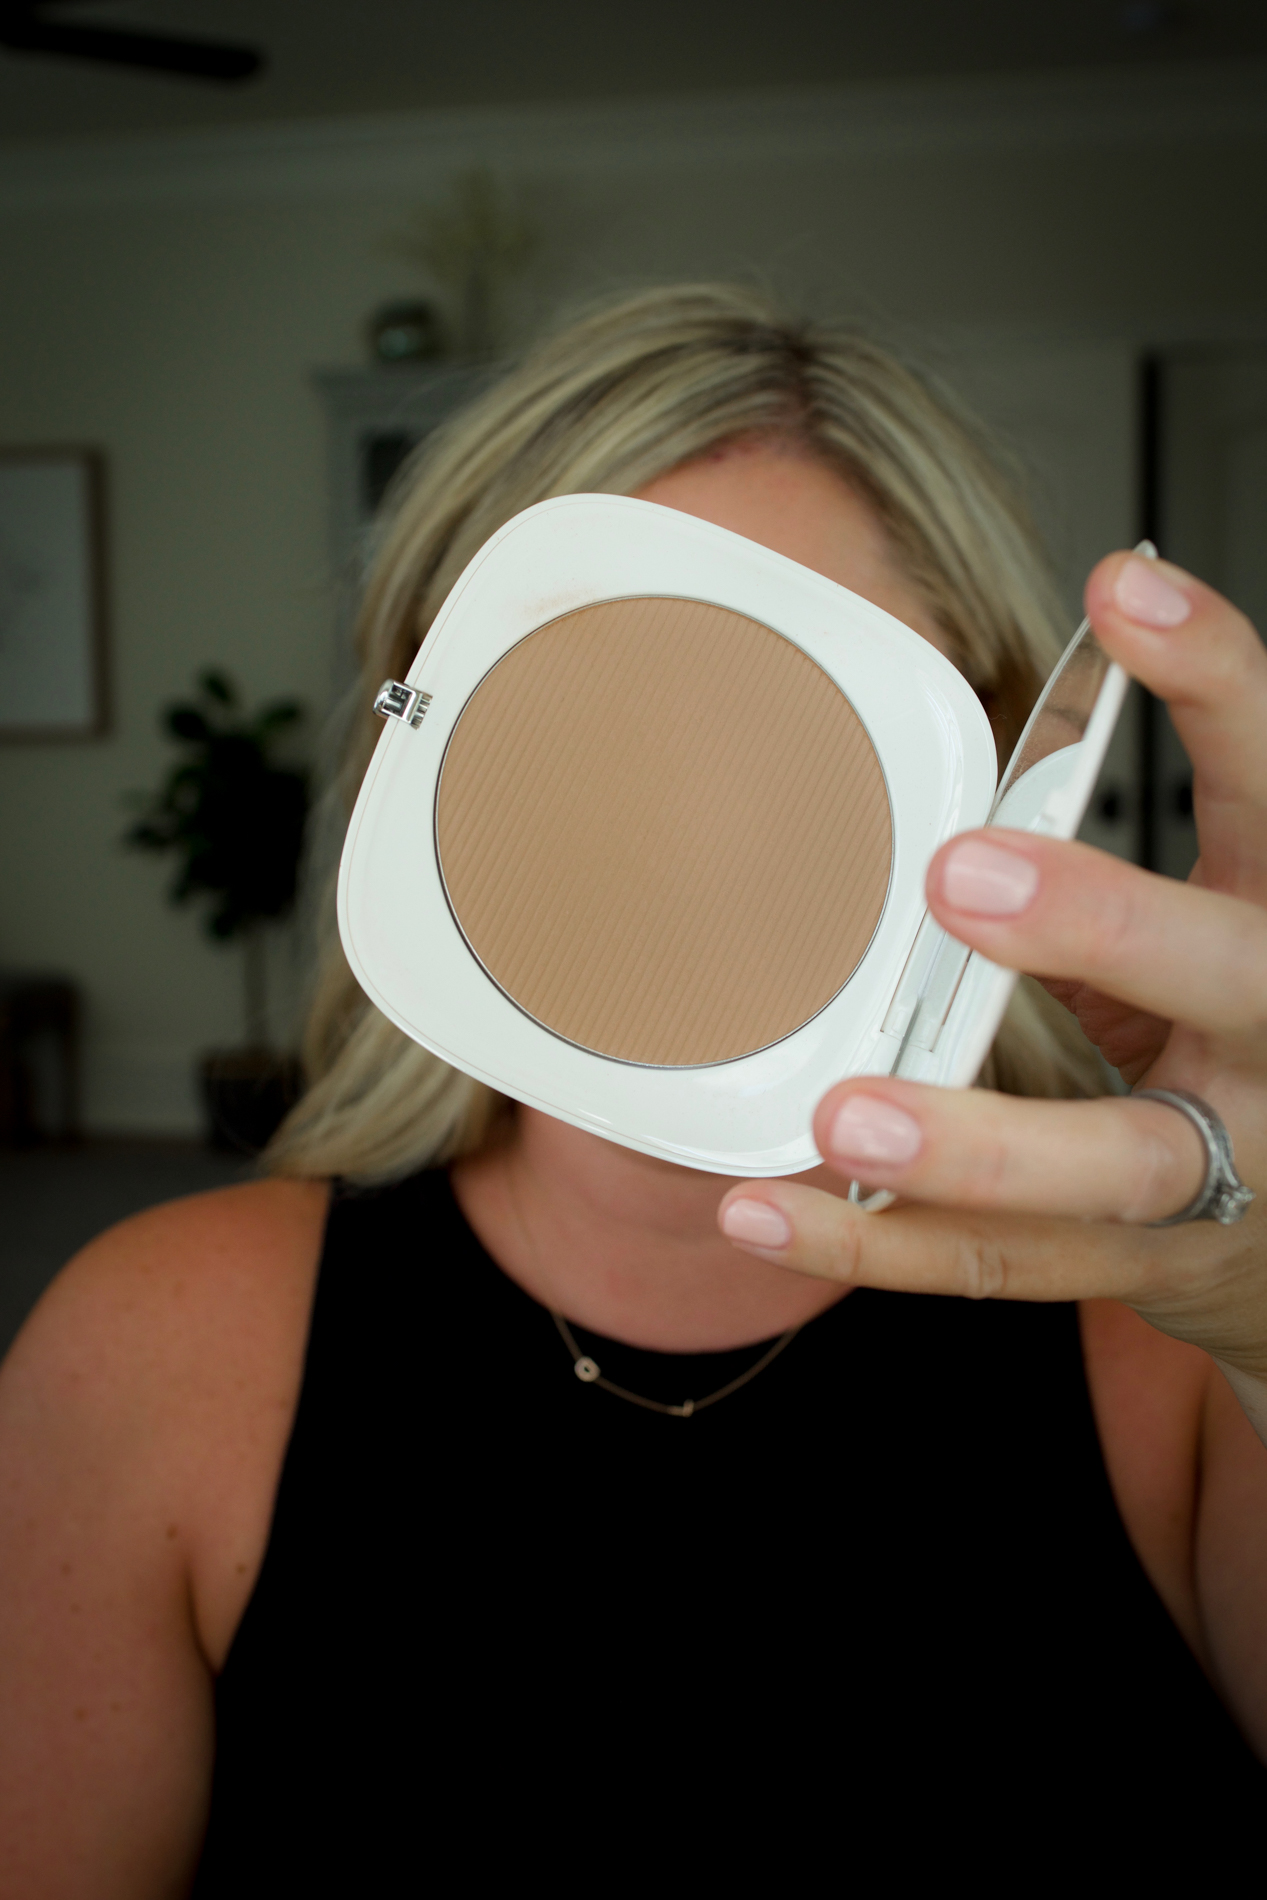
A new bronzer I’m enjoying is the Marc Jacobs O!Mega Bronzer in Coconut Perfect Tan. I love that it is matte and shade 104 is a nice tan color for lighter skin tones.
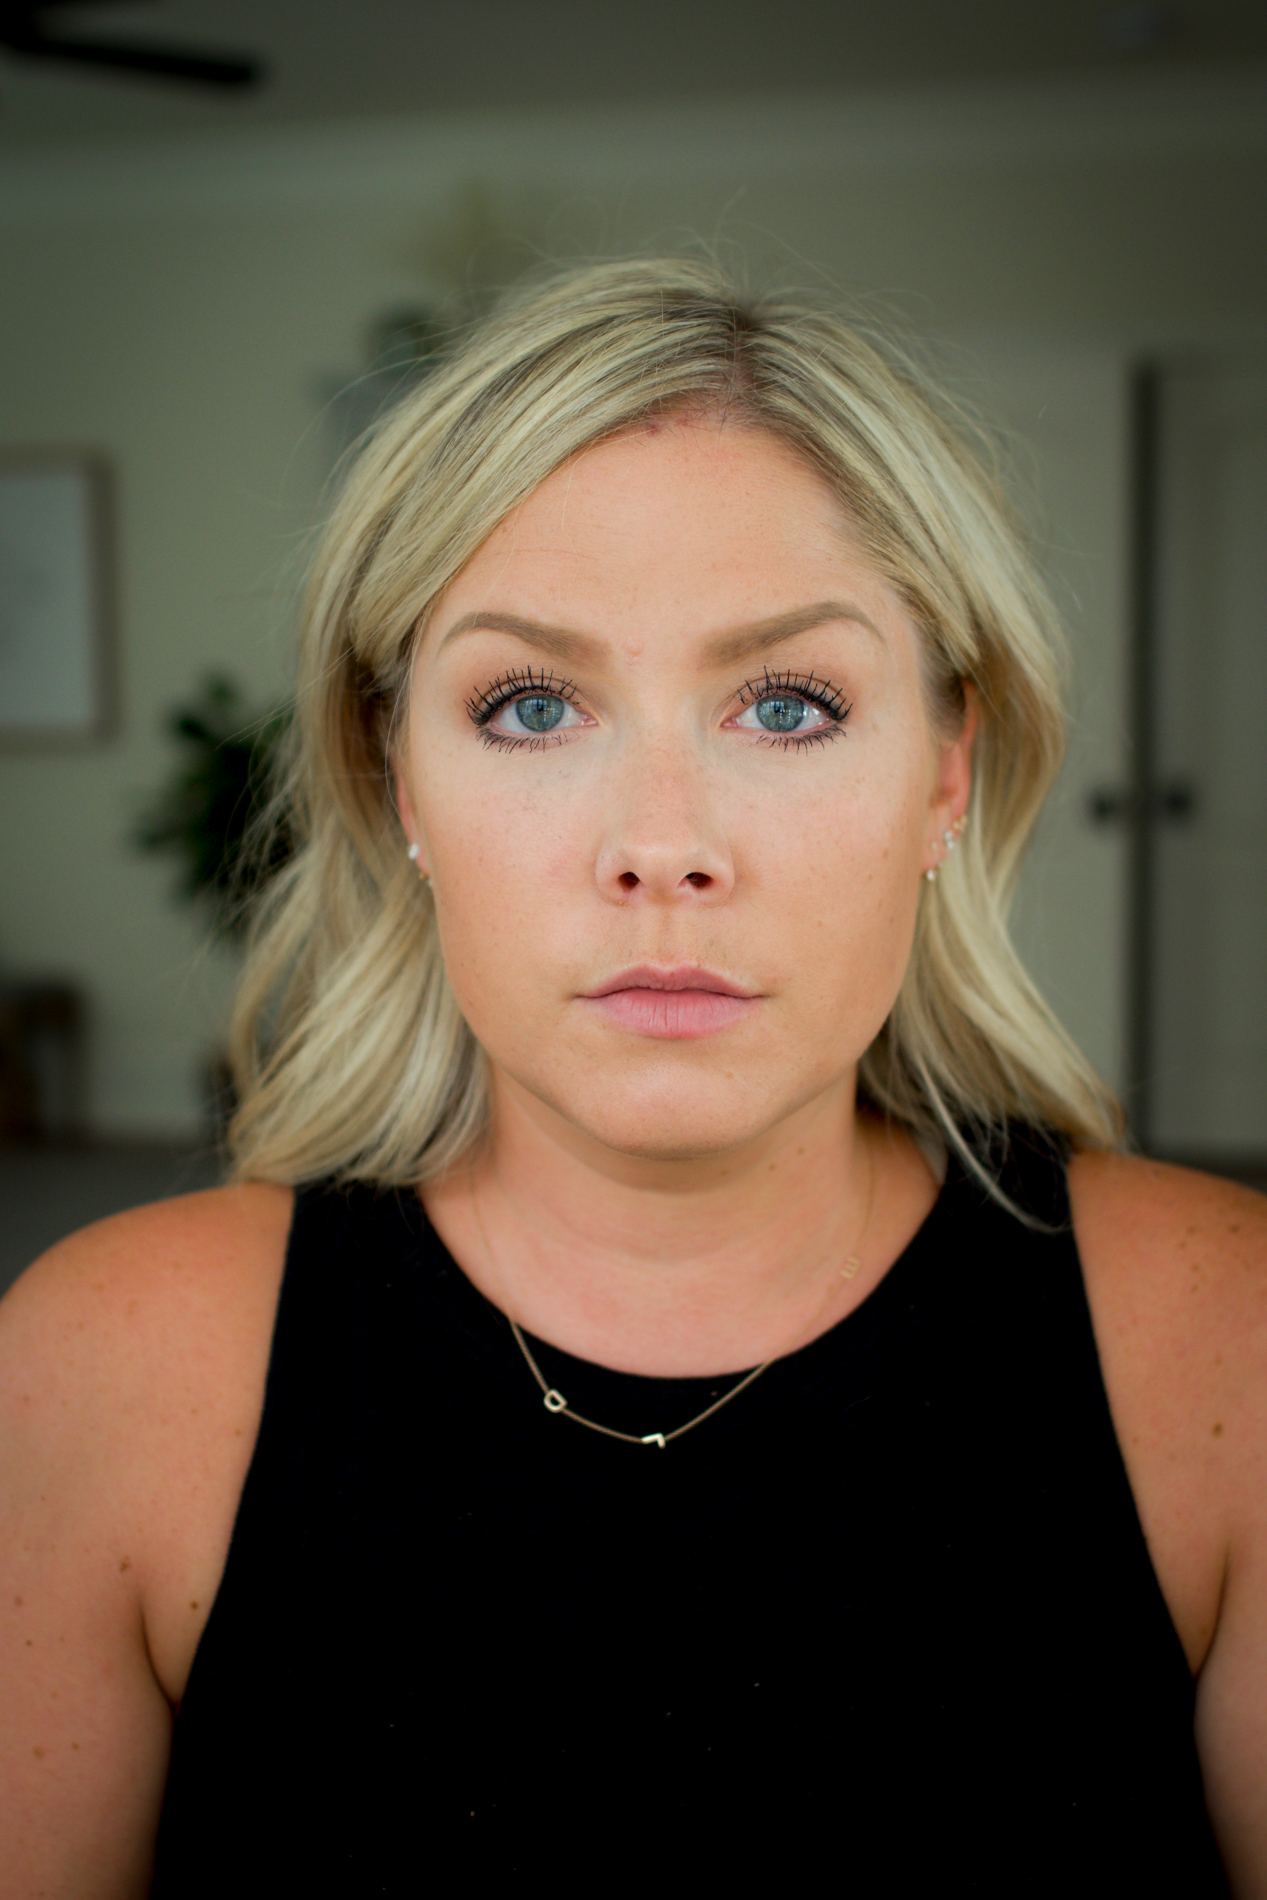
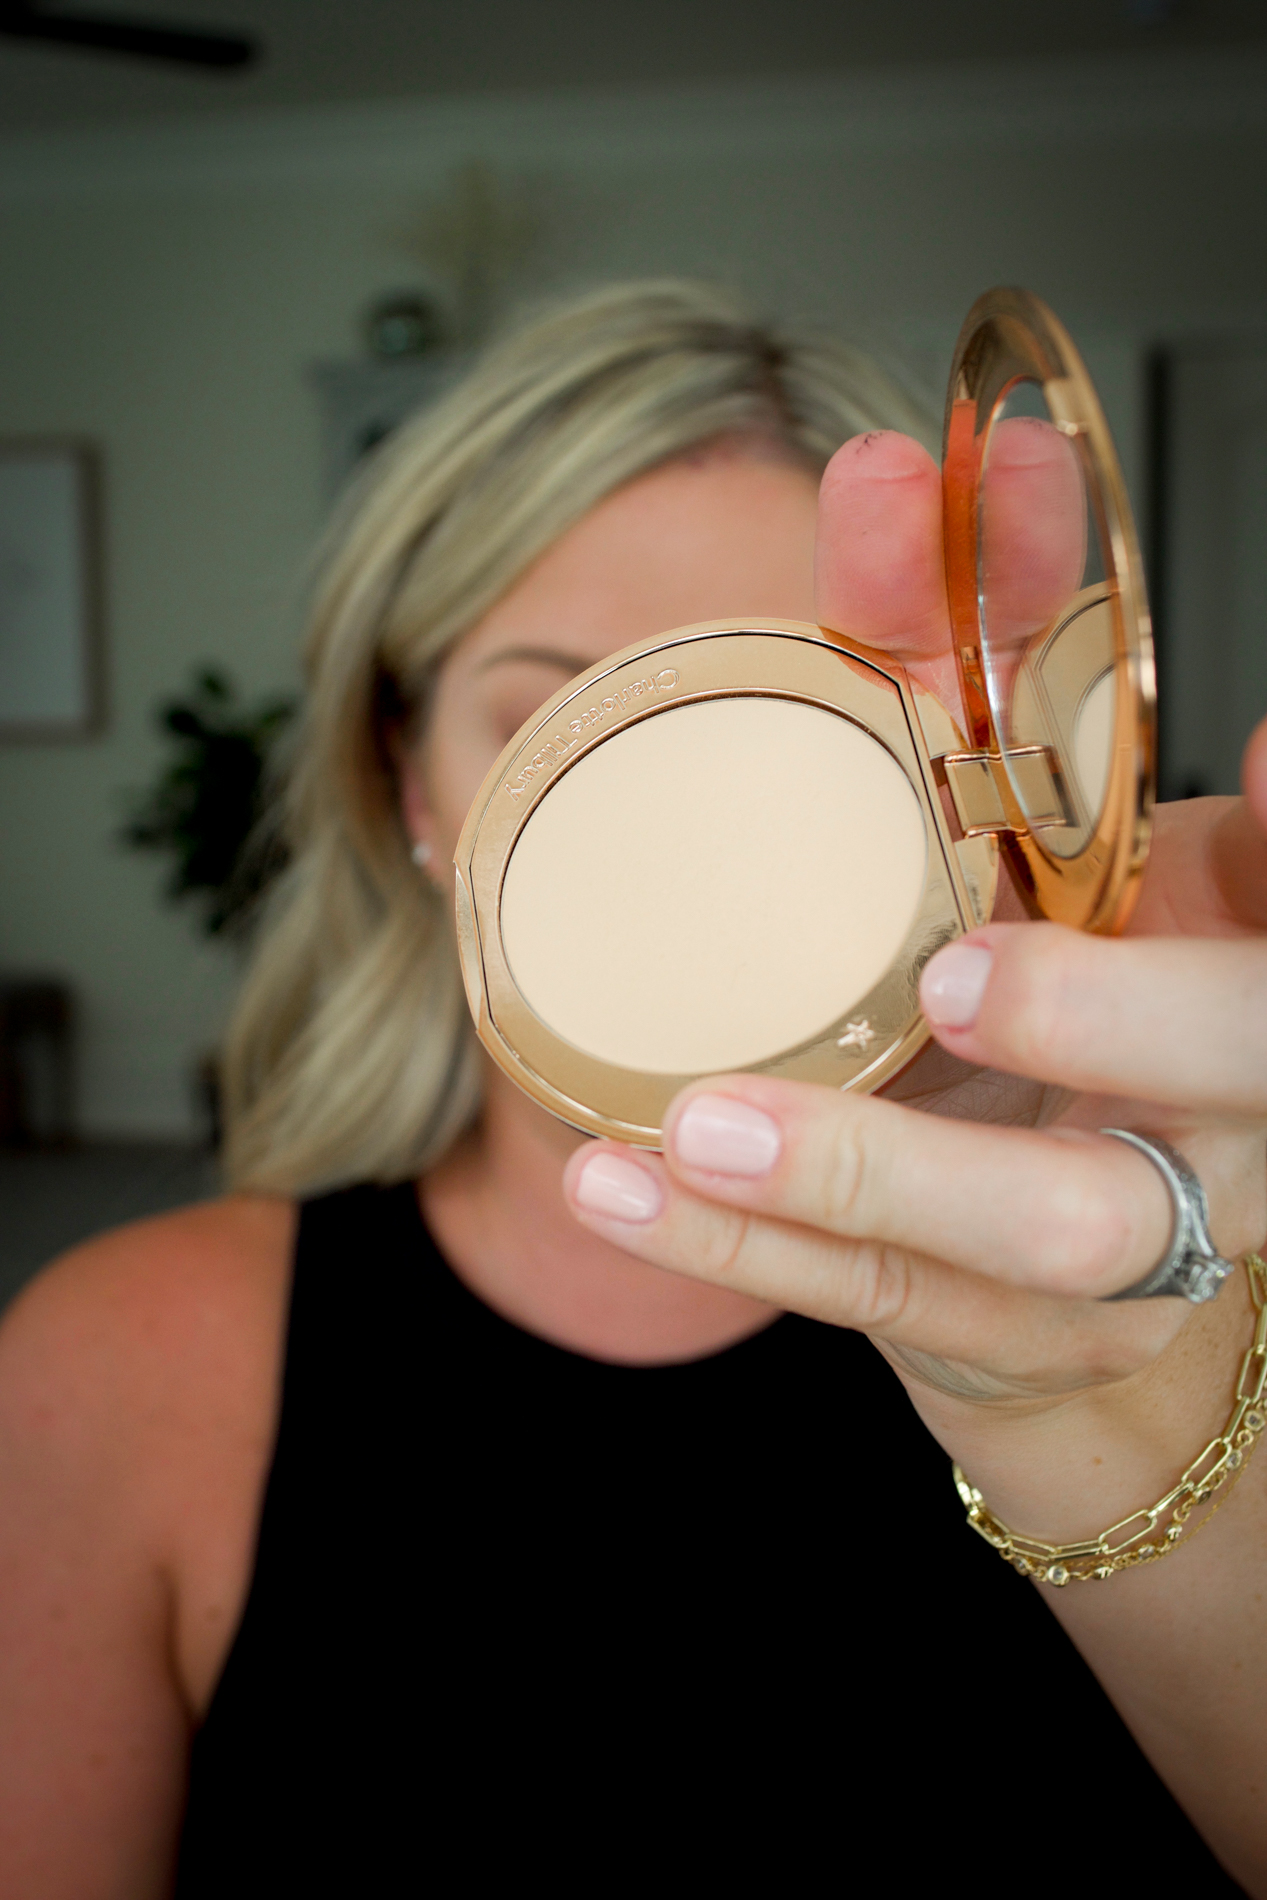
The Charlotte Tilbury Airbrush Flawless Finish Setting Powder in Medium (2) is a beautiful powder to set my makeup. It blurs any imperfections before my very eyes and evens out my face nicely.
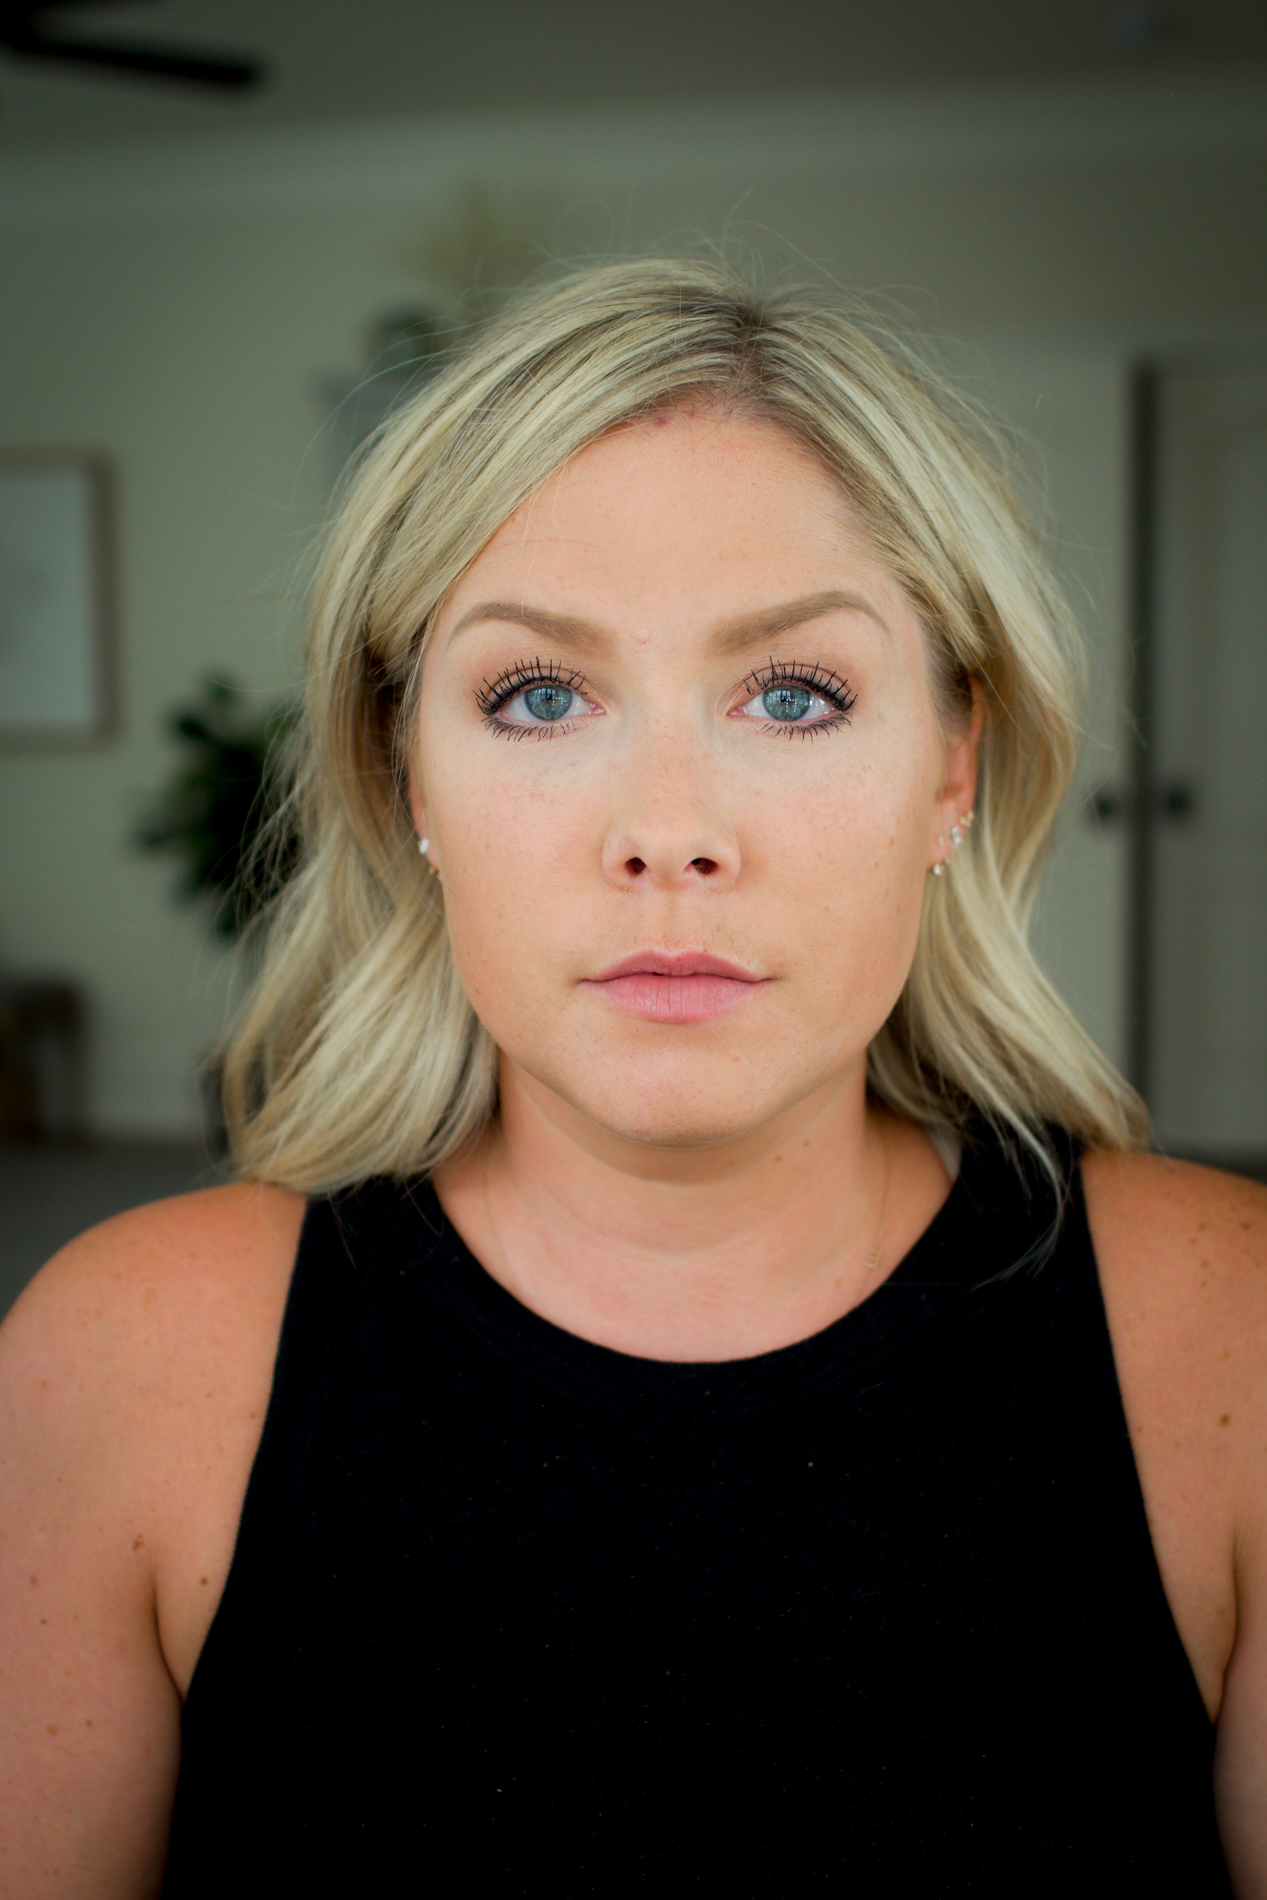
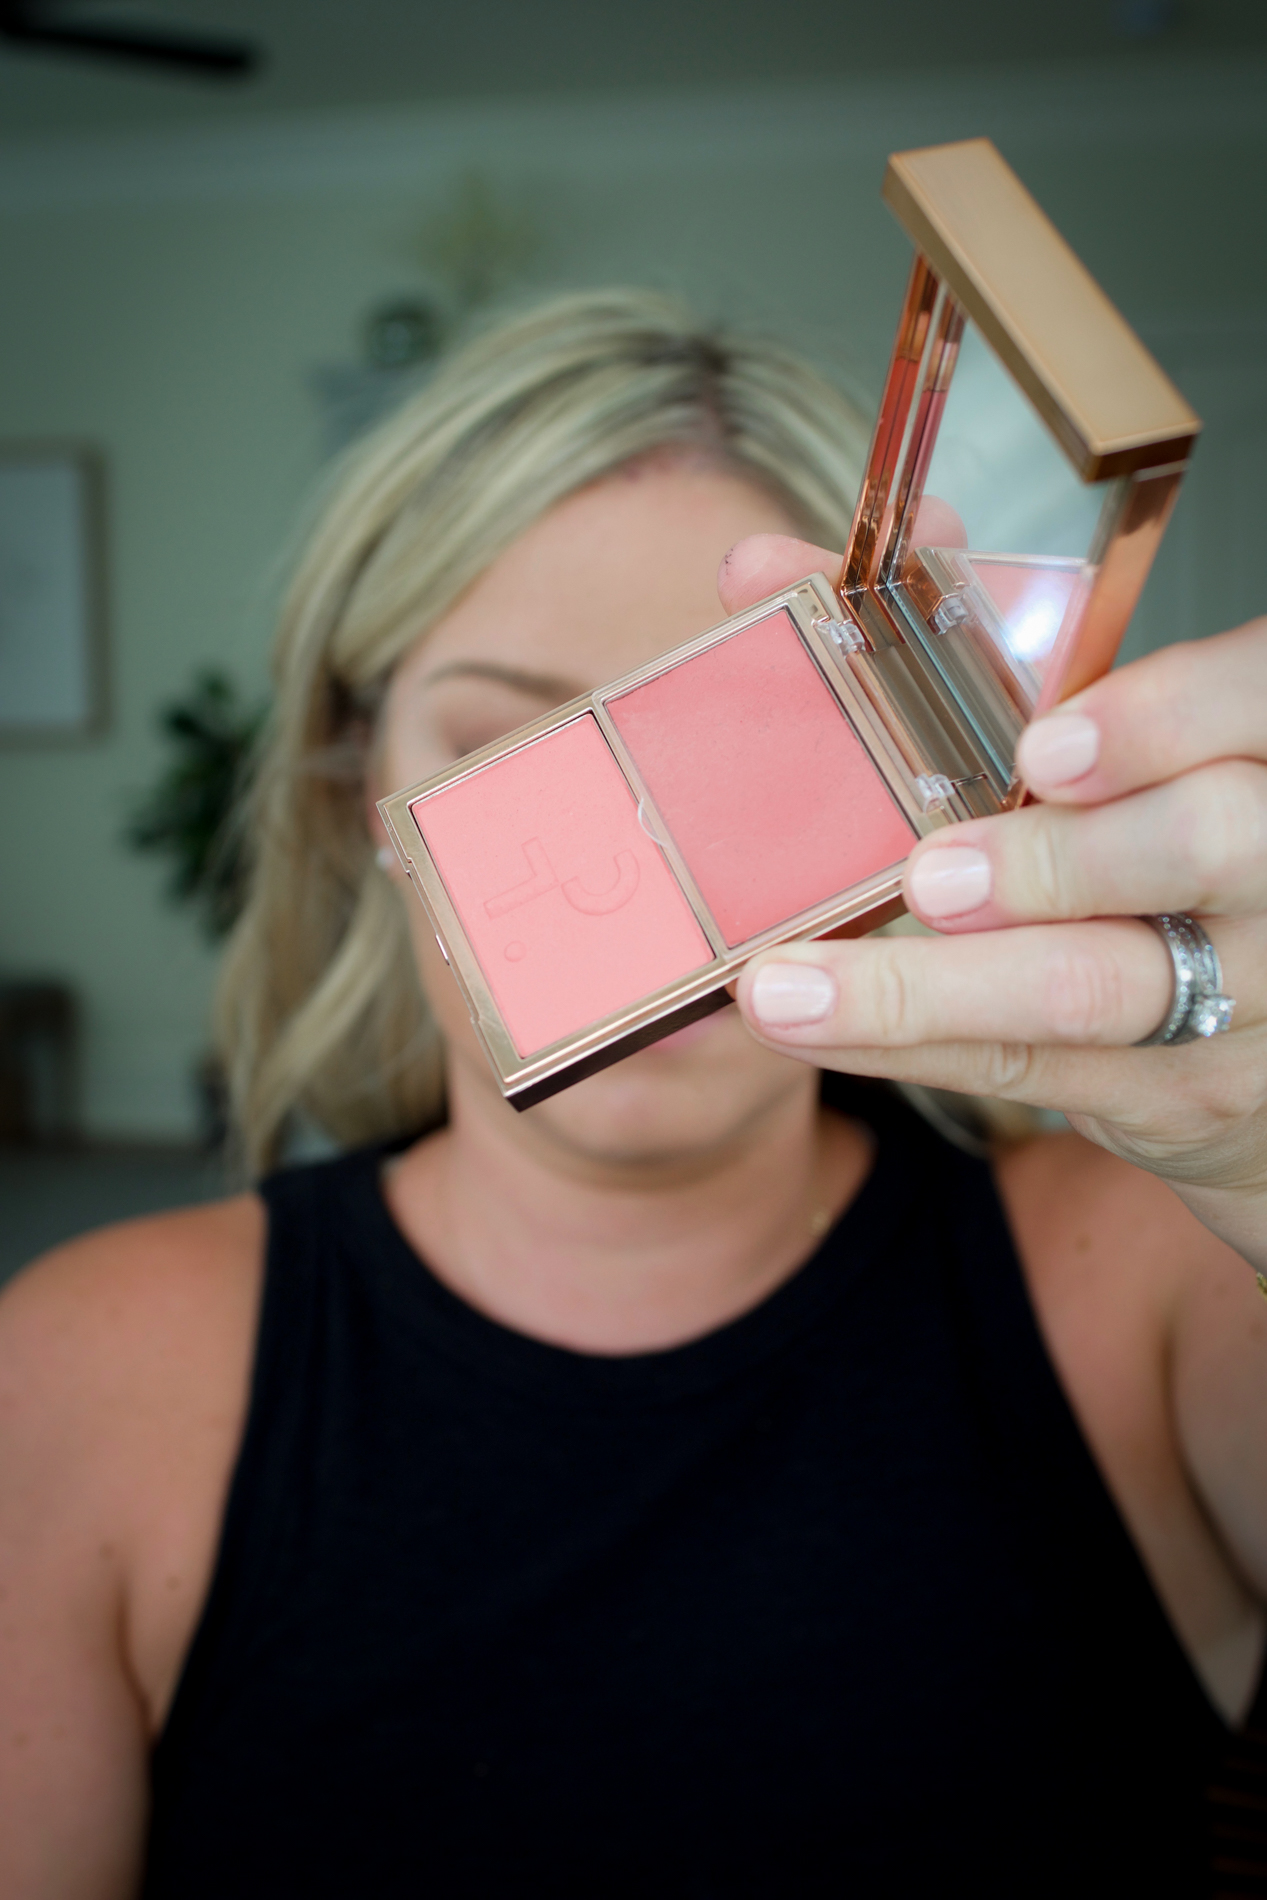
The Patrick Ta Major Beauty Headlines Double Take Creme & Powder Blush is the best of both worlds in one single compact! I love each of the products individually, but together the blush is long-lasting and the prettiest pink!
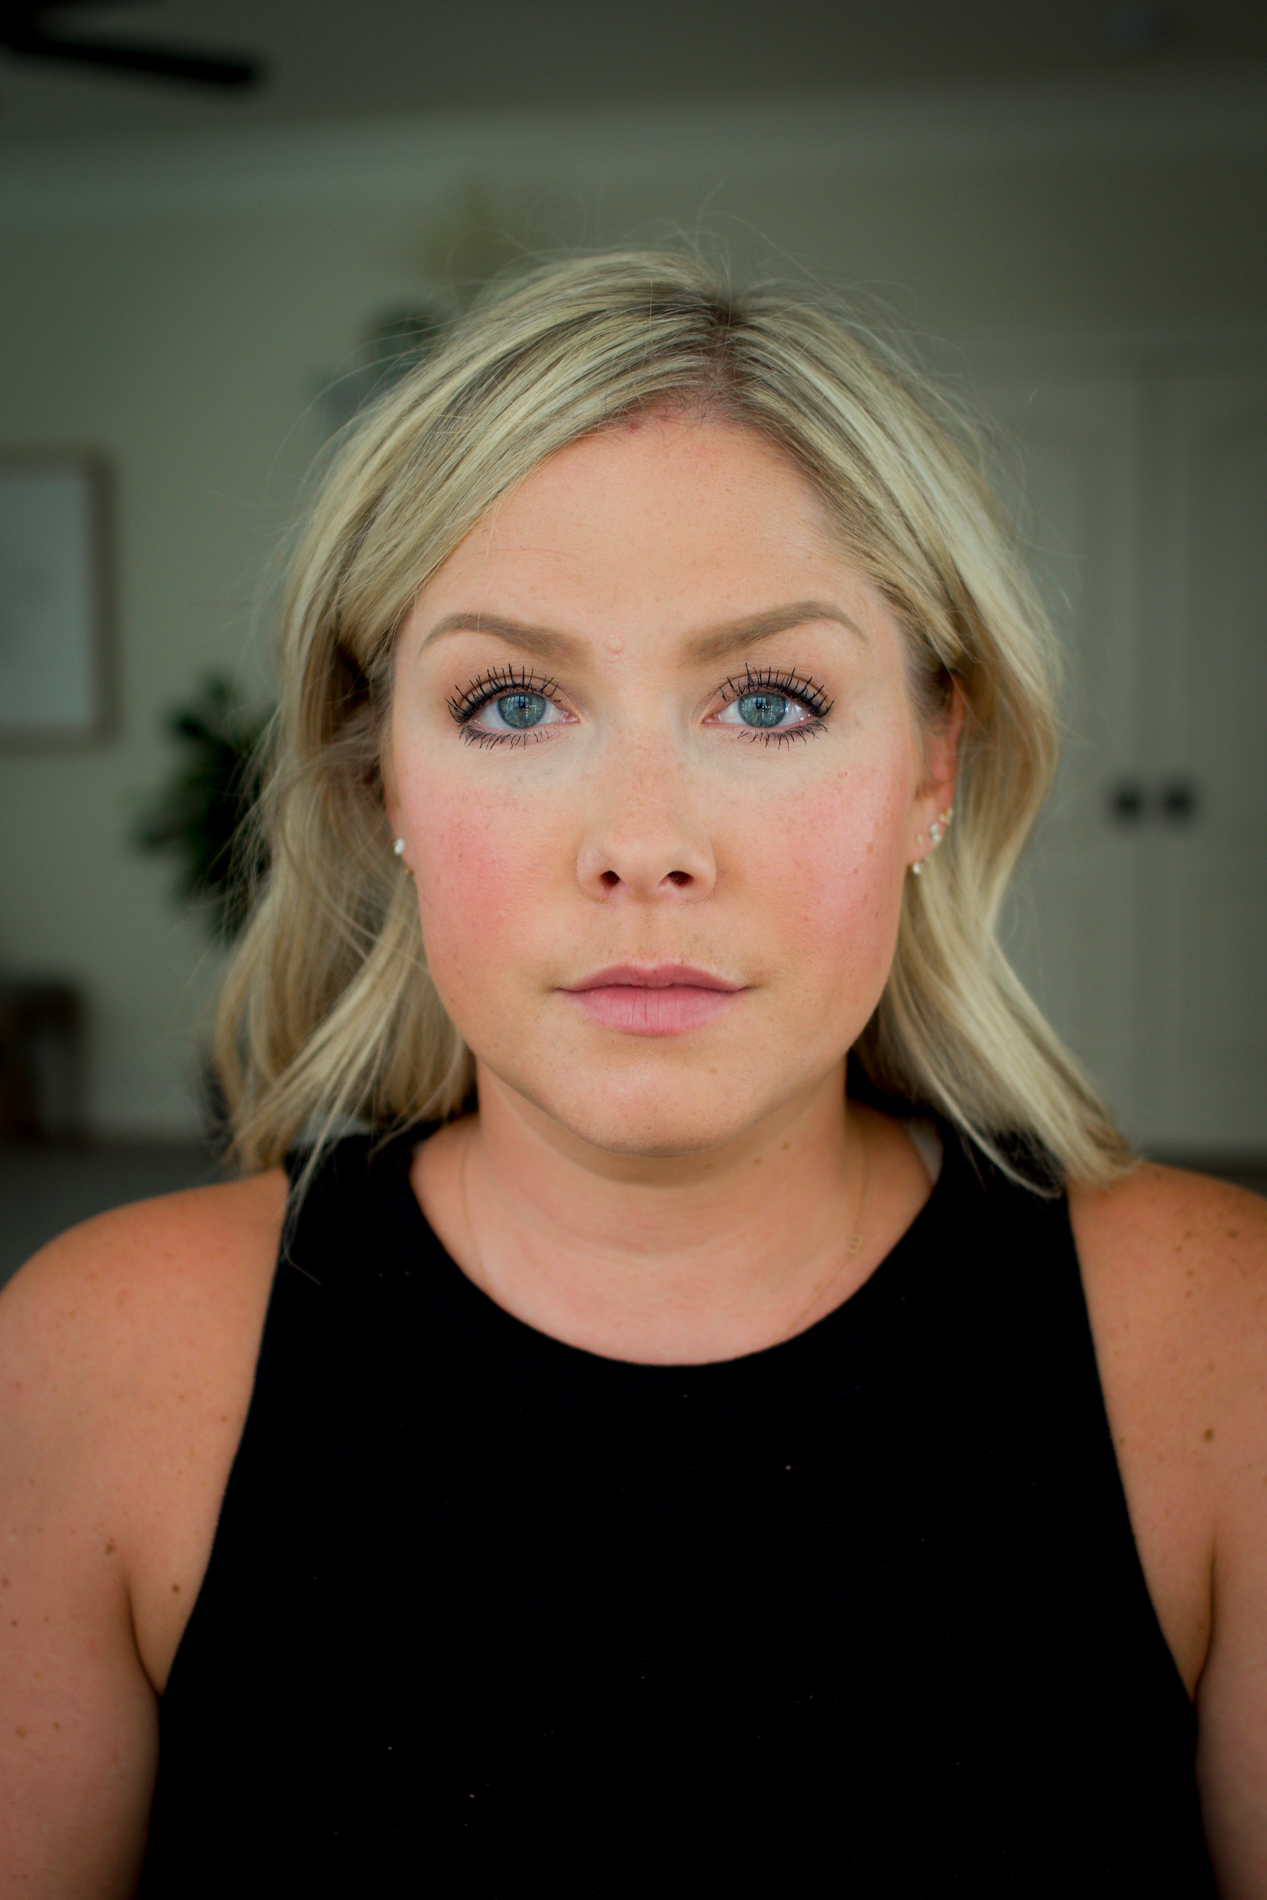
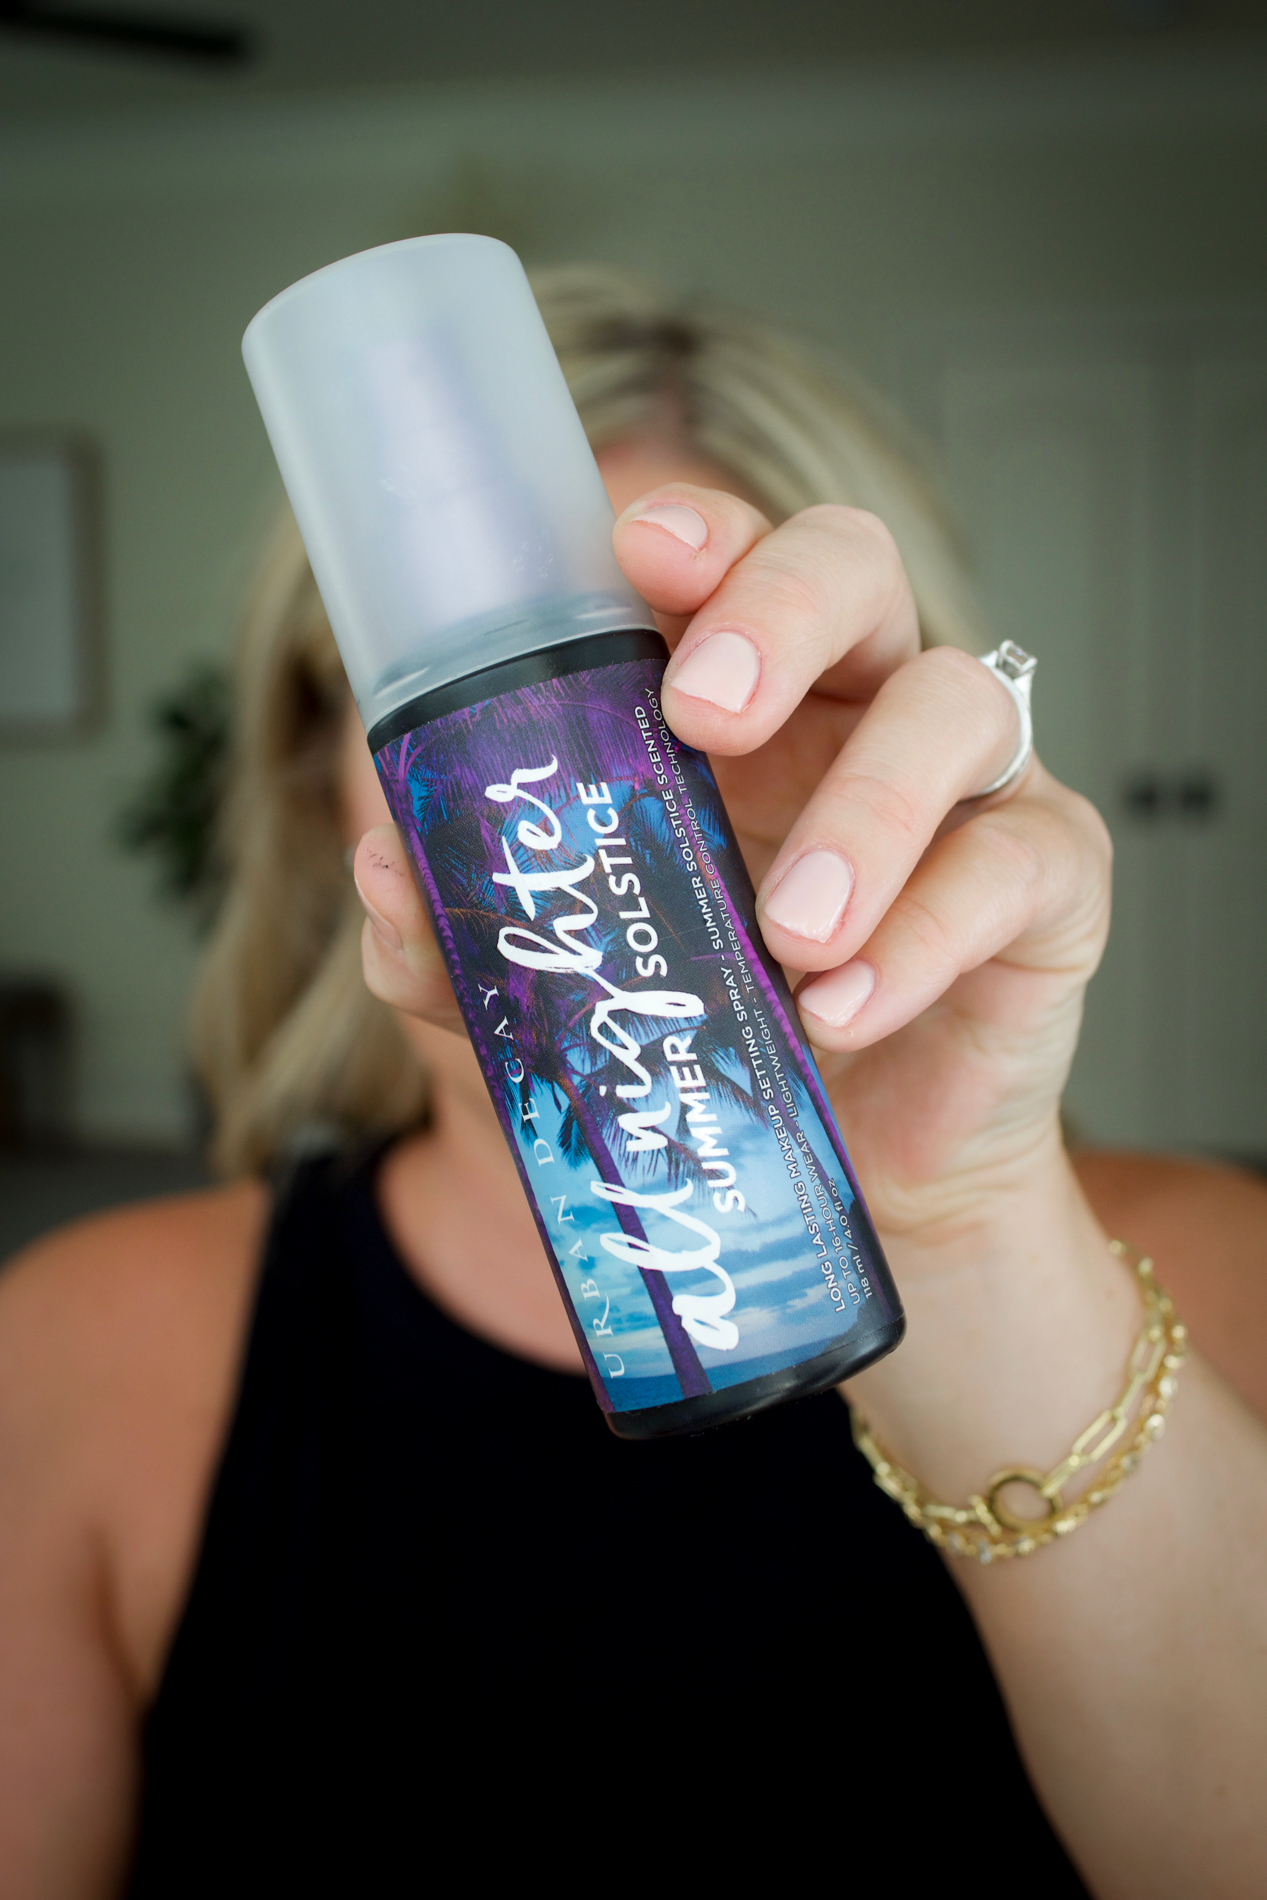
It’s hot and humid where I live so it’s vital to set my makeup with Urban Decay All Nighter Setting Spray. This spray works so well to fight against makeup smudging or melting off in extreme heat and humidity.
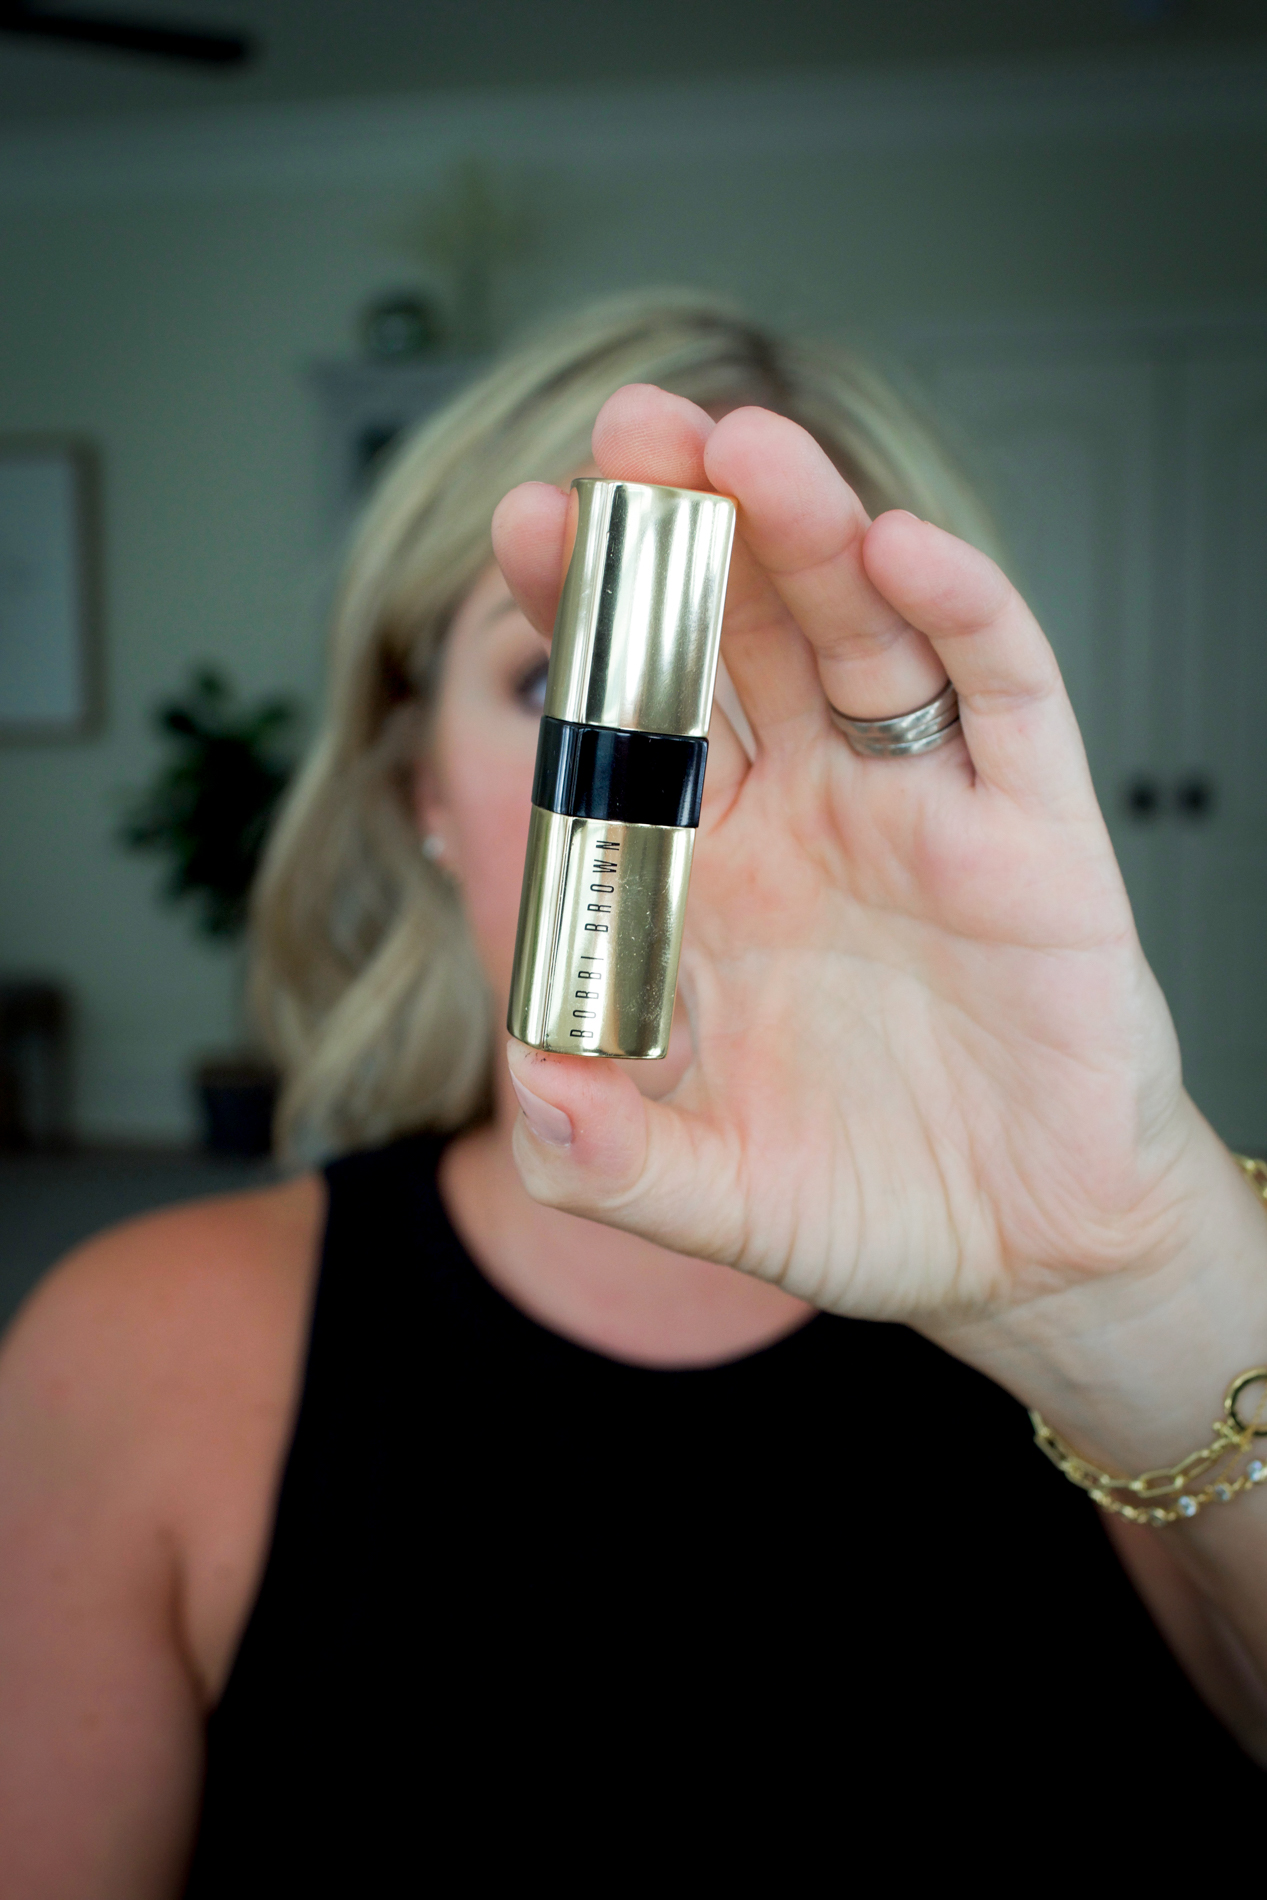
And finally, I finish with a pink nude lipstick by Bobbi Brown (since the blush was strong I didn’t want too pink of a color on my lips!).
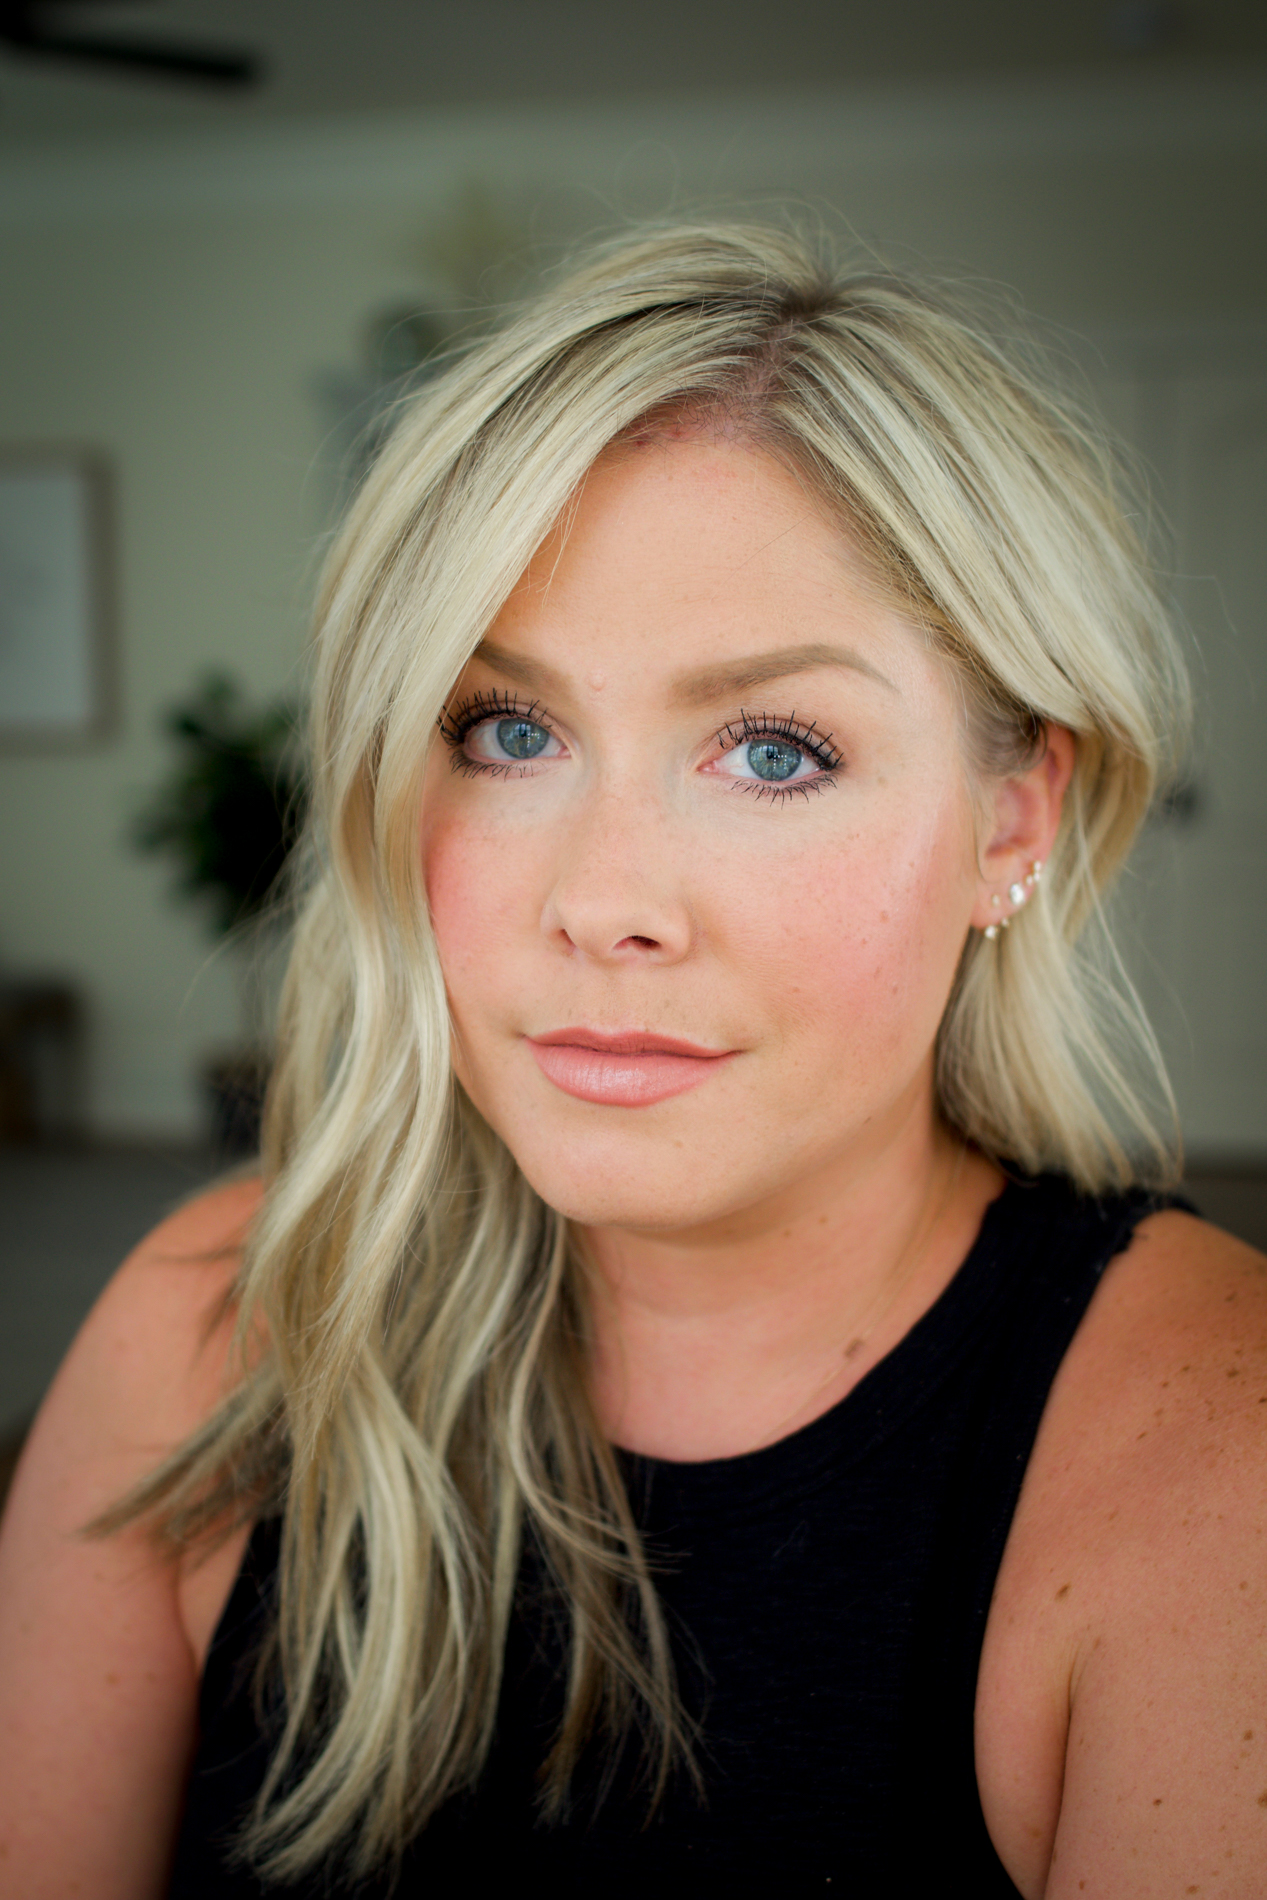
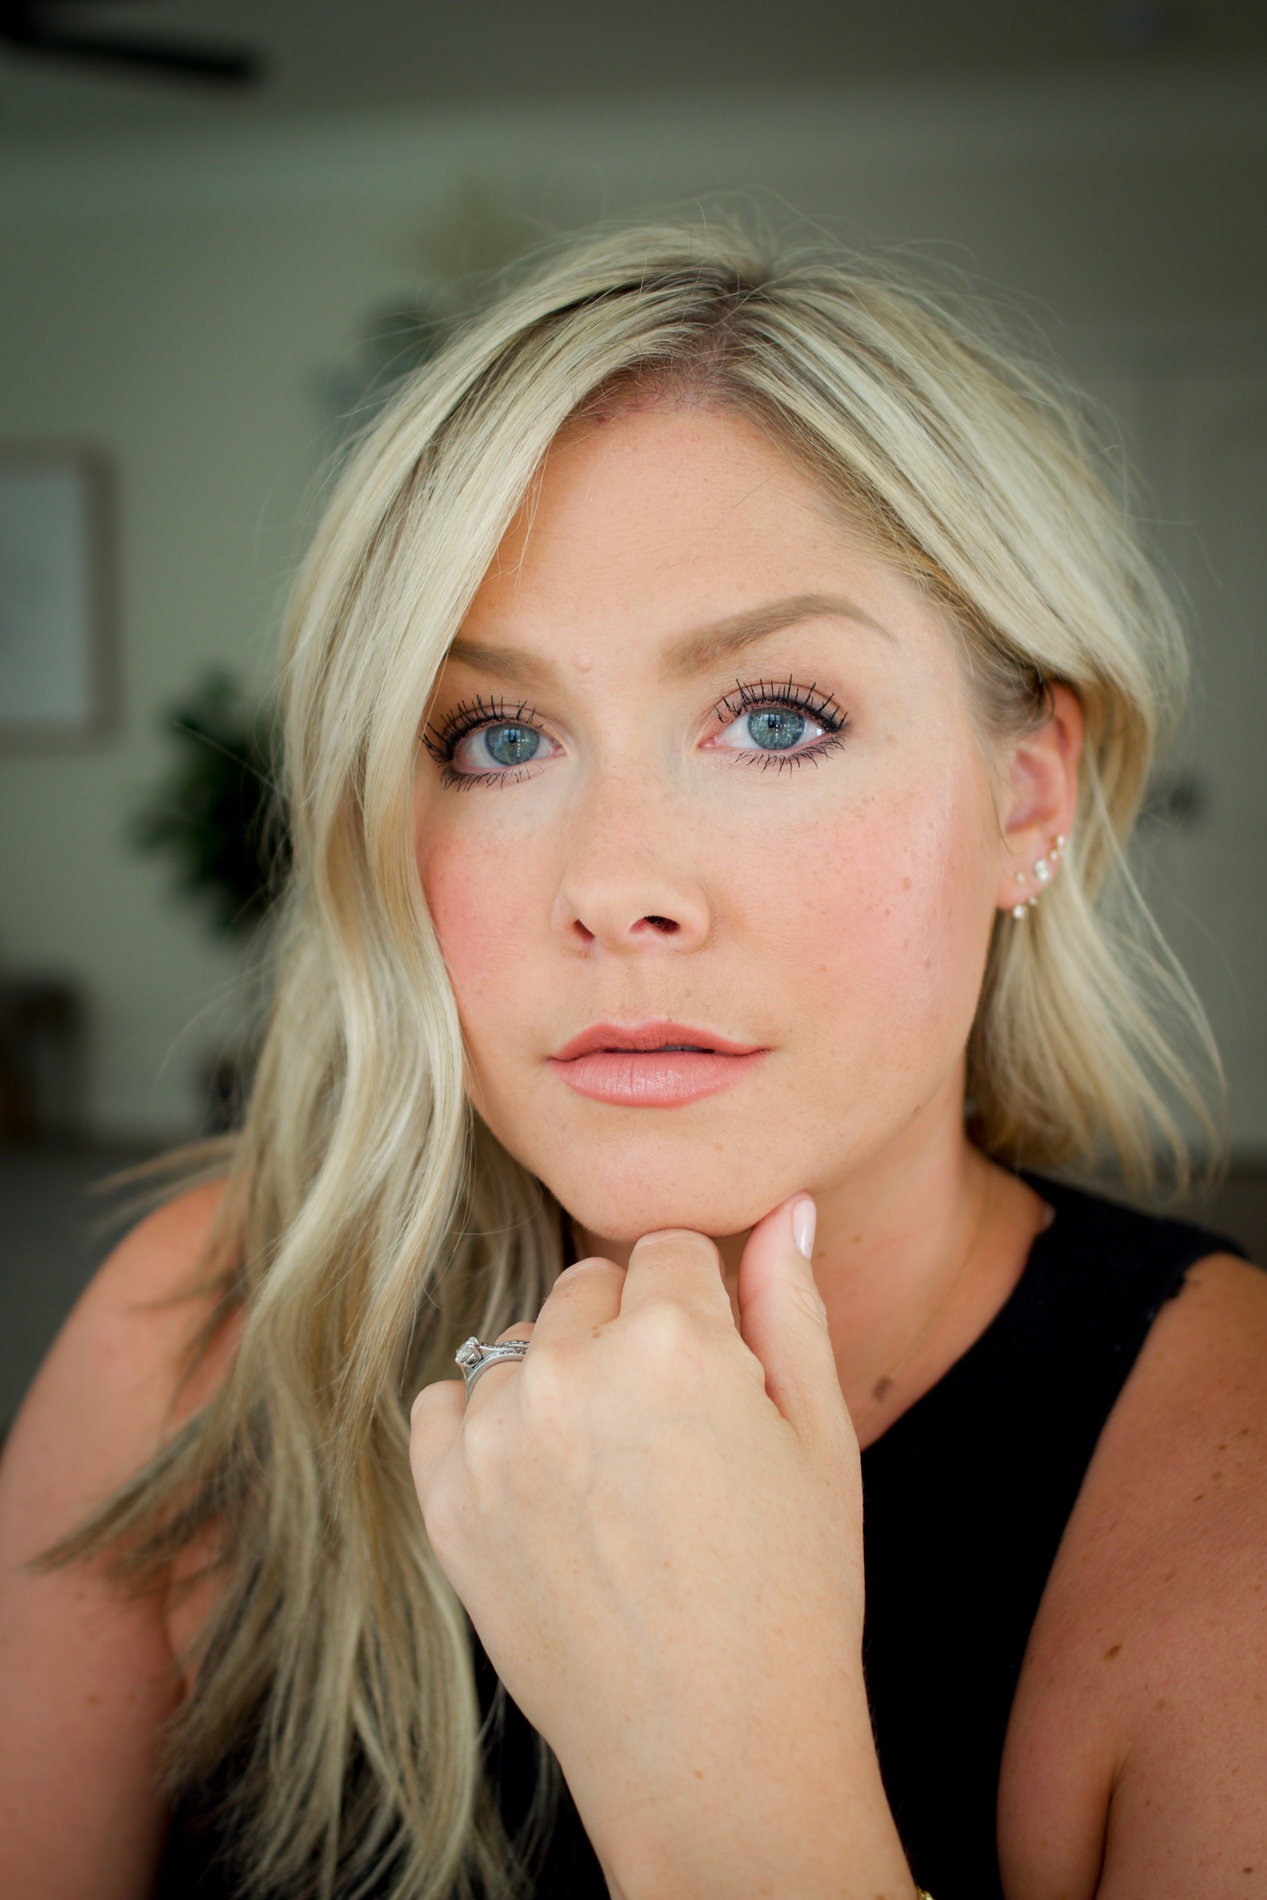
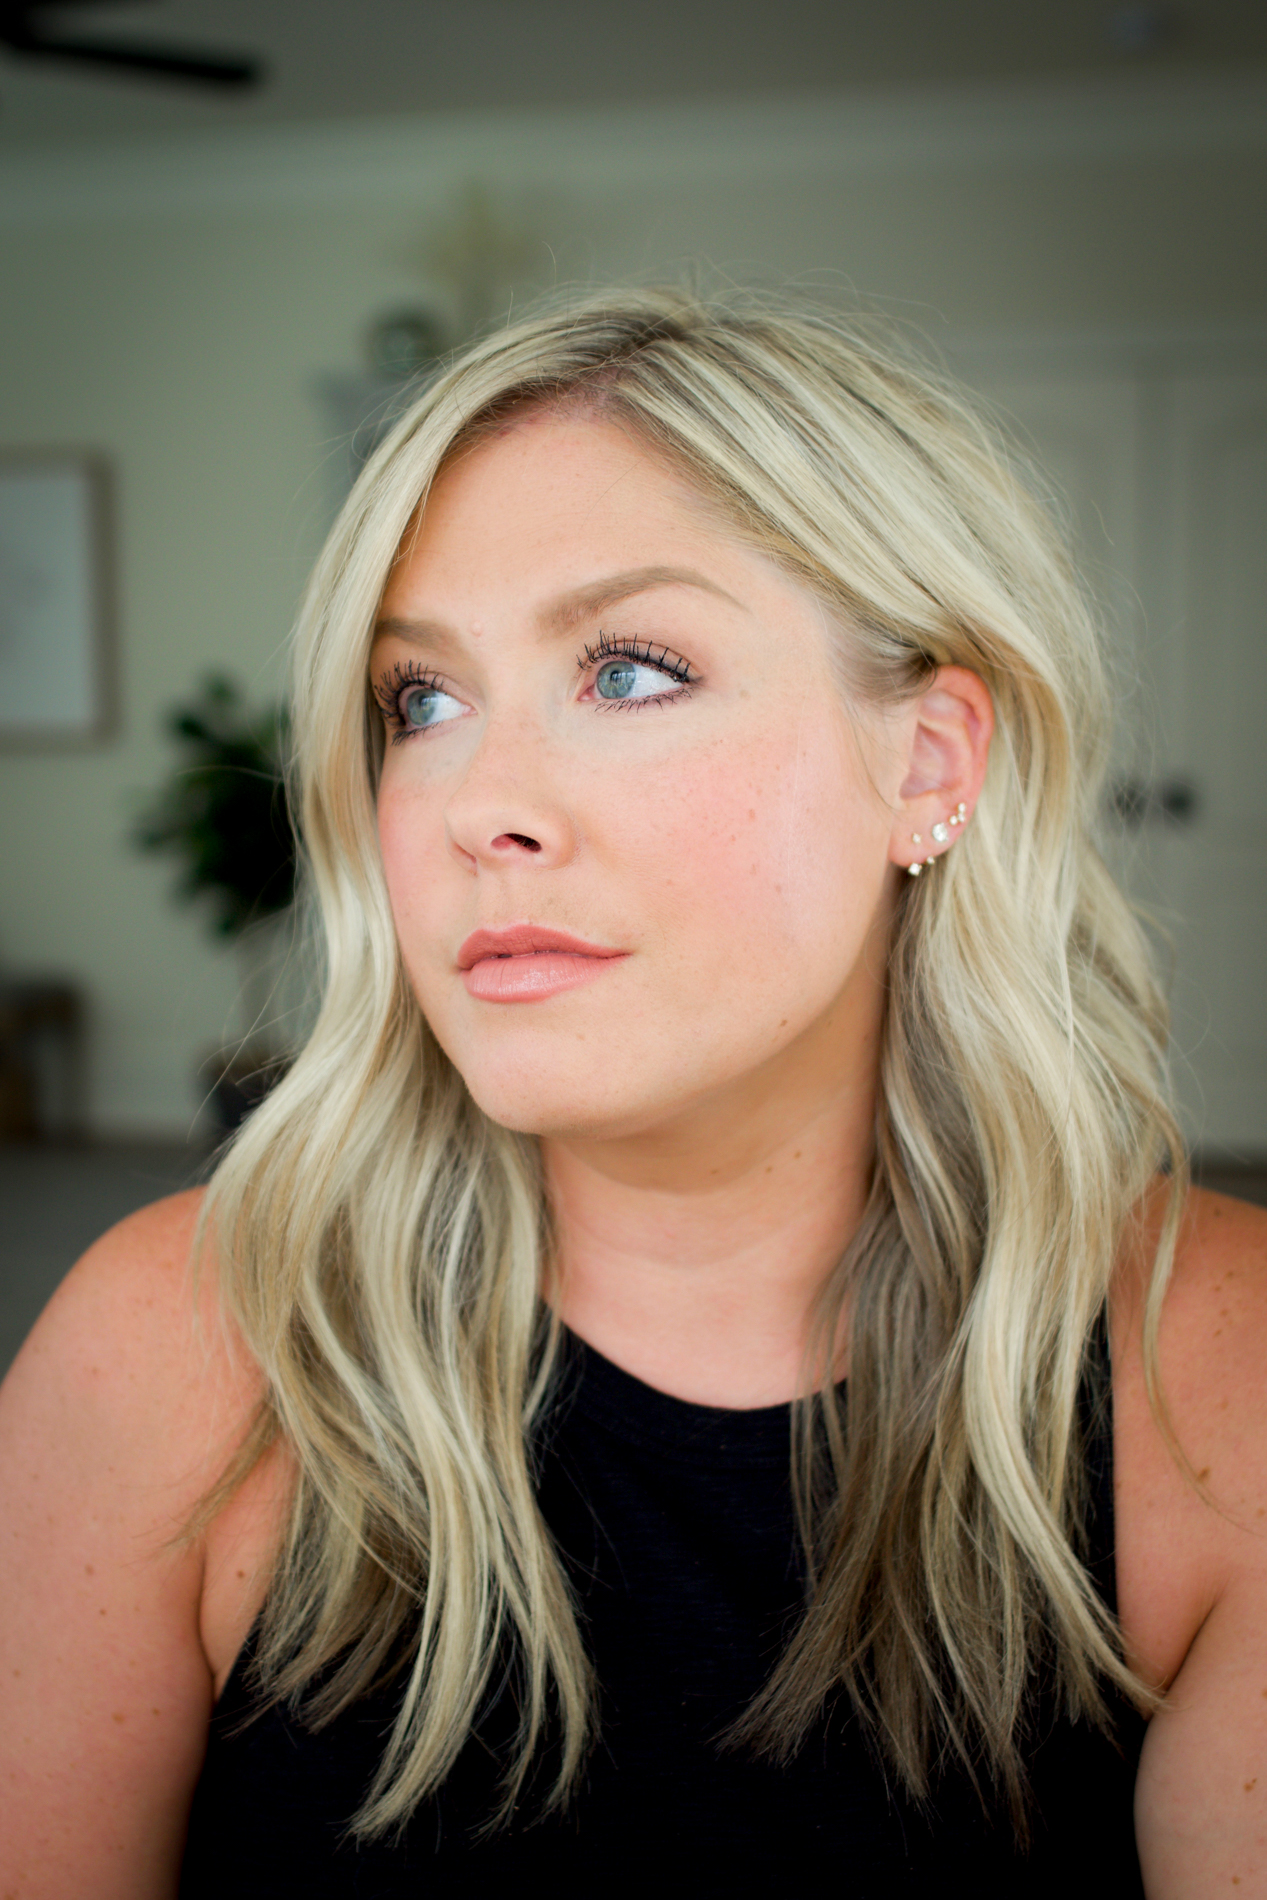
This routine is my go-to for workdays or anytime I want to apply makeup “on autopilot”. I know the colors that work for me, and I know I’m going to like the final result!
Like I mentioned earlier, now is a great time to either stock up on favorites or expand your makeup kit during this Sephora event! The code is “WELCOMEBACK” in honor of some stores being open (again click here to see if yours is!) and it can be used online or in-store.
Click on any of the images below to shop the products I mentioned!
This post was sponsored by Sephora.


comments
Thanks for the recommendations! ❤️✨
Charmaine Ng | Architecture & Lifestyle Blog
http://charmainenyw.com
Question – is it necessary to apply mascara to bottom lashes? Everytime I do, I feel like it rubs off under my eyes or I feel like they get tangled up with my upper lashes. I have very long eyelashes both on top and on the bottom.
Any tips or tricks I could try?
Karen – I meant to reply to you, but it looks like I just commented down below!
Try dusting the tips of your bottom lashes with a tiny bit of translucent powder! It’s a trick I’ve done forever. Don’t go overboard or it will be noticeable, but a light coat will keep the oils from your skin from melting the mascara down onto your under eye.
What kinds of waterproof mascaras do you like/recommend? I’m not a huge cryer or rainy-day galavanter, but I’d like the option should the mood strike!
Kate! What an awesome post!! Could you do a video with this makeup? You look great!!
Love the step by step photos! As a makeup newbie this is so helpful. Would love to see this type of thing with a full face makeup look too! 🙂
You are very talented and the highlight of my social media feed. This is a great post. Very helpful and I appreciate your honest reviews on products. Keep up the good work!
Do you wear concealer under your eyes? If so, do you set it with some sort of powder? I sounds completely unrelated to your mascara, but this prevents your mascara from rubbing off under your eyes! I also have long lashes, and I HAVE to curl my top lashes or I have some straight top ones that get tangled with my bottom ones. Just things I’ve learned over time, hope it helps you! Also – I use the Loreal Voluminous Lash Paradise mascara and love it!
Beautiful as always. 🙂 I don’t know a lot about makeup but had a question. In the past, you have used the same color of MAC studio fix that I use. If that color works for both of us, would other colors (such as a blush or lipstick) that look great on you also work for me? I am a hazel eyed brunette.
I like all of your recommendations. What is the color of your nail polish? Thanks!
oh goodness, I love this blog post so much! It’s so nice seeing the pictures of how your face changes with each addition- a quick reference vs a video, thank you! 🙂 Def going to add some things to my sephora cart right now..!!
First of all, you look STUNNING!
But I wanted to comment on the format of this post. It was so simple to follow and I liked to see each individual product that you used and what it looked like applied.
Love your posts. Thank you for being an inspiration.
Really like the softer inside edge you did with your brows here (inner corners of eye).
Beautiful post.
Thanks for the recommendations and the great post! I was wondering in today’s world of having to wear masks pretty much whenever we leave the house, do you find that you still apply a full face makeup or just your eyes or none? I personally have fallen into not wearing any makeup at all but can’t wait until this pandemic passes and can start wearing my makeup again!
I love the way you showed your step-by-step process. Can you tell me the name of the Bobbi Brown lippie you’re wearing?
It’s nude pink!
Thank you!
Beautiful look! Thanks for posting.
This look is so beautiful! Thank you so much for the tutorial. I’m for sure going to give it a try!
This is great! Thank you!
Do you provide a how to anywhere to see the best technique for application of some of the products?
Hi there thanks for an excellent post. Not sure if you will see this question still but it did not look like you applied sunscreen before makeup. Is that something you normally do and do you have recommendations for which sunscreen to wear under makeup?