Undone Waves step by step
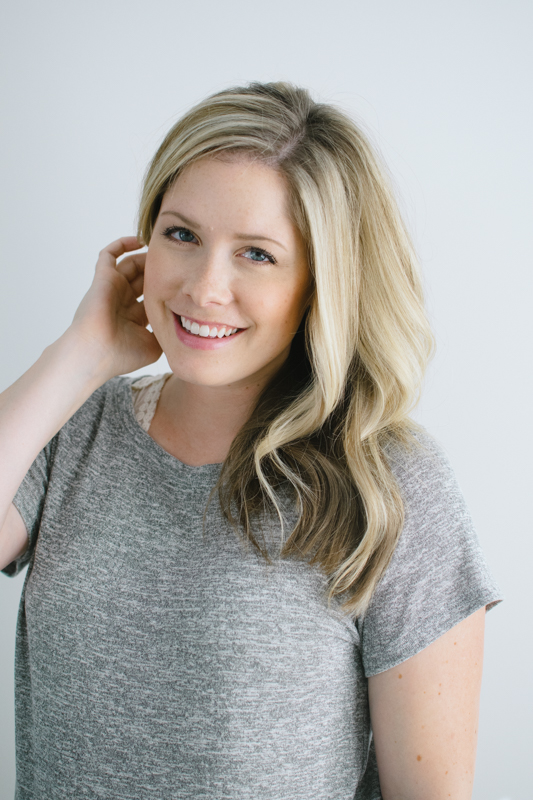
My Typical Makeup Routine
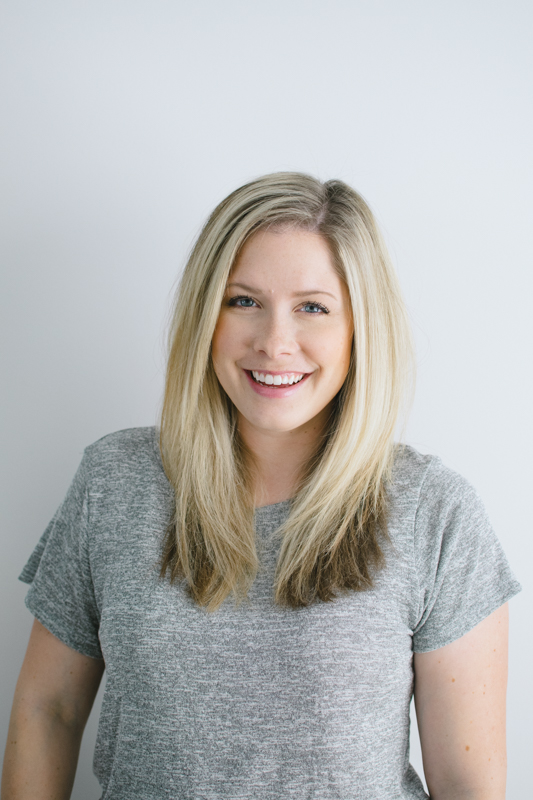
I do a lot of hair tutorial videos, but today I have a photo step by step! My goal was very soft, undone waves inspired by Elizabeth Olson. I had the pleasure of working with Sephora on this look, and used my favorite GHD Soft Curl Iron.
Starting with towel dried hair, I applied Reverie Milk Anti Frizz Treatment and Bumble and Bumble Don’t Blow It. I wanted my hair to be as smooth as possible and these two in conjunction really cut frizz and added touchable softness. I blew it dry with a paddle brush to smooth it out.
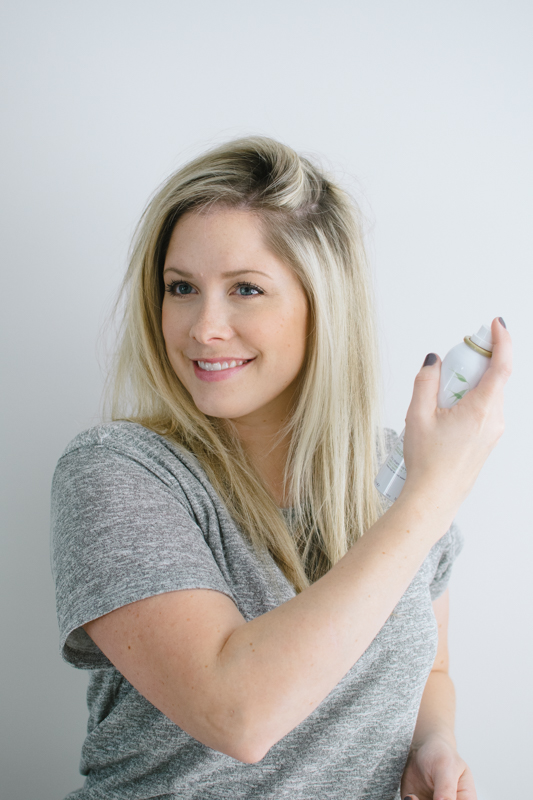
For extra pop at my roots, since my hair was so silky smooth, I sprayed the Kloraine Dry shampoo and rubbed it in with my fingertips.
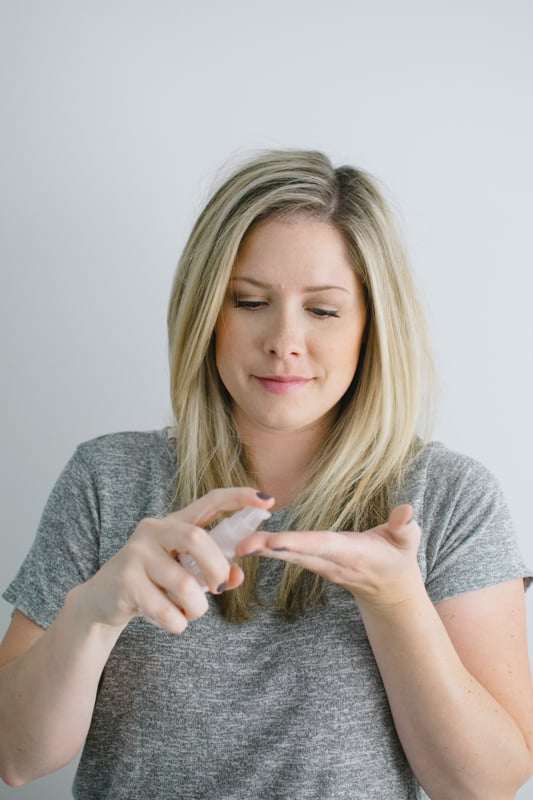
And the final step before the curling started was finishing my ends with Verb Ghost Oil. I knew I wouldn’t be using heat to smooth them out, so the oil helped do that so they didn’t look too undone.
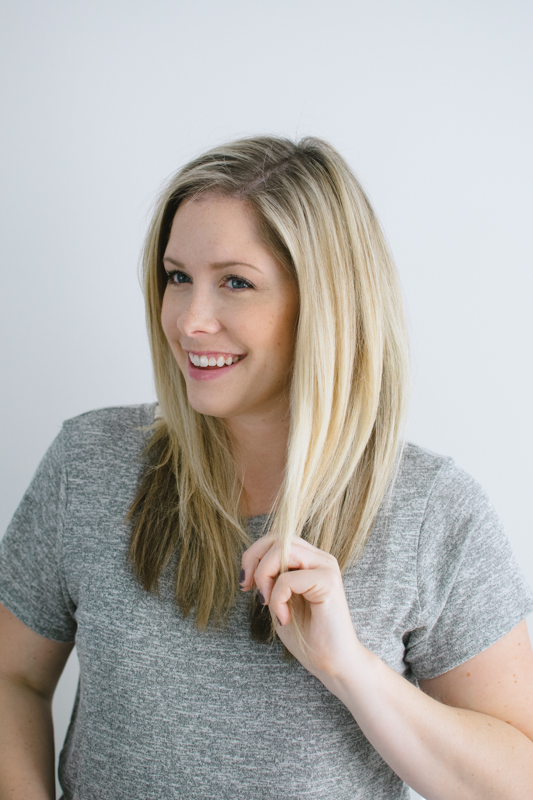
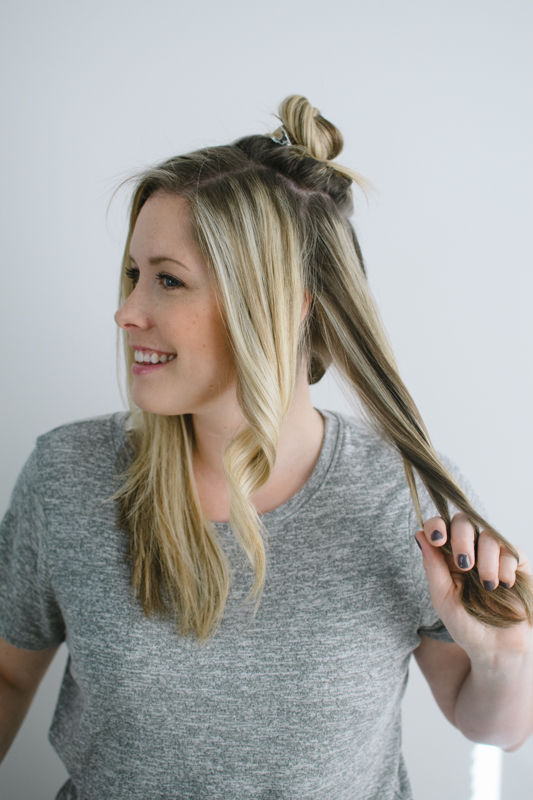
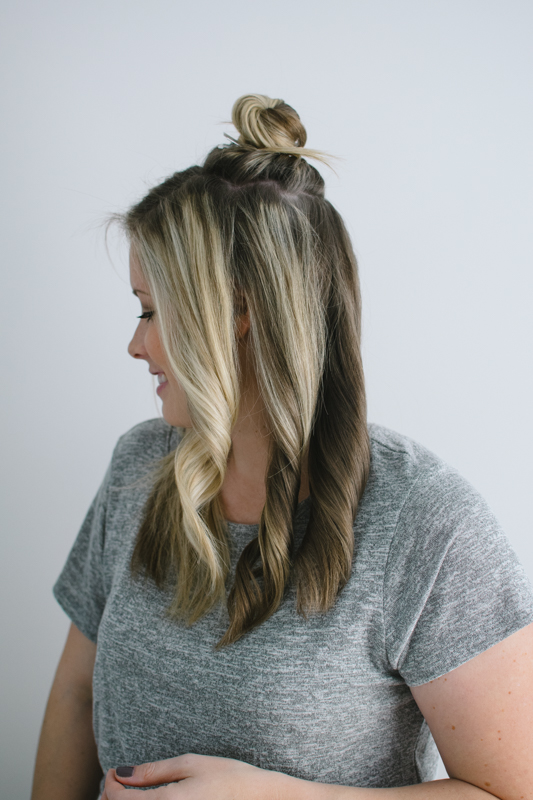
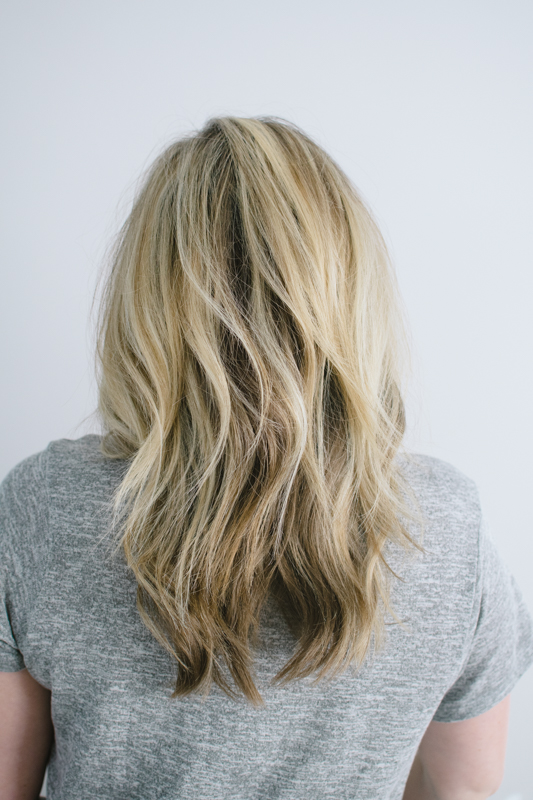
Typically I section from my temples and clip up that half, but for this look I didn’t want too many curled layers. I sectioned off a round halo shape right at my crown, but left everything else down to curl in one pass.

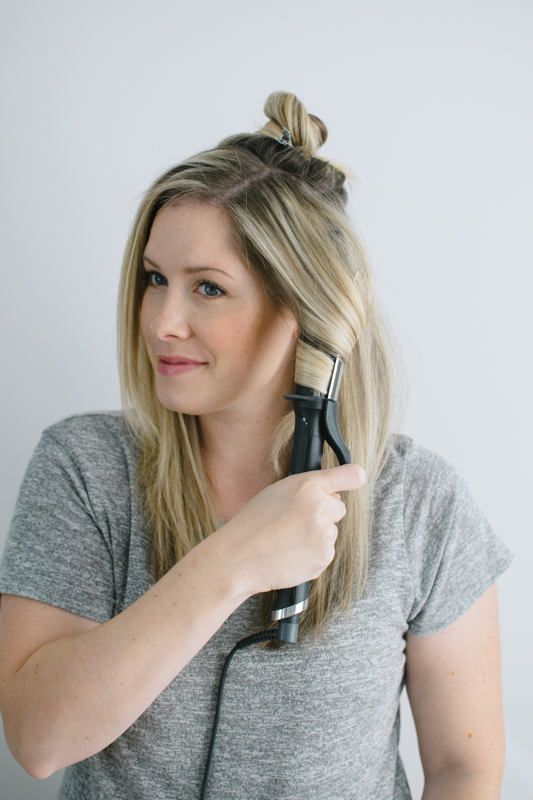
I left the ends out of the iron, and immediately after the curl was dropped I raked through it with my fingers. It was still warm from the iron so this action helped soft the curl even more.
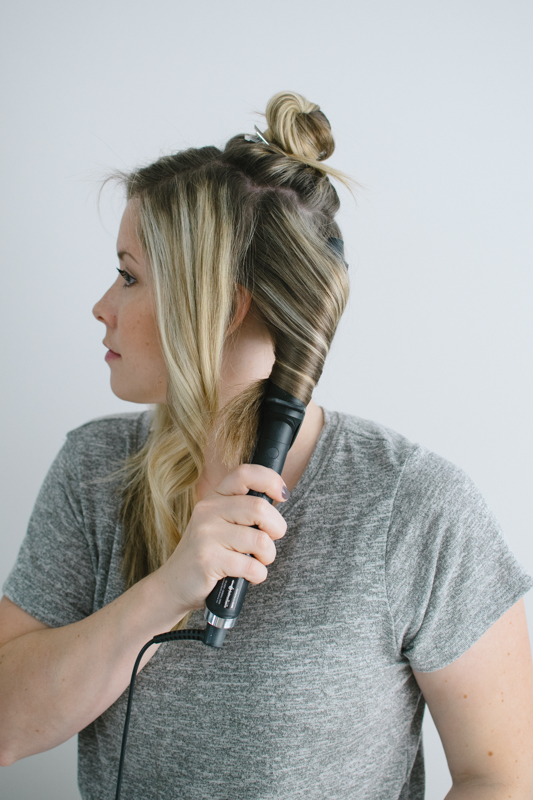
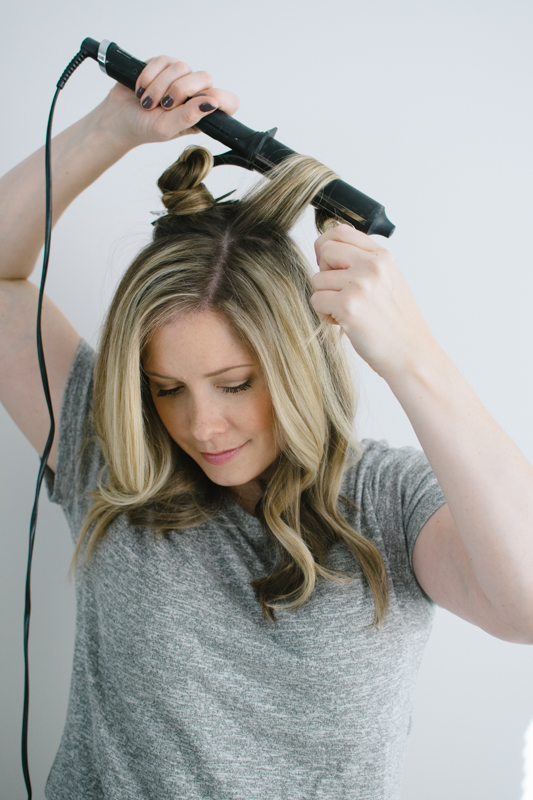
After the bottom was finished, I let down one panel from the halo section and wrapped it around the barrel. I wanted the softest curl here and wrapping it around like you would with a wand created just that. I repeated this motion through the entire halo section.
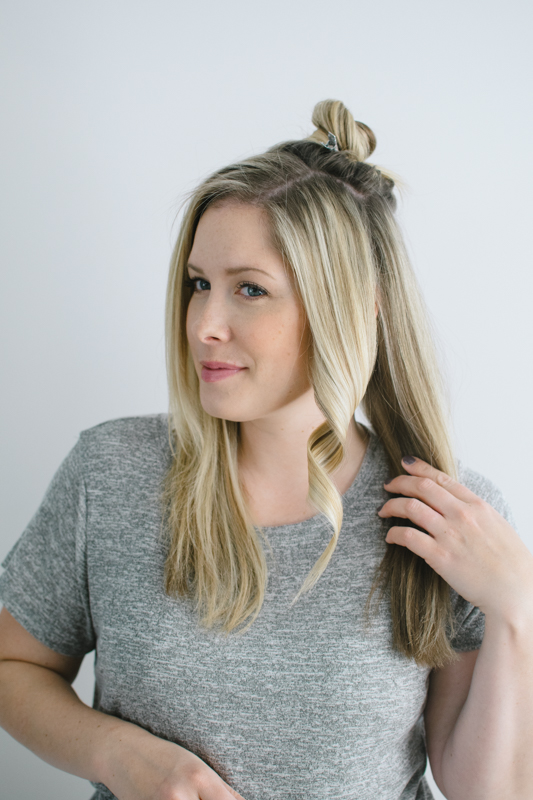
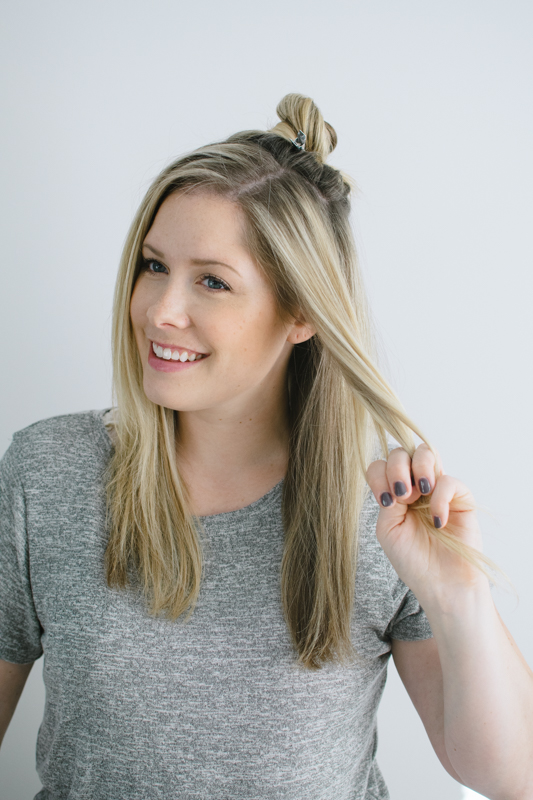
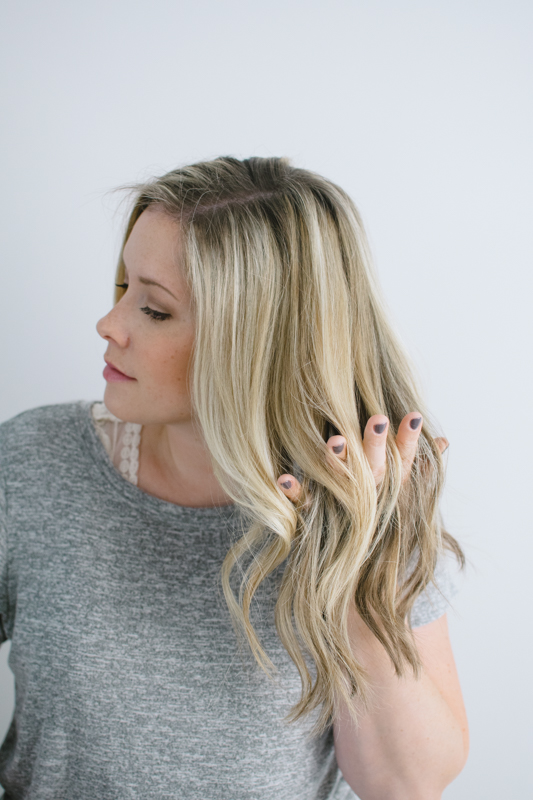
To finish, I ran my fingers though my hair to blend the curls together and added a light mist of a flexible hold hairspray.


This is easy and fast for a casual day, and is also a great foundation for pulling your hair back if you decide to do so!
This post was created in partnership with Sephora.

comments
Ok FOR REALS your hair tutorials give me such hair envy! I always try to curl my hair like this and never have any luck. But with this step by step I’m definitely going to try it. Please keep these coming!!
I love this look! But, everytime I try to curl my hair with this type of curling iron, I get an indent from the clamp. Help!!! What am I doing wrong?
I use my Hot Tools curling iron but I open the clamp up and wrap my hair just around the barrel. I get curls just like these.
Give the iron a half turn before you put it in the hair!
I had that problem too. My solution is to make sure the clamp is facing up when I put my hair in. So far so good. Good luck!
Are you curling all of your hair away from your face for this look?
yes!
I’ve got the execution of your curl tutorials down, but my fine and very straight hair drops the curl within an hour!! The only way I can get curls to stay in lately is by doing a flat iron curl instead. Any advice or product to help soft curls like this stay?
She might have a different tip, but I have the same issue and I’ve found clipping certain pieces in the curl position while it’s still hot really helps. It looks a little curlier at first, but then is does fall into the relaxed wave, instead of starting in the relaxed wave and falling completely out.
I have a lot of hair, but it’s straight and thin and this really helps!
I’ve gone so far as to clip each curl and let it rest overnight – only to have it fall just as quickly. Also sprayed each curl using various spoduct (Kenra 17 hot tool spray, Kenra 25, and other light hold hair sprays).
And also tried no conditioner…
For some reason only the flat iron holds for me lately. I can’t figure it out.
I don’t have super fine hair but I say mine has no texture. What I have found to hold curls all day and overnight is putting my Big Sexy Hair Root Pump Plus throughout all my hair. It is obviously just for roots but I use it like an old school mousse and finger comb it through my wet hair and then blow dry.
Wish you would come to Cincinnati/Northern KY area to teach a curling class!! I try to do these type of curls and they never turn out right.
Gorgeous! Your waves are always perfect (in that perfectly undone way)!
Alyssa | Glitter and Grey
I love this look! I’ve tried many times and I can’t get my hair to hold a curl to save my life. Even if I hairspray after each curl, 30 minutes later…it’s flat. What am I doing wrong?
Are you using conditioner in your hair before you curl it? Sometimes conditioner weighs the hair down
Great look. So beautiful
Kisses from http://poshnessary.com ❤
I love this step by step picture tutorial! Great post!
Is it possible to do these waves with shorter hair? I have hair that’s a bit shorter than shoulder length. Thanks!
I may have missed it, but what kind of curling iron? I am due a new one… maybe Santa will bring me one! 🙂
link is at the top of the page! It’s a GHD soft curve iron!
This looks so effortless! Thanks for posting I need to do this.
http://www.writingmotherfashionista.com
You make this look so easy, and I love that you posted a photo step-by-step! My curls are usually in weird layers, so next time I’ll DEFINITELY be trying that halo top knot to help! 🙂 Thanks for this!!
Love this! Please come do a DC/Northern VA curling/styling class!!! ?
Love the step by step tutorial today. Definitely going to try this out at home tonight.
Beautiful! I’m going to have to give this a shot! 🙂
Somewhat unrelated question: what is that nail polish you’re wearing? I love the color!
This is my GO TO hair style! I love how your photos spell out the process-I’m going to try the halo technique the next time I do it! I also love this “undone” look for Day Two hair. The first day are loose curls, and the second day, waves. Only a few touch ups needed in between!
Kate, your makeup and the photography are gorgeous on this post. I love the fact that your tutorials are so easy to follow. Once I started using the products you recommended (you just can’t get the same look without products) I often get asked if I have just had my hair done at the salon. I personally love the cloud nine curling iron after I stopped burning myself. Thanks for doing these posts and helping make beautiful hair!
This is how I always curl my hair. So easy and quick 🙂
I am green with envy that your first photo is towel-dried hair. 🙂 This is a helpful tutorial — I always wait until day two hair for curls like this since they seem to hold better. The dry shampoo is a good tip and I can’t wait to try it!
Right?! The first picture is actually my favorite! I love your hair when it is straight and smooth, Kate! It would take me about two hours to get my frizzy, coarse, curly hair to look like that!
oh I need to clarify–it was blown dry after I applied the products!
So pretty! Love this undone look!
I love, love, love this! I’m planning on chopping off some of my hair and this tutorial will sure come in handy.
PS I like this style of tutorials with the pictures, super easy to follow 🙂
I really like the photo tutorial! The videos are great too, but I often don’t have the time to watch a video. This was a great change. Thanks, Kate!
I never know where to buy all the products you use, but I think I really need them! My curls are so slippery because I don’t put anything in them other than my curling iron.
Hey Evelina… I found the Amika undone texture spray, Kenra 25, and Aquage uplifting foam all on Amazon. They are really incredible products but can be quite expensive to keep up with. If you’re in a pinch or on a budget, I’ve had success with Garnier Fructis Root Amp spray mousse (apply same way as Kate does in her “how to blow dry” tutorial) and Garnier texture tease texture spray. Although they aren’t as awesome as Kate’s recommendations, I’ve found that they are a really more than decent replacement on a budget or in a hurry. I have also seen the Amika products on Sephora’s website but have not been able to find any Amike or Aquage products in a store. Most hair salons and beauty supply stores carry Kenra products if you don’t want to order online.
that is your towel dried hair??? ok life is really not fair
there is no picture of her towel dried hair, she talks about apply products to towel dried hair, then she used a paddle brush to blow dry. The first photo is of her hair after blow drying
Great tutorial! Can’t wait to try it!
Kelly xx
http://www.anneinthedollhouse.com/
This curling method is exactly what I do on a day to day basis…love it!
http://www.jenniferpeer.com
I think this would be a fabulous hairstyle for a Christmas party…I would just spray the curls to keep them more defined instead of so soft.
http://a-woman-of-a-certain-age.com/
Love this step by step guide! Question. Do you have any thoughts on hair donating organizations? It would mean a lot to me to get your opinion! Thank You 🙂
I wish my hair could do this! You look so beautiful at the end. And the beginning. And in every step, really…
Gorgeous! I love this tutorial style, it’s better than the videos… I never watch those b/c they’re too long/ I don’t want to stop what I’m doing. Question – how do you keep your curls from joining together in a bunch? I can’t keep my hair separated, ya know?? (After it’s styled and I’m out and about for the day)
I’d love to know the…..i have the same problem ☺
She often talks about using Amika Un.Done Texture Spray to keep curls from joining together in a bunch. You should watch one of her videos to see how she uses it.
This is great, but I love the videos.
I’m so jealous! My curls NEVER end up like that! I think I just need to go to a salon and force someone to teach me how to do it on my hair!
Mary Kate
http://www.mynewchicagolife.com
I think Elizabeth’s last name is spelled Olsen…
Hi Kate, thank you for another great tutorial. My hair game is pretty strong these days and it’s all thanks to you!
Do you have a specific paddle brush that you recommend for blow drying?
So pretty! I can never get mine to turn out. My hair always ends up too curly 🙁 I’ll try to follow your method and see what happens.
Hey does anyone know what temperature setting Kate uses to achieve this look? I have a hot tools 1 1/4″ inch and have tried it both super hot and with a lower heat setting and either the waves fall out or they wind up too curly. Unfortunately the GHD curling iron isn’t in my price range at the moment so any tips or tricks from anyone that uses hot tools or knows about temperature settings would be greatly appreciated!
The GHD doesn’t have a heat setting, but I would try using higher heat and just holding it on for less time!
Thanks SO much!!
okay, i love you for this! finally got around to trying it today (after recovering from the flu…) and although my results were curlier than yours (probably a good thing with my fine hair — they’ll fall out into undone waves haha), this method for curling is brilliant. i feel like it’s perfect for my hair — i don’t have a whole lot of it (thin/fine), so just pinning up the crown area instead of going layer by layer saves so much time, and the results are still great! i also agree with a previous commenter — i often don’t have or take the time to watch a video, but the photo tutorial was perfectly clear and kept it nice and simple. would love more of these! 🙂 will definitely be using this method for my styling from now on. thanks!
I really, really, really like the photo tutorials. I can read in depth and check it out while doing other things – a video I may skip because I’m at work or watching something else with hubby.
Thank you!!
I would love a video of this!!! Please make one!
This was so helpful. I gave it a try and was so easy to follow. My hair turned out great, just in time for my birthday dinner. Thanks for the help, Kate!
I like the tutorials in this format!
Your hair looks gorgeous! Great tutorial.
Jenn | jenniferjayne.blogspot.co.uk
Is your hair one length or is it layered? Love your tutorial!
I’m desperately trying to get curls like these. Could you let me know how you position your curling iron, and how far up? I’m new to using a curling iron and not having much success!
I love this