DIY Coasters
Bouncy Curled Under
DIY Coasters
These coasters are super easy AND I’ve finally figured out a way to not have the sticky mod podge residue.
What you’ll need:
4 tiles, doesn’t matter if the sides are unfinished
Mod Podge
Scrapbook Paper
Paint brush, or sponge brush, or finger 🙂
Felt
White Spray Paint
IMPORTANT: Clear Coat Spray Paint (whichever gloss you prefer)
Wax Paper
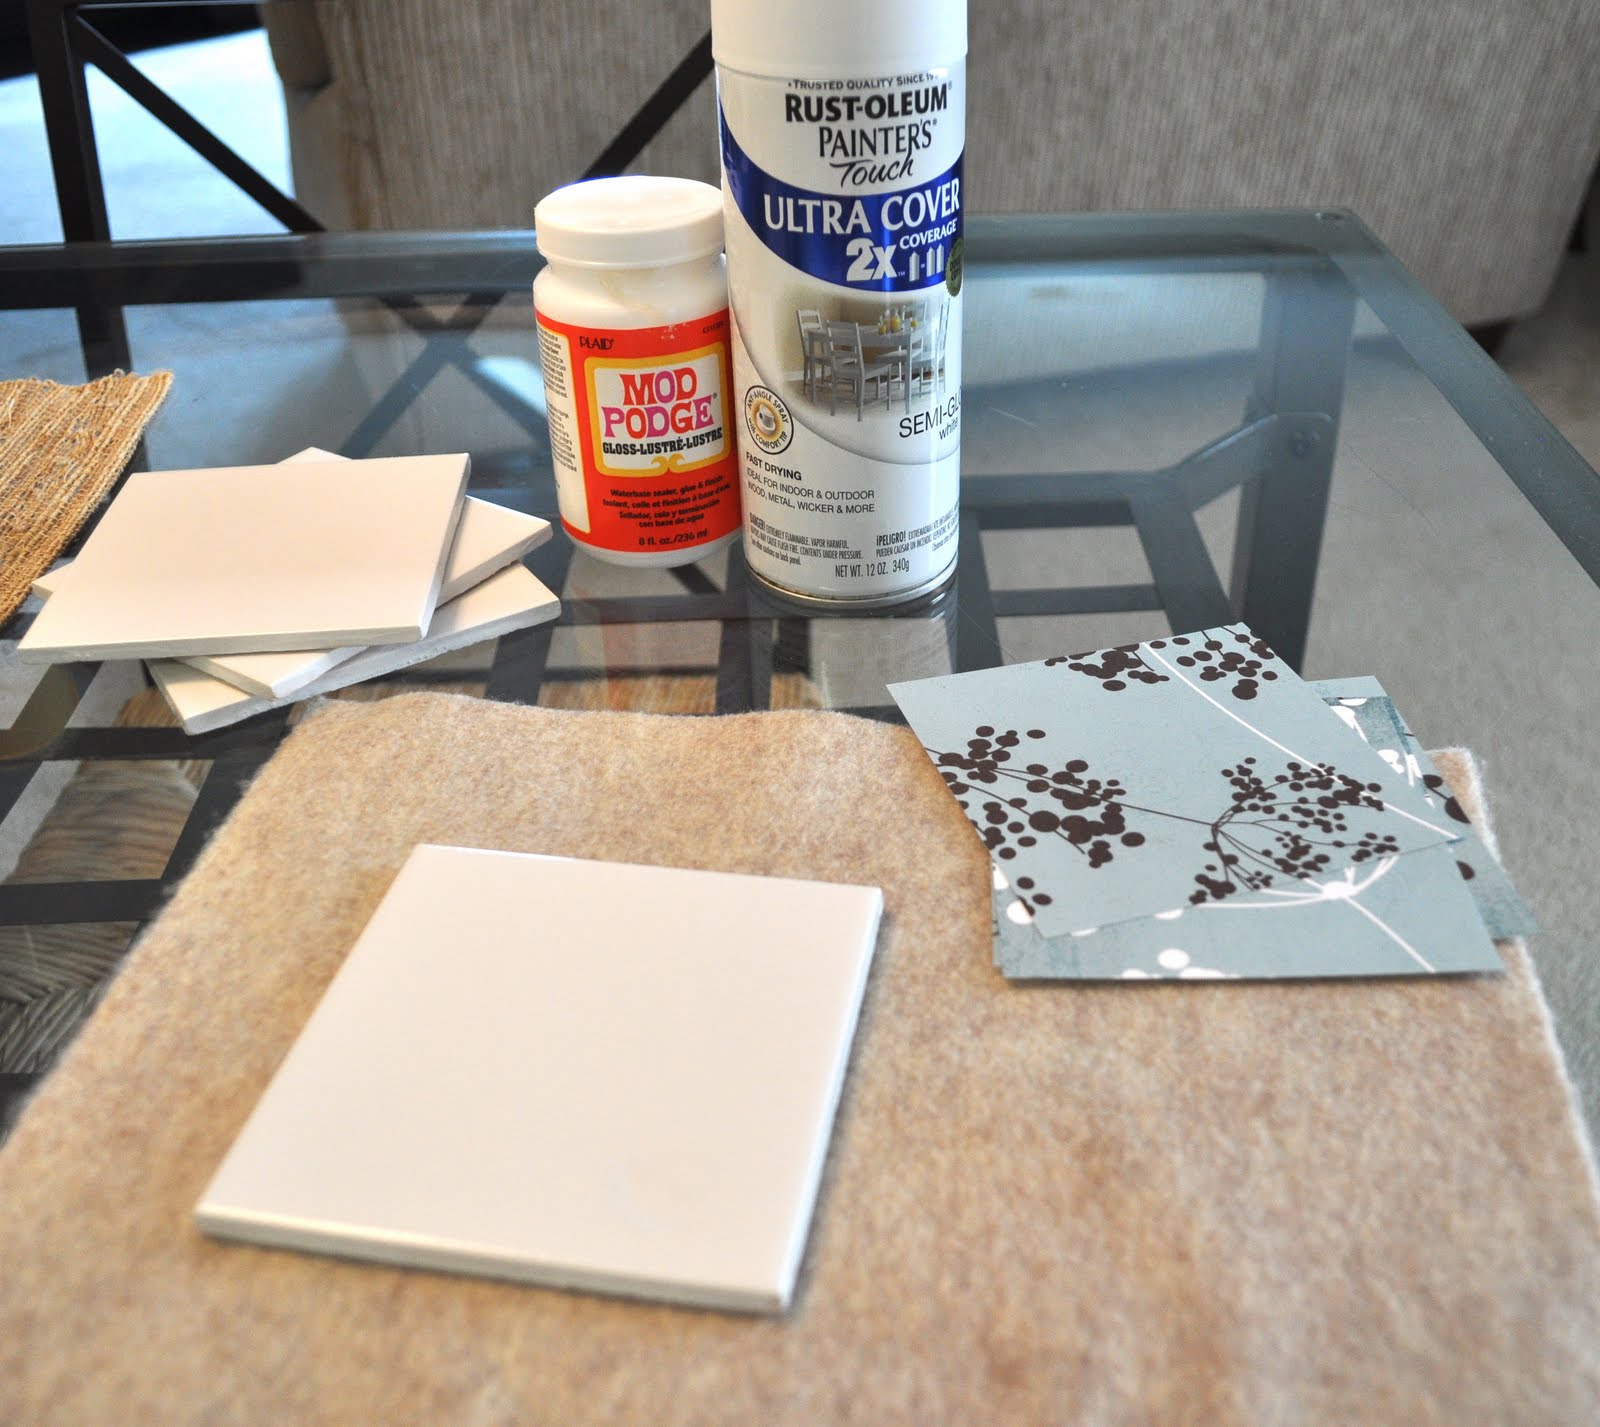

I love Rust-oleum for all my spray painting projects!

1. Start by spray painting the rough edges of your tiles with white spray paint.

2. Once the paint dries, place the tiles on a sheet of wax paper. Smear about a teaspoon of the mod podge on the tile and place the cut squares of paper on the center of the tile.
3. Once straight, smear/paint a good amount of the mod podge over the entire tile. Make sure you get the edges of the paper!
4. About an hour later (just to be sure they are completely dry, spray paint with CLEAR paint over the top of the tiles. This will prevent the sticky mod podge feel.

5. Hot glue little squares of felt onto the bottom of the coasters.

6. Finally, enjoy your beverage!

You won’t see as much of the “lines” on your coasters if you use a sponge brush. I used my finger because I forgot to grab a brush at the store!

comments
My daughter made this before returning to college. So easy and so cute!
I’ve made these before, but I just bought the felt tips at the store, never thought of using just felt paper! Great!!!
Awesome! I made some with chalkboard paint, but I like these better. I’m going to try it out sometime.
I love your blog!
these look great!
These are so great and make great gifts.
following you now.
ladeedacreations.com
Really cute! I think these would make cute gifts
these are super cute!
1. You have the best hair ever.
2. I love your tutorials, they are things I can actually do!
3. That piece of tree bark/coaster from the tornado, love. {not the tornado, but what you did/kept with that as a reminder to count your blessings}
4. I am a new follower!
I love this idea! I just mentioned it on my blog. I am thinking I need to try this. I have been wanting to modge podge something:)
Jessica: thanks!!
Just found your blog – I’m in love! Can’t wait to try the hair tricks, AND make these coasters – super cute!!
I think you should do a make-up tutorial too!!
They have a really cool stuff now its called poppy seed, you fan check out there web site poppyseedprojects.com. there clear coat they use is awesome it dries clear and there are no lines!!
I am going to make some!! Can you use pictures instead of scrapbook paper? Would I just print out pictures on regular paper or what?!
I’m obsessed with DIY coasters! I made some last week and I’m giving away a set on my blog, so check them out and leave a comment to enter.
http://www.paintsandpans.com/2012/01/23/diy-coasters/
Love your blog =]
Cheers,
Natalie
What a great idea! Just rediscovered your blog and so glad, my hair needs some attention;)